Last updated November 18, 2026




Free written scope consultation - allowances, timeline, and change-order rules on paper before a single trade is scheduled
Driveway & Pavers Troubleshooting: Common Problems and How to Fix Them
A single sunken paver in the center of a driveway isn’t a paver problem. It’s almost always a base failure that had been spreading underground for months before it ever became visible. That one dip is a symptom, and the stone sitting low is just the first place the ground gave way. We’ve pulled up sections in Carrollton where the surface looked fine except for that one wobble, and underneath the bedding layer had washed out across a six-foot radius. Fix the loose paver and you’ve bought yourself a season before the next dip opens up. This guide teaches you to read the symptom, trace it back to its source, and understand exactly what a real repair requires.
Quick Answer
Most driveway paver problems trace back to one of three root causes: failed base prep, the wrong jointing sand, or drainage that was never engineered in the first place. Surface damage like chips and hairline cracks gets fixed by replacing individual units. Structural failure like sinking, rocking, and rippling requires removing the affected section and rebuilding the base beneath it. Matching the fix to the actual cause is what makes a repair last in North Texas heat.
Styles & brands we work with
- Kitchen remodeling
- Bathroom remodeling
- Home additions & ADU
- Roofing
- Windows & doors
- Driveway & pavers
- Fence
Table of Contents
- Surface Damage vs. Structural Failure: Know the Difference
- Sunken and Rocking Pavers: The Base Failure Signal
- Reading Displacement Patterns: Drainage Problem or Compaction Problem?
- Why Polymeric Sand Fails in Texas Heat (And How to Re-Joint Correctly)
- How to Safely Re-Level Sunken Pavers Yourself
- When a Repair Is Masking a Bigger Problem
- How Carrollton Weather Accelerates Paver Damage
- Repair or Replace? A Decision Framework
Surface Damage vs. Structural Failure: Know the Difference
The cost of a paver repair climbs sharply the moment you cross from surface damage into structural failure. Chips, scuffs, and hairline cracks that don’t spread are surface issues. A paver that rocks when you step on it, a section that has settled below the surrounding stone, or a ripple pattern running across the driveway is structural. One is cosmetic. The other means the support underneath has moved.
Here’s how to tell them apart without pulling anything apart:
- Surface damage: A chipped corner from a dropped trailer hitch, a hairline crack from a heavy delivery truck, or efflorescence (that white powder haze) sitting on top. The paver doesn’t move when you stand on it. The joint around it is tight.
- Structural failure: A paver that pivots underfoot, joints that have widened or opened into visible gaps, a low spot that collects water, or a washboard ripple across several courses. The stone moves relative to its neighbors.
Why does the distinction matter so much? Because a structural problem has a cause below the surface. Repointing the joints on a rocking paver holds the stone in place for a few weeks, then the movement returns and takes the new sand with it. When we inspect a driveway in Carrollton, we test each unit for movement with a screwdriver handle or a rubber mallet before recommending any repair scope. If more than a handful of pavers in one area move, the diagnosis is base, not surface.
One more distinction worth knowing: freeze damage. Carrollton sits in Denton County where we get a handful of hard freezes most winters. Water that has pooled in a low spot expands overnight and can pop a paver loose by morning. That’s why a single frost heave is a red flag for a drainage issue you may not have noticed yet.
Sunken and Rocking Pavers: The Base Failure Signal
Base failure is the most common cause of paver problems we see in Carrollton, and it’s the one homeowners most often misdiagnose. A properly built driveway sits on a compacted layer of crushed stone (usually 4 to 6 inches) that has been graded and vibrated in lifts. When that base has voids, soft spots, or was never compacted properly, the pavers above have nothing to carry the load. They sink, rock, and start to shift out of alignment.
Common reasons the base fails here:
- Undercutting: The installer excavated clay-heavy North Texas soil but didn’t remove enough of it. Clay heaves and settles with moisture cycles, and the pavers follow.
- Washed-out fines: Water ran under the pavers instead of off them, carrying the fine particles out of the base and leaving voids behind.
- Insufficient compaction: The install used a plate compactor on one 2-inch lift instead of vibrating in three or four smaller lifts. The base looks solid for two years, then settles.
- Tree roots: Roots from nearby oaks or pecans lift and crack the base over time. Common in established Carrollton neighborhoods.
The tell that it’s base and not just surface: the dip is shallow and wide rather than a single deep hole. You step down gradually over three or four pavers, then step back up on the other side. That slope is the base collapsing into a void. If we see more than a 1/4-inch drop across two adjacent pavers, we know the base underneath needs to be addressed, not just the top surface.
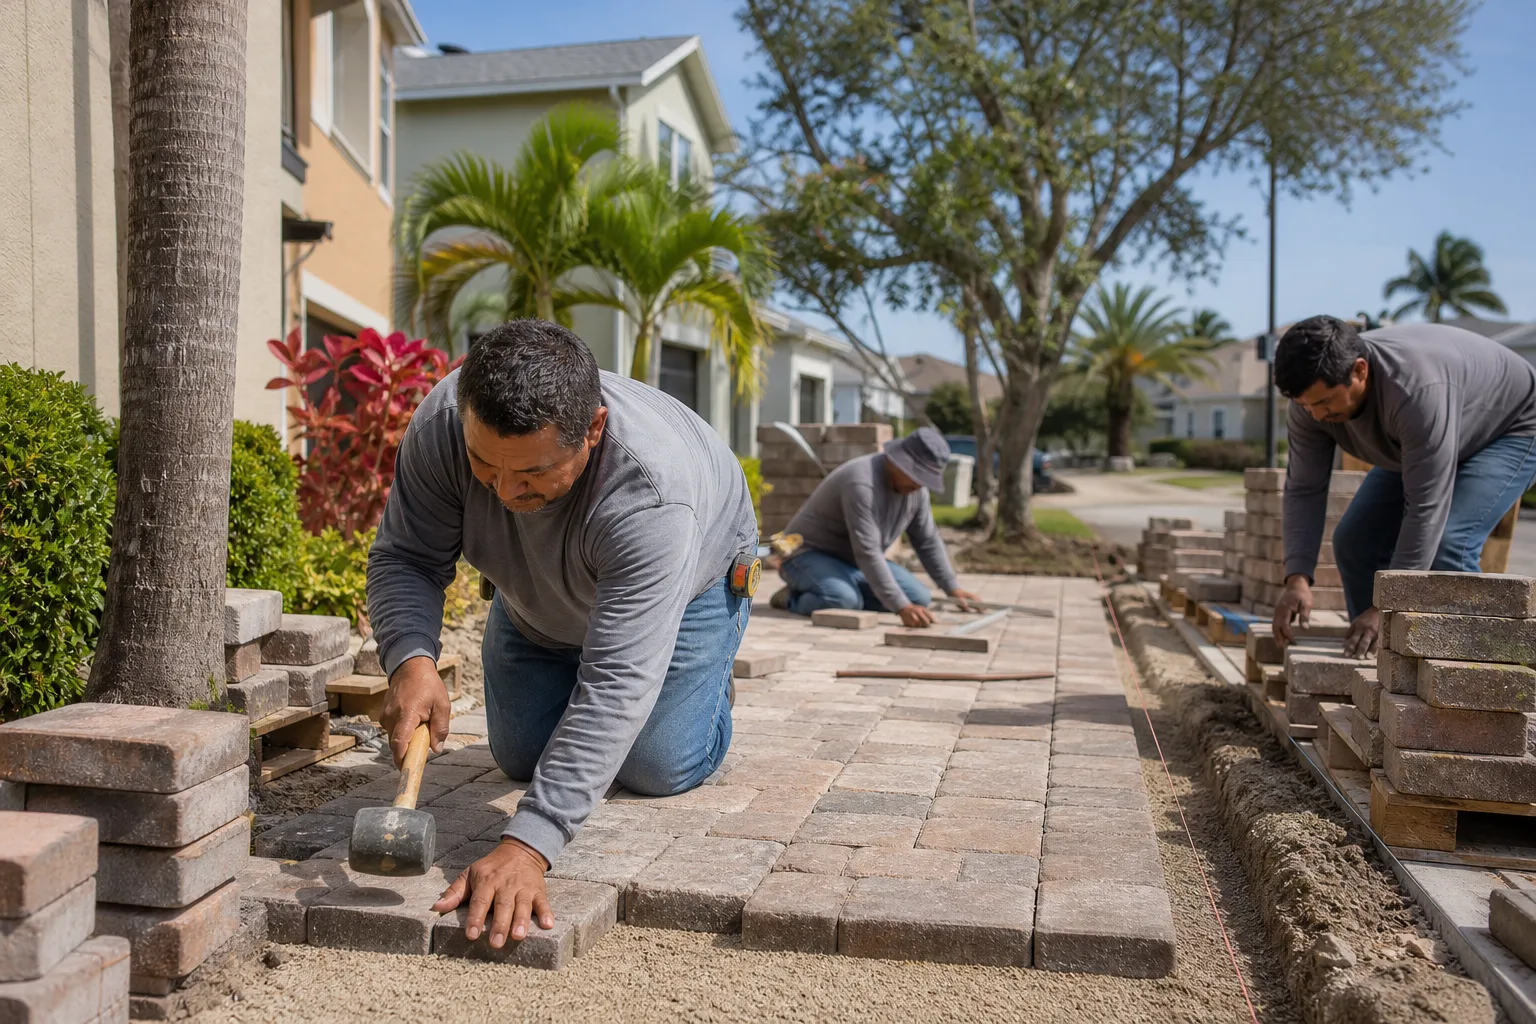
The good news is a section rebuild is a finite job. A trained crew cuts the perimeter tight, lifts the pavers, digs out the failed material, rebuilds the compacted base in lifts, and resets the same pavers to match. When we do this work as part of our Driveway & Pavers in Carrollton service, we treat the same 730-Day Done Right Promise as a full installation, because a rebuilt section is workmanship either way.
Reading Displacement Patterns: Drainage Problem or Compaction Problem?
Pattern tells you the cause, and the cause tells you the fix. A displacement pattern that runs downhill, toward the street, or toward the lowest corner of the lot is almost always water. A displacement pattern that appears in the center of the driveway or directly under where vehicles park repeatedly is almost always compaction. The two look completely different once you know what to look for.
Drainage indicators
- Pavers spreading outward at the edge of the driveway where water leaves the property
- Grout lines opening in a fan or chevron pattern at the low end of the slope
- Visible mud or soil stains on top of the pavers after rain (a sign of water exiting from underneath)
- Efflorescence appearing in a band that traces the path of flowing water
- Joint sand missing on the downhill side of the driveway only
Compaction indicators
- Sinking in the tire-track positions where cars sit parked for hours
- A rocking paver or a small cluster of rocking pavers in the center of the courtyard or drive
- Small, localized dips in a regular grid pattern (matching the installation layout)
- No soil stains, no efflorescence, no fanned joints – just a dip where load is concentrated
The drainage-versus-compaction distinction matters because drainage problems will return no matter how many times you reset the pavers. We’ve seen homeowners in Carrollton pay for the same re-level three times before the underlying grading issue got addressed. Compaction problems usually respond to a section rebuild and re-compaction. Drainage problems require re-grading, adding a channel drain, or installing a French drain on the low side before anything on top gets fixed.
Test it simply: after a hard rain, walk the driveway and photograph where the water sits. Two hours later, photograph again. If the water is still there after two hours, you have a grading problem, not a paver problem. That conversation with your installer needs to include drainage, not just the pavers.
Why Polymeric Sand Fails in Texas Heat (And How to Re-Joint Correctly)
Polymeric sand fails in North Texas because it cures hard, then flexes with the seasonal ground movement underneath it. Once a hairline crack opens across a joint, water gets into the sand, freezes on a January night, expands, and the whole joint opens up by spring. A second failure mode is common in Carrollton: the sand was installed too wet, which cures a crust on top and leaves the inside powdery. That kind of joint looks fine for eight months and then washes out completely.
Here’s what fresh, correct polymeric sand failure looks like:
- Sand pulling away from the paver edge in a clean line (a sign it cured before seating)
- Sand appearing as a hard crust that cracks and powders under a finger (a sign it was over-wetted)
- Sand washing out entirely after a single heavy rain (a sign of insufficient settling or inadequate compaction)
- Fine sand grains accumulating in the grass or gutter at the edge of the driveway (a sign of joint erosion)
Re-jointing correctly is not just dumping sand and hosing it down. The reason a proper re-joint holds is that the joint is cleaned to depth and the sand is installed per the manufacturer’s spec. Here is the process a trained crew follows:
- Remove the old sand. Use a screwdriver or utility knife to scrape the joint back to at least 1 inch deeper than the paver surface. Any remaining cured polymer is a failure point.
- Clean the joint with compressed air or a stiff brush. Sand cannot bond to dirty or wet edges.
- Verify the joint is dry. Polymeric sand will not cure if the joint is wet. In Carrollton summer heat, three or four hours on a sunny day is usually enough.
- Sweep the sand in. Fill the joint fully and overfill by about 1/16 inch to compensate for settling.
- Compact the sand lightly. A hand tamper or a plate compactor with a rubber mat seats the sand against the paver edges.
- Mist lightly with water. Enough to activate the polymer, not enough to wash it out. Follow the product spec exactly.
- Leave it alone for 24 hours. No vehicle traffic, no lawn sprinkler overspray, no rain.
One detail that separates a joint that holds from one that fails: many manufactured sands recommend installation below 90°F. Carrollton summers regularly cross 100°F. In our experience, joint installations done in August need to happen early morning or should be scheduled into September. Installing polymeric sand in 100-degree heat with a 20-minute working time is a recipe for re-doing it in October anyway.
How to Safely Re-Level Sunken Pavers Yourself
Re-leveling a small number of sunken pavers is a reasonable weekend task for a homeowner with patience and a few tools. It’s also a job that can destabilize an adjacent section if done wrong, which is why we’re specific about the steps and the limits. Follow this order, and cap your scope to a single localized dip. If the dip runs more than a few pavers or involves water ingress, put down the pry bar and call a pro.
Tools you need: two flat pry bars, a rubber mallet, a stiff brush, a hand tamper, a 2-foot level, a bag of matching joint sand, a putty knife, and eye protection.
- Mark the affected area. Outline every paver that rocks or sits below the surrounding surface with chalk. Add a 2-paver buffer in every direction, because the base under adjacent pavers is often compromised by the time the first one goes.
- Remove the pavers. Slip the pry bar into the joint on the outside edge and lift gently. Work outward, not toward the center of the dip. Pull the paver and stack it to the side.
- Inspect the bedding layer. A healthy bedding layer is 1 inch of concrete sand, compacted and flat. If you find the fines washed out, a void under the paver, or clay showing through, you have a base failure and this method is not the fix.
- Re-compact the base. Use the hand tamper to firm up the existing crushed stone. If the void is deeper than 1/4 inch, add a small amount of crushed stone (not just sand) and compact.
- Reset the bedding layer. Screed a fresh 1-inch layer of concrete sand flush with the surrounding bedding. Do not overfill or the paver will sit high once it’s consolidated.
- Reset the pavers. Place each paver back into position, tap it with the rubber mallet to seat it, and check it against a 2-foot level to verify it lines up with the neighbors.
- Re-joint the section in one pass. See the polymeric sand steps above. Fill the joints fully, mist lightly, and leave for 24 hours.
Do not skip steps 3 and 4. The single most common mistake in DIY re-leveling is spreading fresh sand on top of old failed material. The paver sits high for a week, then settles into the same dip. Re-leveling a paver without addressing the base below it buys you another season, tops.
When a Repair Is Masking a Bigger Problem
The honest checklist for calling in a pro starts with this question: does the visible damage trace back to a cause I can actually see? If the dip keeps coming back, if joints re-open within a few months, or if adjacent pavers start moving a few weeks after you fix the first set, you have a problem that a section rebuild will mask but not fix. In that case, a repair is the wrong job.
Scenarios where the visible symptom is not the real problem:
- Recurring dips. A dip that returns in the same spot after a re-level is a base failure. Section rebuild, not a re-level.
- Washouts after rain. Water exiting under the pavers means grading or drainage is wrong. Fix that before the pavers.
- Rocking across a large section. If more than six or eight pavers move together, the base has failed across that whole span.
- Paver separation at the edges. The edge restraint failed. Resetting the pavers without re-securing the edge will fail again in the same spot.
- Visible soil stains under a paver you lifted. That’s water flow. It is not going away on its own.
- Repeated frost heave in the same low spot. Water is pooling. Full re-grade of the low side is the fix.
The other honest checklist item: scope. A 4-by-6-foot section rebuild in a Carrollton driveway is straightforward. A 200-square-foot rebuild where the base was never properly compacted needs a different conversation. When we look at a paver repair in Carrollton, we measure the affected zone and count the total number of pavers in it, then decide between a targeted rebuild and a full re-lay. Both are honest answers, but only one matches the actual problem. Tying the choice to a written scope is the only way to make sure the fix is the fix.
How Carrollton Weather Accelerates Paver Damage
Carrollton sits on expansive clay soil that shrinks and swells hard with each wet-dry cycle. That single fact drives more paver problems in this city than any other cause. The clay under a driveway that was never properly excavated will move a half-inch or more between a wet spring and a dry August, and pavers on a marginal base cannot absorb that movement.
Three specific local drivers:
- Expansive clay (the Denton County blackland soils prevalent across much of Carrollton). The clay under the driveway is not stable. A base that was never over-excavated and rebuilt with proper stone will telegraph every clay movement up to the surface within a few years.
- Compacted by heat and drought. The dry months pull moisture out of the soil, shrink it, and open voids. Then the rains return and the voids fill unevenly. This is why so many paver dips in Carrollton appear in late summer and early fall.
- Freeze cycles. A handful of hard freezes per winter is enough to pop a paver loose wherever water has pooled. The window is short, but the damage is real.
The practical consequence: pavers installed in Carrollton without engineered drainage and a properly compacted, over-excavated base will fail. Not might fail. Will fail, usually within 3 to 5 years. That’s not a knock on the pavers themselves; it’s the local ground conditions doing what they do.
If you’re already planning a broader outdoor project, the same local soil and drainage issues apply to fences and additions. Our guide to Fence Installation in Carrollton covers how we handle post depth and footing in the same clay, and our Home Additions & ADU in Carrollton page goes into foundation work. The point is the same on every project: build for the soil you’re actually on.
Repair or Replace? A Decision Framework
Repairs make sense when the damage is localized and the base in the affected zone can be rebuilt without involving the whole driveway. Replacements make sense when the base is failing in multiple unrelated areas, when the pavers themselves are past their service life (a properly installed, well-maintained concrete paver can last 25 to 50 years, but poor installation cuts that to a fraction), or when the underlying drainage was never engineered correctly.
A rough decision framework:
- Repair it if: fewer than 10% of the pavers are affected, the affected area is a single section, the base can be rebuilt in that section, and the rest of the driveway is stable and level.
- Rebuild the section if: the affected area is confined to a specific zone but covers more than a few pavers, and the edge restraints and grading outside that section are sound.
- Re-lay the whole driveway if: multiple unrelated areas show movement, the base was under-compacted at install, drainage was not engineered at install, or the whole surface has settled below the surrounding grade.
A full re-lay done correctly is also the moment to fix what the original install got wrong: over-excavation of the clay, a properly engineered base in compacted lifts, edge restraint set in concrete, and drainage that routes water off the driveway, not under it. When we build a driveway from scratch in Carrollton, that’s the standard, and it’s why the 730-Day Done Right Promise is written to cover the workmanship on the base as much as the pavers. Backed in writing, we mean it.
See the difference
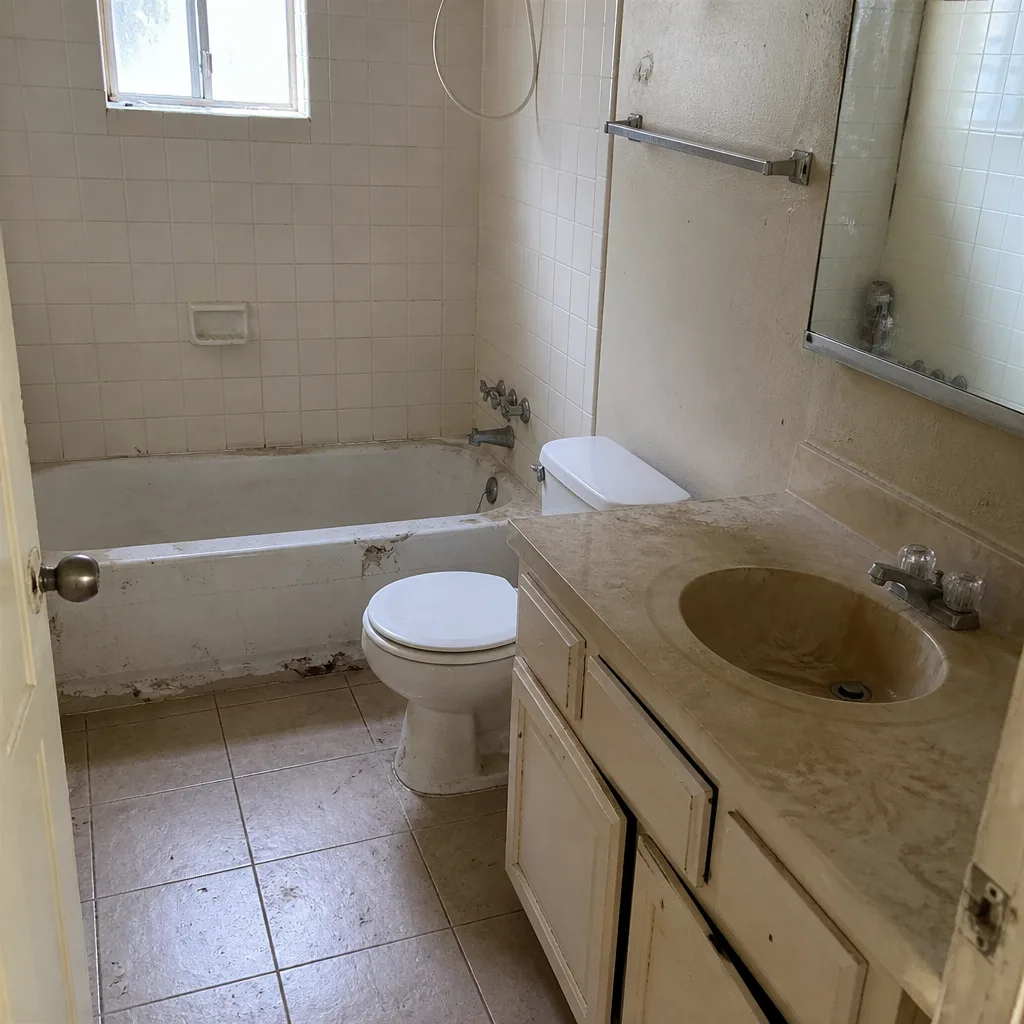 Before
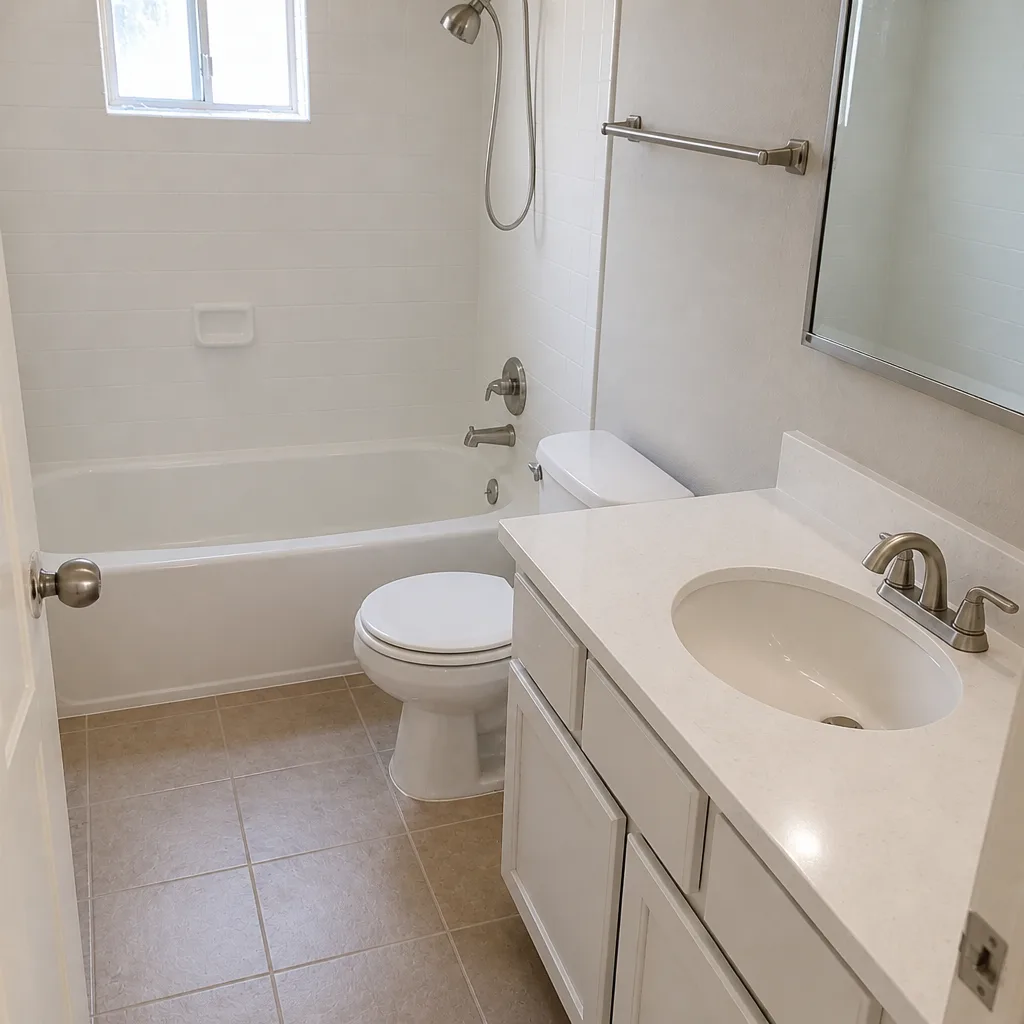 After
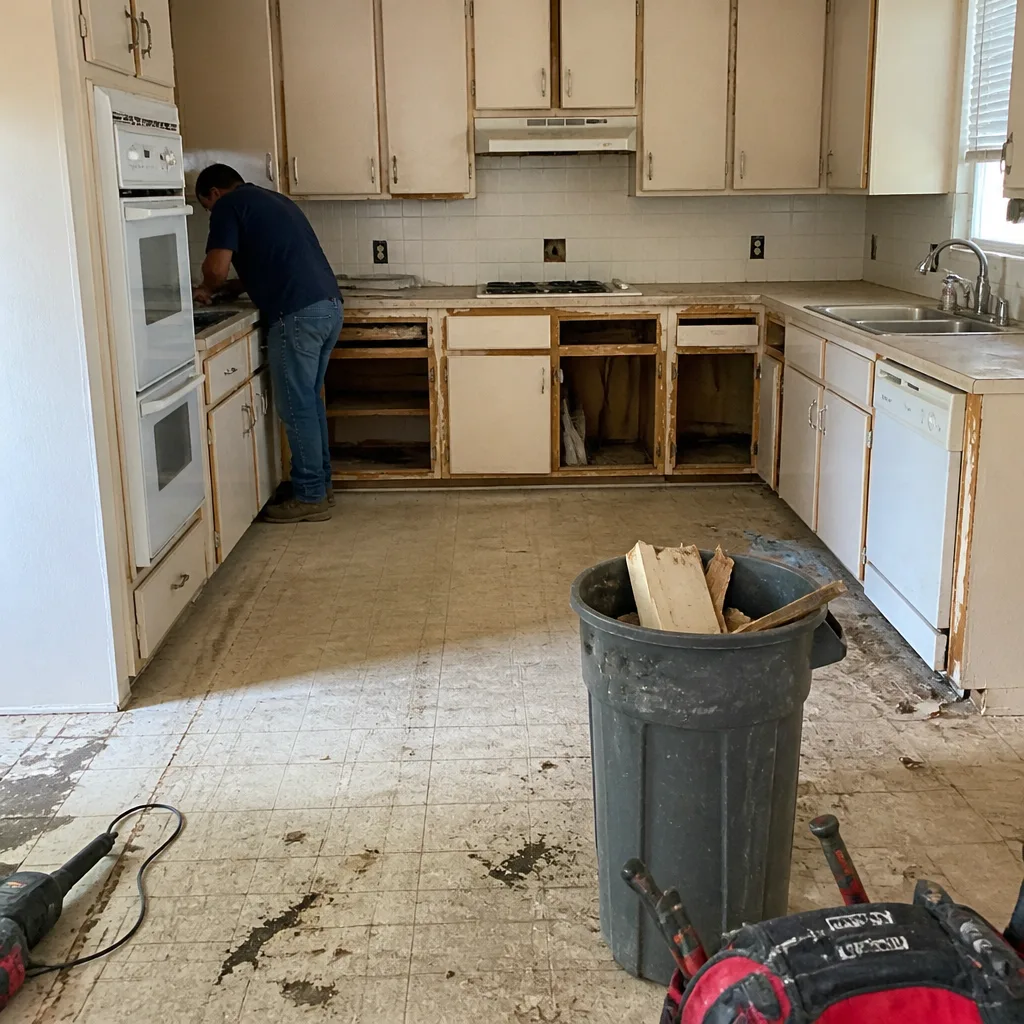 Before
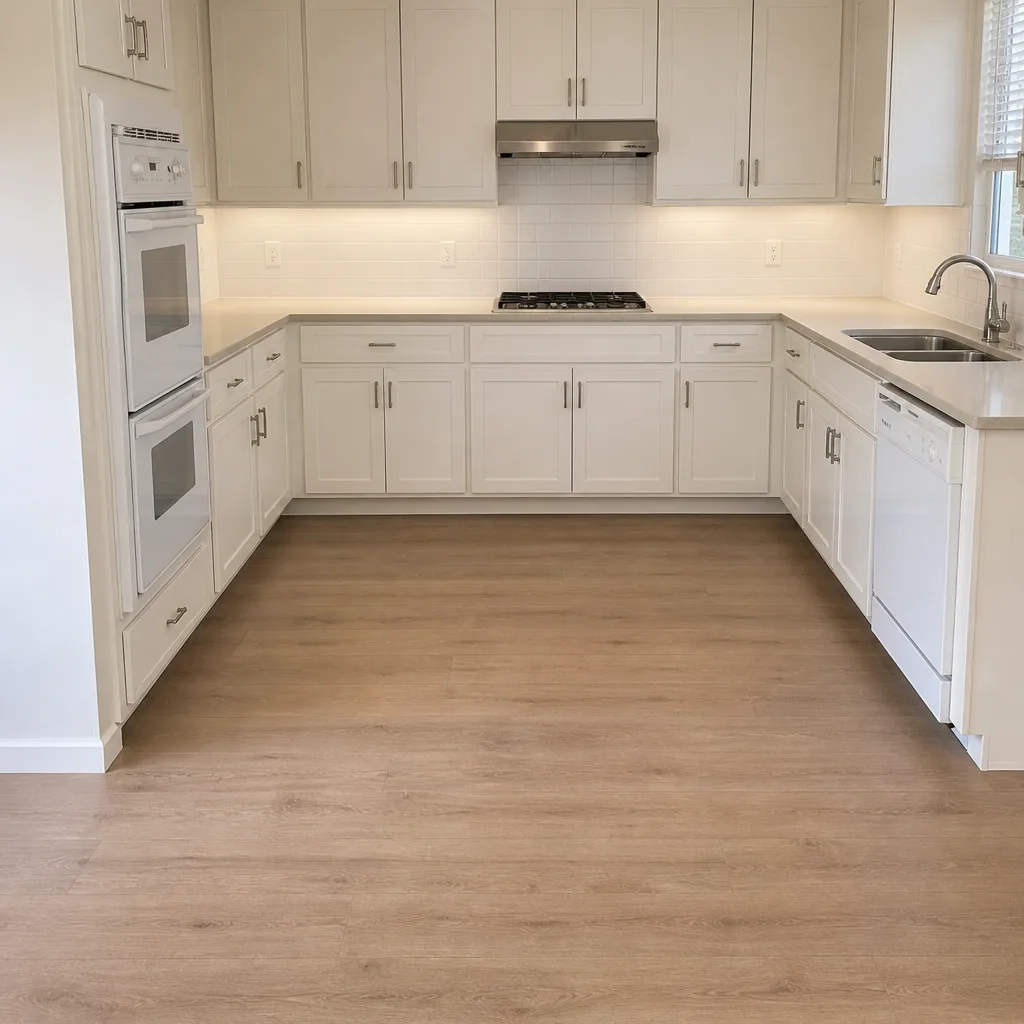 After
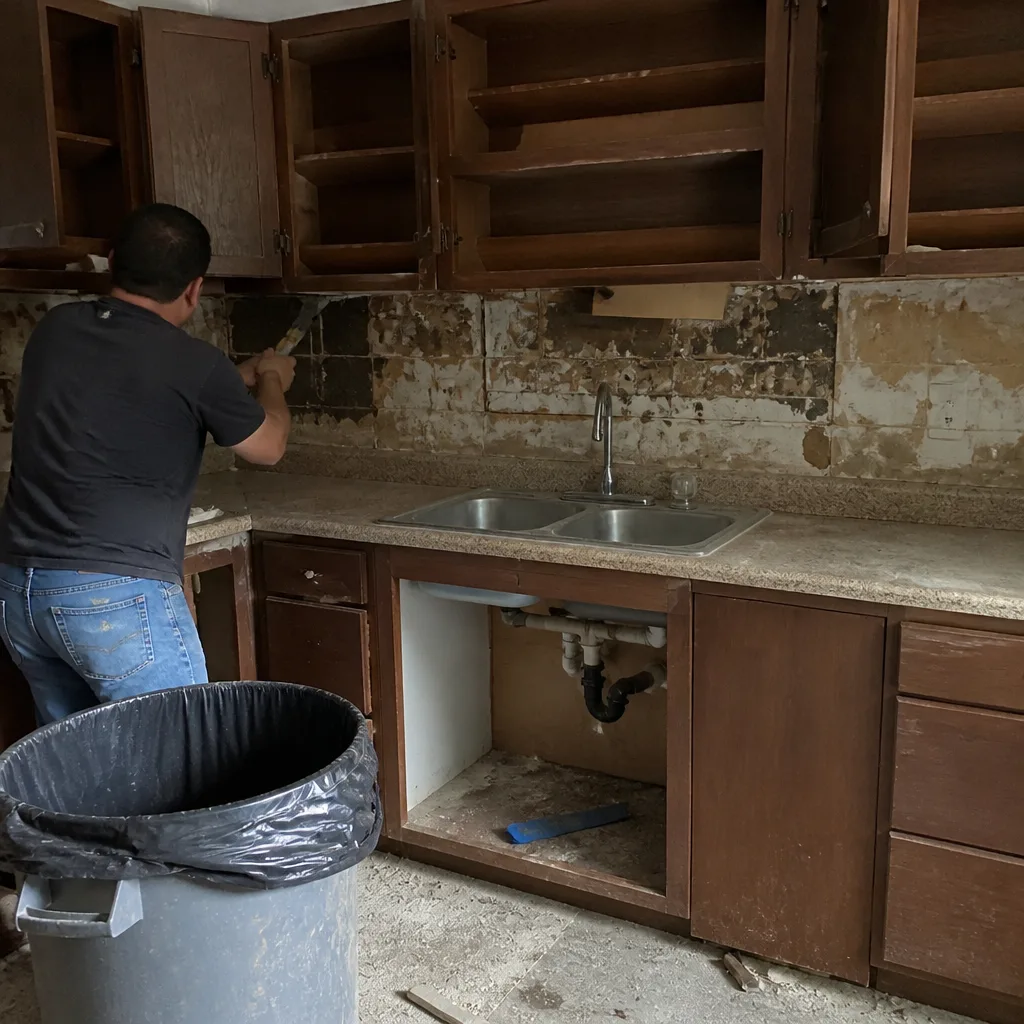 Before
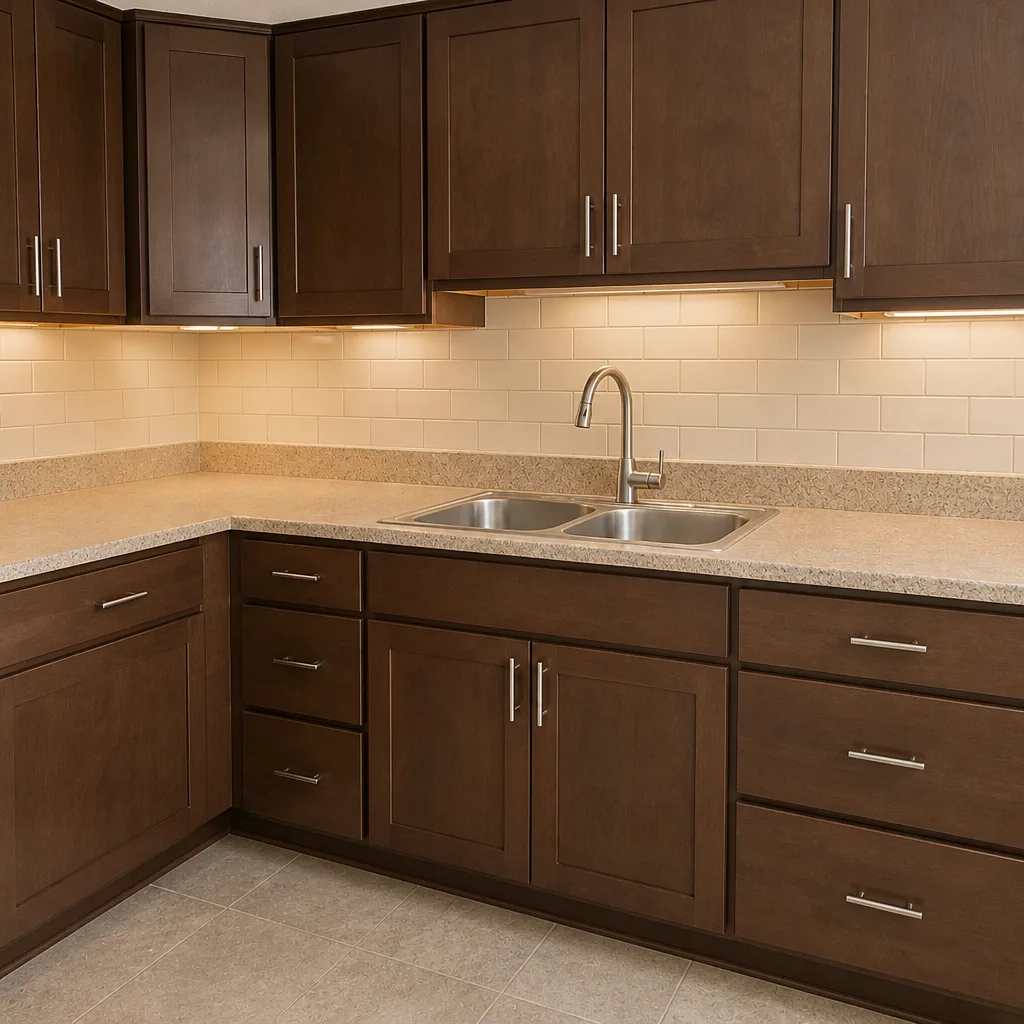 After
Common Mistakes to Avoid
- Re-sanding without cleaning the joint. New polymeric sand bonds to old cured polymer or dirty paver edges, cures on the surface only, and washes out by the first real rain. Clean to depth first, every time.
- Installing polymeric sand above 90°F. Carrollton summer heat cures the polymer before it can seat properly. Schedule re-jointing in the morning or wait for cooler temps in fall.
- Re-leveling over failed fines. The single most common DIY mistake. If the sand under the paver is missing, add crushed stone, not just fresh sand.
- Resetting the pavers without fixing the drainage. A drainage problem will return within one rainy season. Grade and drain before re-setting.
- Skipping the edge restraint. Edge restraints keep the perimeter pavers from migrating outward. If the restraint has failed, resetting the pavers holds for weeks, not years.
- Tamping pavers with a metal tamper without a rubber mat. Cracks the pavers you’re trying to fix. Always use a rubber mat between the tamper and the stone.
- Assuming the base was fine because the driveway looks new. A three-year-old driveway in Carrollton with clay-heavy soil underneath can have a failed base that just hasn’t fully surfaced yet.
When to Call a Professional
Here are the clear signals it’s time to stop troubleshooting and call a pro:
- More than a few pavers rock together as a group
- A dip returns within a few months of a re-level
- Water sits on the driveway for hours after rain
- Efflorescence keeps returning to the same low spot
- Joints re-open after a correct polymeric sand install
- The pavers have moved relative to the surrounding grade, lawn, or sidewalk
- The affected area is larger than a few square feet
A trained crew can diagnose the pattern, measure the affected zone, and quote a section rebuild or a full re-lay with a written scope, no surprises on the number. Groundwork Construction Co. of Carrollton offers free estimates in Carrollton – call (844) 560-0925. Our technicians have up to 12 years of experience and everything we install is backed by the 730-Day Done Right Promise. Calls are answered by a live person, 24/7, so you’re not chasing a voicemail on a Saturday morning when the driveway just failed after a storm.
Frequently Asked Questions
A localized paver repair in Carrollton typically runs a few hundred to low four figures depending on how many pavers are affected, whether the base needs a section rebuild, and whether drainage work is included. A section rebuild with new base material and matching pavers costs more than a re-level because it addresses the actual cause. Call (844) 560-0925 for an exact quote – estimates are free and come with a written scope.
A single sunken paver almost always means the base underneath has failed or washed out locally. The paver itself is not the problem; it’s the first visible symptom of a void forming below. Set a heavy object on the paver and see if it rocks. If it does, pull it and inspect the bedding layer beneath.
Polymeric sand can be installed in Carrollton in the summer if the air temperature is below 90°F and the joints are bone dry. Above 90°F, the polymer cures before it seats and the joint fails within months. Schedule re-sanding in early morning, late fall, or spring. Hosing it down at noon in July is asking for a second install in October.
A localized re-level of a few pavers is a few hours of work for a trained crew, plus 24 hours before the joint sand can take traffic. A section rebuild of a mid-sized zone (roughly 50 to 100 square feet) typically runs a day or two depending on cure time and material matching. A full re-lay is a multi-day project. Call (844) 560-0925 to schedule a free estimate and get a realistic timeline for your driveway.
Pavers that re-loosen after a repair are almost always sitting on a base that was never fixed. The most common causes are under-compacted base, inadequate base depth, or water flowing under the pavers. A repair that re-sets the pavers without addressing the base guarantees the problem returns. Diagnose the cause before you re-set.
Routine paver repair generally doesn’t require a permit in Carrollton, but a full driveway replacement that changes the footprint, grading, or impervious coverage may trigger a city review depending on lot conditions. A reputable installer will tell you which category your project falls into and pull any required permits. Ask that question before any work starts. For the full scope of driveway services, see our Driveway & Pavers in Carrollton details.
The Bottom Line
Paver problems are diagnostic. A sunken paver says base failure. A ripple pattern says compaction. A fan of open joints says drainage. A cracked joint that re-opens says the sand install didn’t hold. Read the symptom, trace it to the cause, and match the fix to the actual problem. Surface damage gets a simple replacement. Structural failure needs a section rebuild with a fresh, compacted base. Drainage problems require regrading before any paver gets reset. In Carrollton, expansive clay and hot summers make proper base construction and joint installation the difference between a driveway that lasts decades and one that starts failing in three or four years. Backed in writing, with a 730-Day Done Right Promise on every job, we build it to last. Whether you’re considering a repair or a fresh install, our Groundwork Construction Co. of Carrollton home page covers the full scope of what we do from foundation to finish line.
Ready to stop guessing and get a straight answer? Call Groundwork Construction Co. of Carrollton at (844) 560-0925 for a free estimate and design consult. We serve Carrollton and surrounding communities with driveway and paver work, fence installation, home additions, and ADU projects, all built with a curated set of trusted brand partners (including Belgard pavers where the project calls for them) and covered by the same warranty framework on every job. Calls are answered by a live person, 24/7 – no voicemail, no delays. The number you see in your written scope is the number you pay.
Written by the team at Groundwork Construction Co. of Carrollton.