Last updated November 18, 2026


Free written scope consultation - allowances, timeline, and change-order rules on paper before a single trade is scheduled
Fence Installation Maintenance Schedule: What to Do and When
Cedar fence boards that aren’t sealed within the first year in a Texas climate can lose 40% of their expected lifespan. Not from rot, not from wind, not from hail. From the sun doing what a Texas sun does. We’ve pulled boards in Carrollton that looked fine from the street and crumbled at the touch, and the homeowner was shocked because nobody had told them a wood fence needs a schedule at all. That’s the gap this guide closes. What to inspect after spring rain, what to treat before fall, how to probe a post for rot without digging it up, and when paying for a professional maintenance visit is actually cheaper than doing it yourself.
Quick Answer
A wood fence in North Texas needs a full inspection twice a year, resealing every 18 to 24 months, and hardware checks every season. Spring is for checking posts and rails after heavy rain and clay soil movement; fall is for sealing before the wet season sets in. Metal, vinyl, and composite fences need less frequent attention but shouldn’t be ignored.
Styles & brands we work with
- Kitchen remodeling
- Bathroom remodeling
- Home additions & ADU
- Roofing
- Windows & doors
- Driveway & pavers
- Fence
Table of Contents
- Why North Texas Fences Age Faster Than Most Homeowners Expect
- Spring Maintenance: What to Inspect After the Rain
- Summer: Protection Before the Heat Peaks
- Fall: Sealing and Prep Before Moisture Season
- Winter: The Quiet Inspection Window
- Stain vs. Sealer vs. Paint: The Right Choice by Material
- How to Check Posts for Base Rot Without Digging
- Hardware That Extends Structural Life (and Almost Everyone Skips)
- DIY Maintenance vs. Professional: The Real Cost Comparison
Why North Texas Fences Age Faster Than Most Homeowners Expect
Carrollton sits in a climate that’s genuinely hard on wood. Summers routinely push past 100 degrees with weeks of intense UV exposure, and the humidity swings wildly from bone-dry to saturated. Then spring rolls around and the rain comes hard and fast. Clay soil, which dominates most of the North Texas region, expands when it’s wet and contracts when it’s dry. That cycle is what breaks fence posts.
A post buried in clay doesn’t fail from rot alone. It fails because the soil around it moves. When the ground soaks up spring rain, the clay swells and pushes against the post. When summer dries it out, the soil pulls away and leaves a gap. Repeat that cycle for a few years and the post loosens, the concrete collar cracks, and water finds its way to the base. That’s when rot starts, and it’s why a fence installed in Carrollton without a maintenance schedule might only last 8 to 10 years while the same fence with consistent care can go 20 or more.
We’ve seen this play out across neighborhoods like Trinity Mills, Old Downtown Carrollton, and the newer developments near Josey Ranch. The fences that hold up are the ones where the homeowner kept up with the annual routine: seal, inspect, tighten, treat. The ones that fail early almost always lacked that. The sun and the soil don’t negotiate, but they are predictable. That’s the whole point of a schedule.
The other piece most people miss is that different materials have different maintenance rhythms. A cedar privacy fence and a James Hardie composite fence and an aluminum ornamental fence don’t need the same calendar. If you’re still deciding on a material, our guide on Fence Installation in Carrollton covers what holds up best in this specific market.
Spring Maintenance: What to Inspect After the Rain
Spring in Carrollton means rain, and lots of it. That’s the time to walk the whole fence line and check for anything the winter moved or the spring rain loosened. This is the inspection that catches problems before they become replacement jobs.
- Walk the line and push every post. Grab each post near the top and lean on it firmly. A post that moves more than half an inch at the top has a soil problem at the base. Note it.
- Check the soil line at each post. Look for a gap between the ground and the post, or soil that has washed away. Any dip means water is pooling there.
- Look for raised or cracked soil around the post base. That usually means the ground is saturated and the concrete footer may be failing.
- Inspect rails and pickets for movement. Loose pickets or sagging rails mean fasteners have backed out or the wood has shrunk. Tighten or replace before the next windstorm.
- Check the gate. After a wet spring, a gate that swung freely in January might now be dragging. That’s normal wood swelling; it’s a sign to check the hinges and latch alignment.
Spring rain in North Texas also brings the first real growing season, which means vines and weeds creeping up fence bases. Climbing vegetation holds moisture against the wood and traps debris, which speeds rot along the bottom rail. Clear it back. It’s a 20-minute job that saves a lot of grief.
The most overlooked spring task is checking the fence where it meets the house or garage. That’s where water drains, and in older Carrollton neighborhoods, that junction is often where the base of the fence rots first.
Summer: Protection Before the Heat Peaks
By June, the sun in North Texas is doing real damage. UV breaks down the lignin in wood, which is what turns cedar gray and makes it brittle. If the fence was sealed the prior fall, the sealant is doing its job right now. If it wasn’t, summer is when you’ll see the damage happen in real time.
Summer is not the ideal time to apply a fresh coat of stain or sealer. Wood that’s baking in 100-degree heat will absorb the product unevenly and dry too fast, which leads to flaking and a blotchy finish. But summer is the perfect time to observe, plan, and handle hardware.
- Note where the finish looks thin or fading. Check the sun-facing side of the fence, which will always age faster. That’s the side that’ll need attention first in fall.
- Check gate hinges for rust. Summer humidity plus heat accelerates corrosion on galvanized and standard steel hardware. A drop of lubricant now prevents seized hinges later.
- Verify post caps are still seated. A loose post cap lets water into the top of the post, which is the second-most-common failure point after the base.
- Try the gate on a hot afternoon. Gates tend to sag in heat as wood dries and loses moisture in the rail. If it’s dragging, the hinge or the diagonal brace is the culprit.
We’ve seen it over and over in Carrollton summers: the sun destroys the finish, and that’s it. There’s no mystery. Keep an eye on the sun-exposed face and plan the fall maintenance around what you find. If you notice boards that are warping, cracking, or pulling away from rails, that’s a conversation worth having before the next big rain. A free estimate costs nothing and gives you a clear picture of what’s failed and what hasn’t.
Fall: Sealing and Prep Before Moisture Season
Fall in North Texas is the window that matters most. The temperature has dropped into the range where stain and sealer actually cure properly, and you’re getting ahead of the wet season. If a fence goes into late fall and winter without a protective finish and the rainy season arrives, you’ve lost a year of protection for the wood.
The right fall routine looks like this:
- Clean the fence first. A pressure wash at appropriate pressure (not too high, which will score the wood) removes dirt, mildew, and old flaking finish. Let it dry 48 to 72 hours before applying anything.
- Scrape and spot-sand any failing areas. Any spot where old finish is peeling needs to be removed and sanded, or the new coat will fail there too.
- Apply stain or sealer. One or two coats depending on the product and the fence’s condition. Follow the product’s coverage rates; most stains cover 150 to 250 square feet per gallon.
- Do the sun side and the wet side. The south- and west-facing boards and the side facing prevailing rain. Those are the two exposures that matter most.
- Make sure you didn’t miss the top rail and post caps. Those are horizontal surfaces that catch water. They need the same treatment.
The fall window in Carrollton usually runs from about October into early December. Once nighttime temps drop below the product’s minimum, the stain won’t cure, and you’ve wasted material and time. Don’t push it into the cold.
Fall is also the best time to schedule a professional maintenance visit if you’re not doing it yourself. The weather is cooperative, the demand is lower than the spring rush, and you’re getting the fence sealed before the real moisture season hits. If you don’t have a fence yet, or if the maintenance keeps landing on the same failing sections, we install fences built to a higher standard. The materials and build quality matter as much as the maintenance schedule, and our Groundwork Construction Co. of Carrollton home outlines the full approach.
Winter: The Quiet Inspection Window
Winter is the season where most people forget the fence exists. The grass isn’t growing, the weather is cold, and nobody’s spending time in the backyard. But winter is actually the best time to do the structural inspection that the growing season masks.
With leaves down and vegetation dead, you can see the full fence line. You can see the lean of every post. You can see gaps, cracks, and fasteners that were hidden six months earlier. That’s why we recommend a simple winter walk-through:
- Walk the whole fence from both sides. Look for any post that’s leaning noticeably. Mark it.
- Look at the bottom rails for moisture staining or dark wood. That signals rot getting started.
- Check any sections where the fence runs under trees or along shaded property lines. Shade holds moisture and slows the drying time; those areas rot before anything else.
- Test the gate’s full swing. Cold weather shrinks wood, so a gate that worked in October might swing too freely now. That’s a hinge issue, not necessarily a wood issue, but it needs addressing.
- Check the ground for heaved concrete or broken footers. Freeze-thaw cycles in North Texas are mild but real, and a cracked footer will only get worse.
Winter is also an ideal planning month. If an inspection reveals sections that need replacing rather than repairing, you can scope out the job now and schedule the work for spring when the weather is right. Fence replacement doesn’t need to happen in the rain, and the best contractors book up. Planning in January for a March or April project is the calm way to do it.
Stain vs. Sealer vs. Paint: The Right Choice by Material
This is where a lot of homeowners make an expensive wrong turn. The right product depends on the material and the exposure. Using the wrong one can cost you money and put you back at square one a year later.
Cedar and pine (the standard wood fence): Use a penetrating oil-based stain or a high-quality exterior sealer. A penetrating stain soaks into the wood rather than sitting on top of it, which means it won’t peel and only fades over time. That’s a huge advantage in Texas heat. Look for a formula with UV inhibitors. Semi-transparent stains let the grain show through and reduce cracking; solid stains offer more UV protection but will peel eventually and need more prep on the next coat.
Pressure-treated wood: Sealing is worthwhile after about six months when the wood has dried from the factory moisture. Use a water-repellent sealer specifically designed for treated wood. Stain is optional but adds UV protection, which helps delay graying. Don’t paint pressure-treated wood that’s still releasing moisture; the paint will blister.
Vinyl and composite: No finish is required, but a UV protectant product will slow the fading that’s inevitable in Texas sun. A simple wash yearly with soap and water keeps it looking good. For the composite and James Hardie options, check what the manufacturer recommends; some do not want any topical finish, and adding one can void the warranty.
Aluminum and steel ornamental: No finish needed for aluminum. For steel, an annual touch-up on any rust spots and a coat of rust-inhibiting paint on damaged areas will keep it going for decades. That’s about it.
Paint on a wood fence: Paint is real protection in sun-heavy climates, but it’s the most maintenance-intensive choice. It requires proper prep before application, and it will peel eventually, needing a scrape and recoat. Most Carrollton homeowners are better served by a quality stain, which requires less prep and ages better.
If you’re not sure what’s already on your fence, the test is straightforward: put a drop of water on a clean section. If it beads up, there’s a sealer or stain on it. If it soaks in, the finish is gone and it’s time to reapply.
How to Check Posts for Base Rot Without Digging
Base rot is the most common structural failure in wood fences, and the good news is you can find it without a shovel. The probe test is the method we use, and it’s simple enough for a homeowner to do.
- Wait for dry weather. A dry spell makes the difference between healthy wood and rotted wood obvious.
- Use an awl, a screwdriver, or a stiff knife. Something pointed that you can push into the wood with firm thumb pressure.
- Probe the post about 3 to 6 inches above the soil line, on all four faces. Firm pressure. Healthy wood will resist; the probe will dent slightly but not penetrate.
- Interpret the results. If the probe enters easily and the wood is soft, crumbly, or pulls out in small chunks, you have rot. Dense resistance and solid wood mean the post is healthy.
- Do the same test at the base, just above the concrete or soil. If the wood there is punky, the rot is likely deep.
- Check the “sound” test too. Tap the post with a hammer or the handle of the probe. A healthy post gives a solid, tight sound. A hollow or dull thunk means internal rot even if the surface feels firm.
If you find rot in one post, check its neighbors. Rot in clay-soil fences tends to cluster where drainage is poor, so a single bad post often means two or three more are compromised. A rotted post takes minutes to identify and can be repaired if caught early, but a post that fails entirely will take down the whole panel with it.
When a post has to come out, it’s rarely a small job in North Texas clay. The footer is often a concrete collar, and getting it out without damaging the adjacent panels takes the right tools and knowledge. That’s a good moment to bring in professional help. If you’re weighing repair versus replacement, the crew at Driveway & Pavers in Carrollton can walk the property with you and give you an honest read on what’s worth salvaging.
Hardware That Extends Structural Life (and Almost Everyone Skips)
Hardware is the quiet hero of fence life. It’s also the first thing anyone forgets. Hinges, post caps, and fence clips are small parts that do a big job, and replacing them when they’re worn is far cheaper than replacing the panels they hold together.
Gate hinges: The heaviest load a fence gate bears is its own weight over time. Hinges on a wood gate go through thousands of cycles and are exposed to sun, rain, and temperature swings. Inspect them each season, lubricate moving parts, and replace them the moment you notice sagging, squeaking, or screws backing out. Self-closing hinges with a spring loaded mechanism are worth the upgrade because they hold alignment and add safety. Rusted or seized hinges are a leading cause of gate failure, and a failed gate gets dragged, which breaks the latch and the gate frame.
Post caps: A post cap is a small piece of trim that sits on top of the post. It’s cheap and it’s the only thing protecting the end grain, which is where water gets into the post and starts rot. Caps get knocked loose by wind, by tree branches, or by just being ignored for years. Check every season and reattach or replace them. A $5 post cap is protecting a $40+ post.
Fence clips and brackets: These connect rails to posts and rails to pickets. They take a beating from wind. A missing or loose clip lets a rail sag and eventually split the post. The fix is a new clip and a couple of screws, and it’s a five-minute job per failure. Leave it, and the sagging rail puts stress on the rest of the panel.
Fasteners generally: Check that screws and nails haven’t backed out after temperature swings, and that any rusted fasteners are replaced with exterior-grade ones (galvanized or stainless). Rusted fasteners are a structural issue, because they can and do fail.
If hardware is failing across the board on a fence, that’s information. It can mean the fence was built with lower-grade materials, or it can mean it’s just old. Either way, it’s worth a conversation with someone who installs fences for a living. We’ve handled plenty of these evaluations across Carrollton, and the diagnosis is usually clear.
DIY Maintenance vs. Professional: The Real Cost Comparison
This is where a lot of homeowners believe DIY is saving them money when it’s actually costing more. Let’s get concrete about the math for a standard 150-foot cedar privacy fence in Carrollton.
DIY maintenance numbers:
- Stain or sealer for a 150-foot, 6-foot-high fence (roughly 1,800 square feet of surface on one side, 3,600 on both): 4 to 6 gallons at $35 to $60/gallon, so $175 to $360 in material.
- Pressure washer rental or ownership: $80 to $120 for a rental weekend, plus cleaning solution.
- Replacement hardware (hinges, caps, clips, fasteners): $50 to $150 over a year.
- Brushes, pads, rollers, sandpaper, and drop cloths: $40 to $80.
- Your time: two full weekends, minimum, for a thorough clean-seal job. More if there’s prep work.
So a full DIY annual maintenance run is $350 to $700 in materials and two lost weekends. If your time is worth anything, that math gets less favorable fast.
Professional maintenance numbers: Most professional fence maintenance in the Carrollton market runs roughly $2 to $4 per linear foot for a thorough clean-and-seal job, though it varies with the condition and the product. On a 150-foot fence, that’s $300 to $600 for the work, done properly, with the right product and the right prep. The exact range depends on condition, length, height, and whether repair work is needed. And a professional inspection catches issues a homeowner would miss.
The cost picture flips once you factor in replacement. A premature fence replacement on a 150-foot privacy fence in this market runs several thousand dollars. Avoiding one early replacement pays for years of professional maintenance. And the 730-Day Done Right Promise on our work means if it’s not right, we make it right. That’s back in writing, which matters when a homeowner has already spent real money.
If there’s a repair job mixed in with maintenance, or if the fence line needs rebuilding in sections, you might be looking at Home Additions & ADU in Carrollton type projects where the outdoor structure has to integrate with new building work. That’s a different scope, and worth planning properly.
Common Mistakes to Avoid
- Waiting too long to seal a new fence. New cedar in Texas should get its first protective coat within a year, ideally within six months. Waiting two or three years means the sun has already started breaking down the surface wood, and the seal won’t last like it should.
- Painting treated wood before it’s dried. Freshly treated lumber is wet. If you paint it before it dries, the moisture pushes the paint off and you’re back to square one. Wait six months at minimum.
- Pressure washing at full force. A high-pressure blast will score the wood surface and open the grain to water damage. Use moderate pressure and a wide fan tip, or let a pro do it.
- Ignoring the bottom rail. Everyone checks the pickets and the posts. The bottom rail is where rain splash hits and where rot starts. It deserves close attention every spring.
- Letting vegetation grow up the fence line. In Carrollton’s humid springs, vines and ivy seem harmless. They trap moisture and debris against the wood and prevent it from drying. The moisture damage that results is expensive.
- Probing posts with a hard whack that damages them. Use gentle, firm pressure. You’re checking for rot, not creating damage. A healthy post should be tapped gently, not smashed.
- Making judgment calls on structural repairs yourself. A rotted post or a failing footer is a structural issue. Getting it wrong means the entire panel goes down, and sometimes a neighbor’s fence too.
See the difference
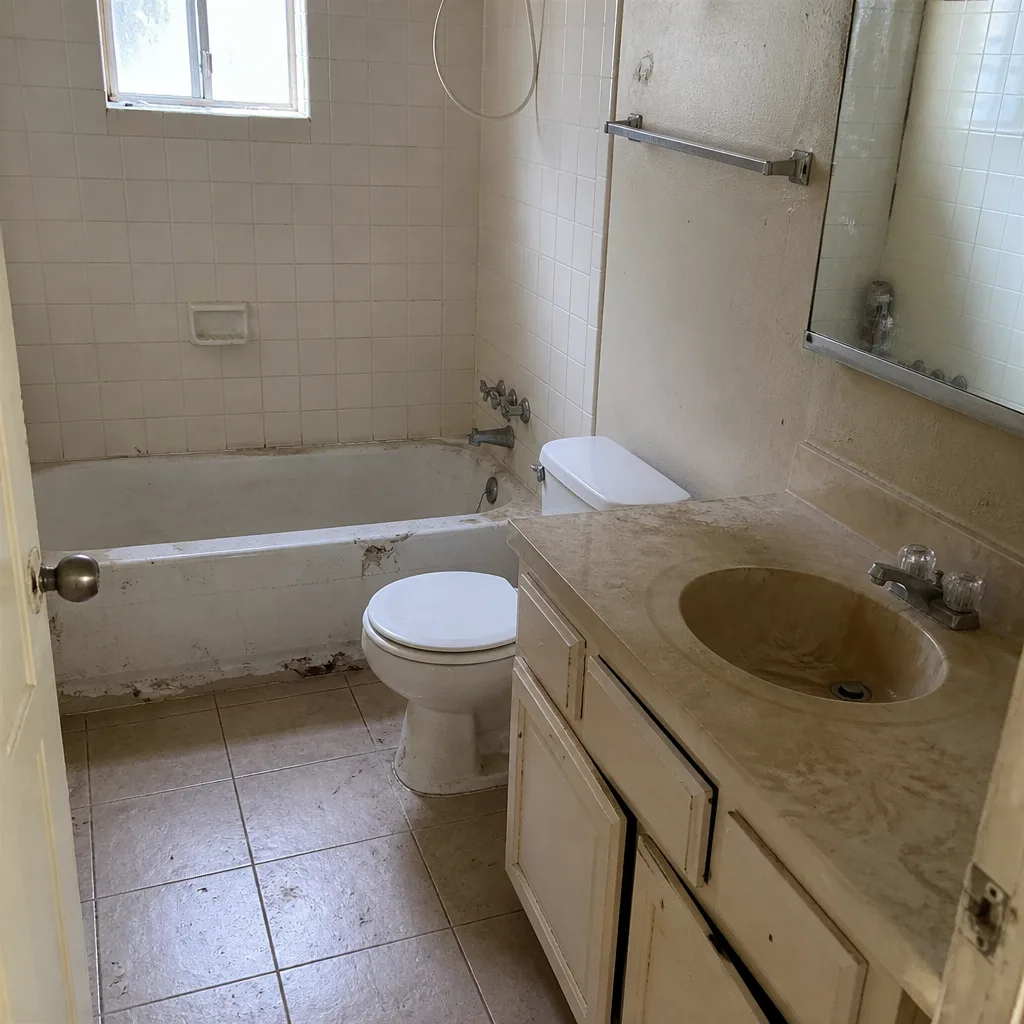 Before
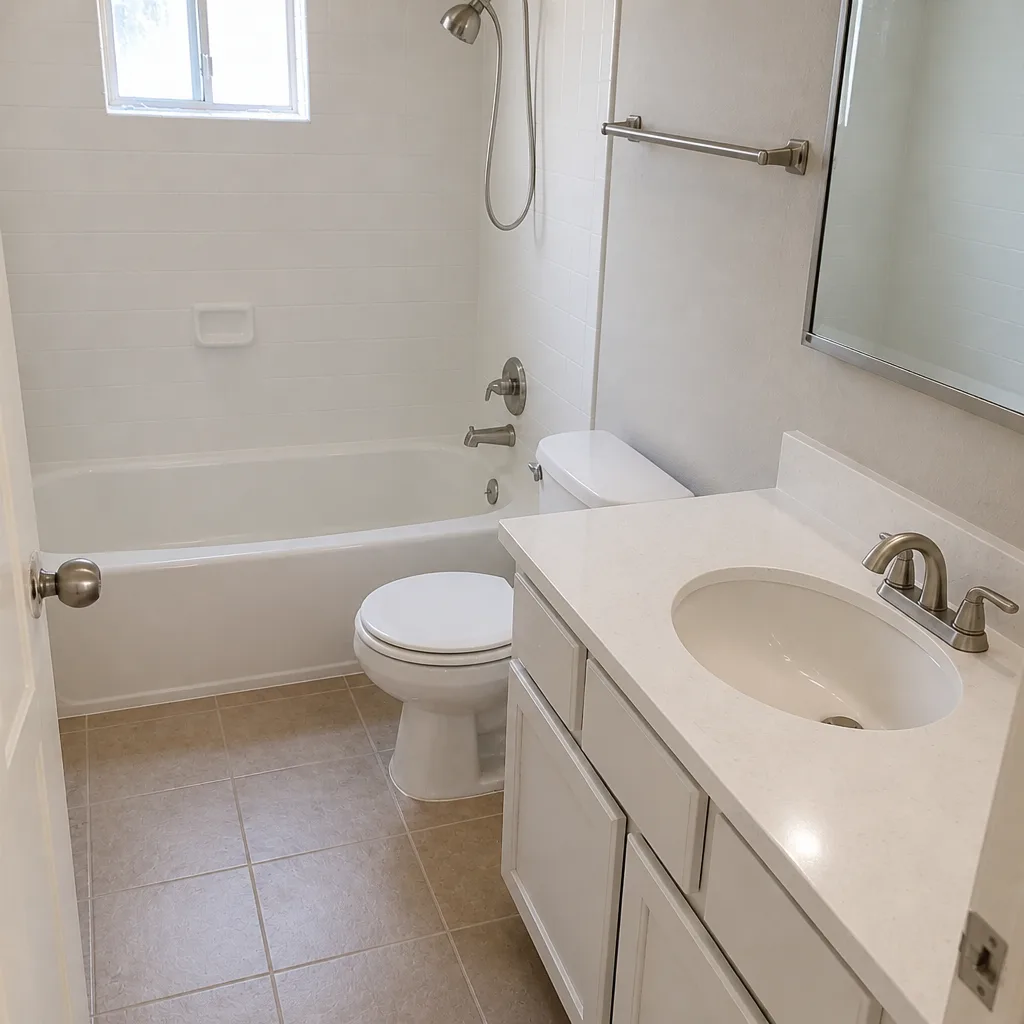 After
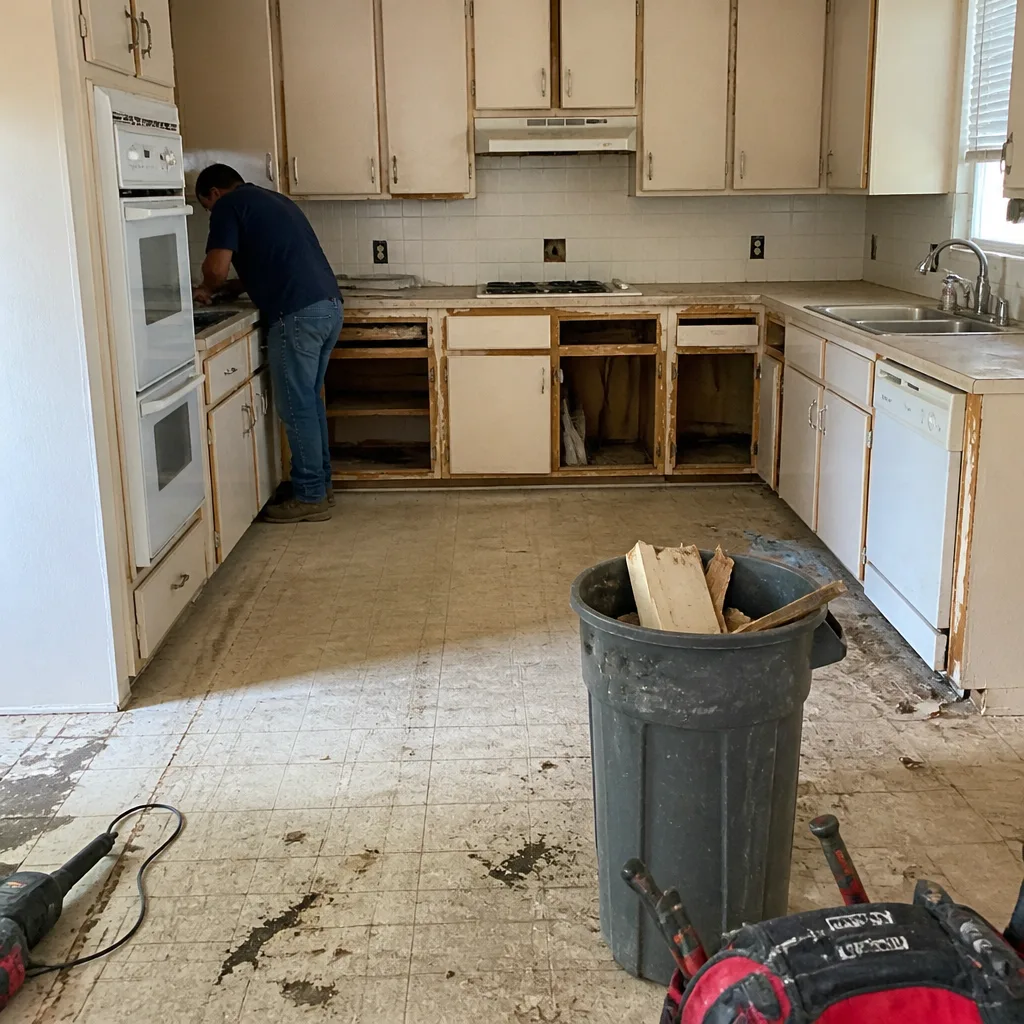 Before
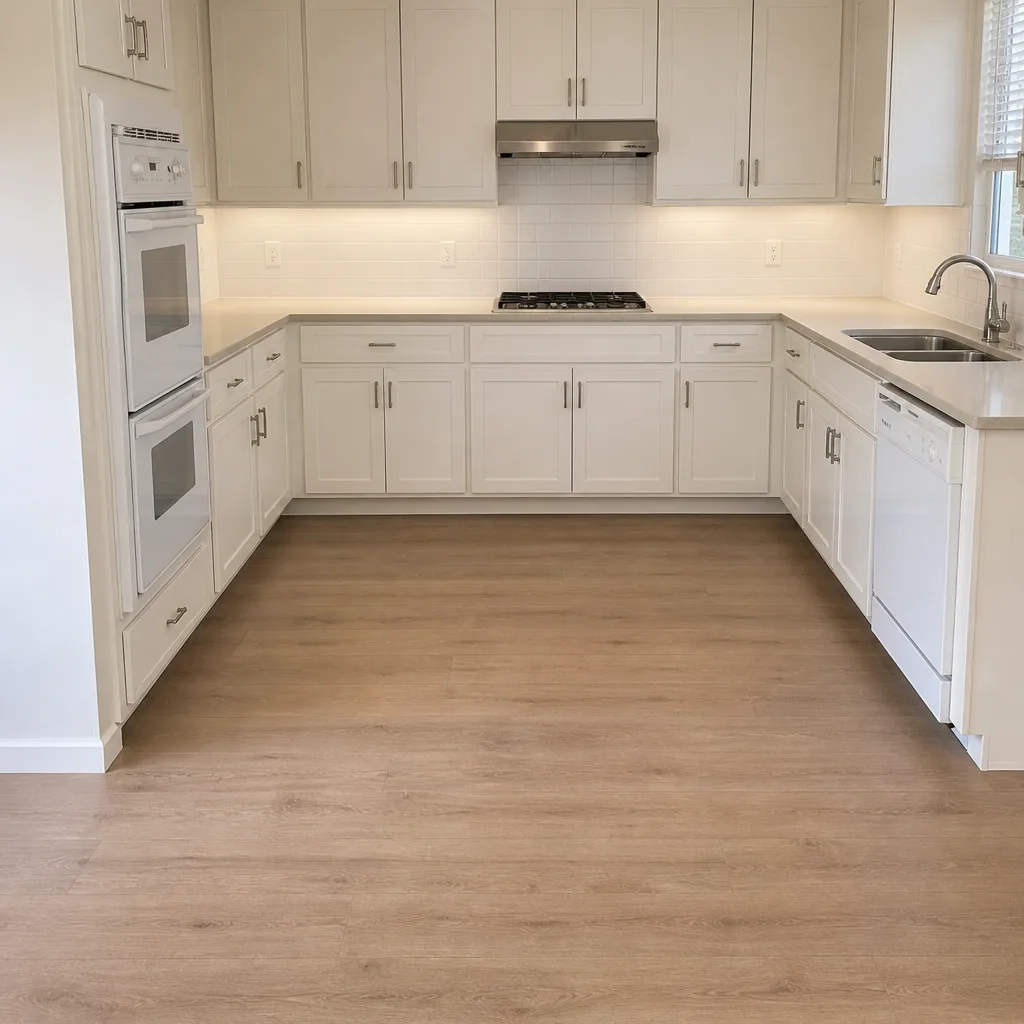 After
 Before
 After
When to Call a Professional
Most of the routine maintenance on this list is honest weekend work. The hands-on tasks like staining and hardware checks don’t require professional help. But there are specific situations where a professional call is the right move.
Call a professional when you find rot in more than one post, when a footer or concrete collar is cracked or heaved, when a section of fence is leaning and the lean is coming from the ground rather than the pickets, or when you’ve got a major wind event that’s taken down panels. Structural repairs in clay soil are genuinely complicated, and a bad repair can cost more than doing the job right the first time.
If a fence has failed prematurely or you’re not sure whether to repair or replace, a professional assessment is a small investment. Groundwork Construction Co. of Carrollton offers free estimates in Carrollton. Our technicians have up to 12 years of experience, and every project is backed by the 730-Day Done Right Promise. Call (844) 560-0925 to schedule your free estimate.
Frequently Asked Questions
Every 18 to 24 months is the realistic interval for a cedar fence in North Texas. The intense summer sun and the humidity swings break down exterior finishes faster here than in milder climates, so if the wood begins to look dry or gray, or water stops beading on the surface, it’s time for a fresh coat. Call (844) 560-0925 for a free estimate on professional sealing.
Fall is the best window, from roughly October into early December. The temperatures are in the range where stain and sealer cure properly, and you’re getting ahead of the wet season. Spring is the second-best choice, but you’re racing the rainy season, so fall wins.
Yes. Use the probe test: push an awl, screwdriver, or stiff knife into the post about 3 to 6 inches above the soil line, on all four faces, with firm pressure. If the tool enters easily and the wood is soft or crumbly, you’ve got rot. Healthy wood will resist. Also tap the post with a hammer; a hollow sound means internal rot.
Repair makes sense when the rot is isolated to one or two posts, the pickets are sound, and the footer is intact. Replacement is the smarter call when multiple posts show rot, the footer is failing across the line, or more than a third of the panels have structural issues. A free estimate gives you a concrete answer instead of a guess.
Far less than wood, but not zero. Vinyl needs an annual wash and occasionally a UV protectant to slow fading. Aluminum needs virtually nothing except a check of the fasteners and an annual cleaning. Neither needs staining or sealing.
Most professional clean-and-seal maintenance in the Carrollton market runs roughly $2 to $4 per linear foot, depending on condition and product. A 150-foot fence would fall in the $300 to $600 range for the work. Exact pricing depends on fence length, height, condition, and whether repairs are needed, so a free estimate is the way to get a real number. Call (844) 560-0925 for yours.
The Bottom Line
A wood fence in North Texas isn’t maintenance-free, and treating it that way is what turns a 20-year fence into an 8-year fence. The schedule that works in Carrollton is straightforward: inspect in spring after the rain, keep up with hardware through the summer, seal in the fall before the wet season, and do a structural walk-through in winter. Probe posts for rot, protect the top and bottom, and don’t skip the hinges and caps. Do that, and you’re protecting a significant investment. Skip it, and the sun and the clay soil will do what they do. If you’d rather have someone else handle the schedule, our team is glad to help. Call (844) 560-0925 for a free estimate. Upfront pricing, no surprises, and a 730-Day Done Right Promise on our work.
Written by the team at Groundwork Construction Co. of Carrollton.