Last updated November 18, 2026



Free written scope consultation - allowances, timeline, and change-order rules on paper before a single trade is scheduled
Fence Installation Troubleshooting: Common Problems and How to Fix Them
A leaning fence panel is almost never a panel problem. It’s a post problem. And a post problem in clay soil is usually a water problem that showed up 18 months after installation. We’ve torn out fences across Carrollton that looked fine on the surface but were already failing at the base, and the homeowners were shocked every time. The panel gets replaced, the fence leans again, and the cycle repeats. This guide covers how to diagnose what’s actually failing, why Carrollton’s soil behaves differently than what generic installation advice assumes, and which fixes are worth your money and which are throwing good money at a symptom.
Quick Answer
Most fence failures come down to the post, not the boards. Diagnose by checking for wobble at the base, rot below the soil line, and whether the failure is structural or cosmetic. In Carrollton’s expansive clay soil, posts set less than 24 inches deep or poured with the wrong concrete mix will shift within two years. Fixing the post is the only repair that holds.
Styles & brands we work with
- Kitchen remodeling
- Bathroom remodeling
- Home additions & ADU
- Roofing
- Windows & doors
- Driveway & pavers
- Fence
Table of Contents
- How to Diagnose Whether Your Fence Failure Is a Post, Panel, or Hardware Problem
- Why Fence Posts Fail Faster in Carrollton Clay Than in Sandy Soil
- How to Re-Plumb a Leaning Post (and When It’s a Waste of Time)
- Gate Sag Diagnosis and Adjustment: What to Check in Sequence
- Wood Rot: Surface Weathering vs. Structural Failure
- The Correct Post Depth and Concrete Mix for North Texas Conditions
- Panel Problems That Look Structural but Aren’t
- What a Proper Installation Looks Like Before the First Board Goes Up
How to Diagnose Whether Your Fence Failure Is a Post, Panel, or Hardware Problem
The fastest way to find the real problem is to separate the three systems: the post, the panel (rails and pickets), and the hardware. A fence that looks crooked might have perfectly sound boards and a rotten post at the bottom. A fence with a crooked board might have a perfectly solid post and a few loose nails. You need to test each one independently before you spend a dollar.
Use this numbered sequence. It takes about ten minutes for a typical residential fence run and it saves you from replacing the wrong thing.
- The wobble test. Grab each post at hip height and push it firmly toward the neighbor’s yard and back. A post set correctly in clay should feel like it’s anchored in rock. If you can move it more than half an inch in either direction, the post itself is the failure, and no panel repair will fix it.
- The water test. Pour a bucket of water slowly at the base of a suspect post. If it pools and stays for more than 15 minutes, the soil has compacted and the drainage is poor. That pooling water is why the post is soft.
- The probe test. Push a screwdriver into the post below the soil line. If it sinks in more than a quarter inch with light pressure, the wood is rotting from the inside out. Surface boards can look fine while the buried section is turning to mush.
- The hardware check. Wiggle each gate hinge and latch by hand. Compare the amount of movement at the hinge to movement at the post. If the post is solid and only the hardware moves, you’re looking at a hinge replacement, which runs well under $100 in parts.
- The rail alignment check. Stand at one end of the fence and sight down the top rail. If the rail is straight but the pickets are bowed, the pickets are the issue (usually moisture warping). If the rail itself dips, the post is moving.
We’ve walked Carrollton properties in the Morrison Creek area where three panels were replaced before anyone realized the actual problem was one post at the end of the run. Diagnosis comes first. Replacement comes second, and only for the part that’s actually failing.
Why Fence Posts Fail Faster in Carrollton Clay Than in Sandy Soil
Carrollton sits on the Blackland Prairie soil band, which means the ground under your fence is a high-plasticity clay that expands when wet and contracts when dry. That expansion-contraction cycle is the number one killer of fence posts in North Texas, and it’s not something a fence contractor from a sandy state would have planned for.
Here’s what actually happens. Summer in Carrollton dries the clay to the point it cracks into plates and pulls away from the post. A heavy rain refills those cracks and the clay swells back with force. That swelling exerts lateral pressure on the post, and the shrinking pulls it in a different direction. Multiply that cycle by 20 or 30 wet-dry events per year, and a post set the way it would be in sandy Florida soil will be visibly out of plumb in two to three years.
- Shallow posts. Posts set 18 inches or less are sitting in the active soil zone that moves with every wet-dry cycle. They should be 24 to 30 inches deep in Carrollton, and 32 to 36 inches in areas with heavier clay near the Elm Fork.
- Wrong concrete mix. Fast-setting concrete is common among box-store installations, but it cures too quickly and doesn’t absorb the micro-movements the clay causes. A standard 4,000 psi ready-mix with a proper crown at the top handles the movement better.
- No drainage crown. If the concrete doesn’t crown slightly above grade, water pools directly against the post at the base. That accelerates rot and washes away soil support.
- Wrong wood. Untreated pine set in Carrollton clay will rot in three to five years. Ground-contact rated pressure-treated lumber with visible incising marks is the minimum, and it needs to be rated for ground contact, not just outdoor exposure.
- Poor soil compaction backfill. Some installers skip compaction to save time. The post looks fine for month one, then settles 4 inches by month eighteen.
Property in Carrollton also has a lot of legacy clay that was disturbed during development, replacing natural soil structures with fill. Fill soil is even less stable than undisturbed clay and needs deeper posts. When we install fences in older neighborhoods near downtown Carrollton, we always probe the first hole before committing to a depth, because the fill depth varies block to block.
How to Re-Plumb a Leaning Post (and When It’s a Waste of Time)
A leaning post can sometimes be brought back to plumb without full replacement, but the cases where this works are narrower than most DIY videos suggest. Understanding the difference is what saves you from paying twice for the same repair.
The repair that works best is a post-straightening with an added anchor. The sequence is straightforward, but read the whole list before you start, because the wrong post is a waste of time.
- Dig out the concrete on the compression side. Whichever way the post is leaning toward, dig out 8-10 inches of soil on the opposite side to expose the concrete base.
- Assess the wood at grade. If the screwdriver probe test shows soft wood, stop. You can’t straighten a rotten post. It’s coming out.
- Push the post back toward plumb. Use a came-along or a firm shove from two people, working gradually. Ten to fifteen degrees of lean is the practical maximum for this method. Past that, you risk snapping the post at the buried section.
- Anchor with a ground screw or a new pier. A galvanized ground screw driven at a 45-degree angle on the tension side, attached to the post with a galvanized bracket, stops the movement from coming back.
- Re-concrete and grade. Fill the cavity with ready-mix, crown it above grade, and regrade the soil around the post so water runs away from the base.
When this method is a waste of time: if the concrete deadman (the concrete mass at the base) has broken apart, if the wood is soft below grade, if the post was originally set less than 20 inches deep, or if the fence is over 6 feet tall. In all four cases, replacing the post is cheaper long-term. We’ve seen homeowners near the Josey Ranch area spend $400 on straightening that failed again by the next spring wet season. Removing the post, digging a proper new hole, setting 30 inches deep with ready-mix, and reconnecting the rails usually costs less than trying to save the old post.
Gate Sag Diagnosis and Adjustment: What to Check in Sequence
A sagging gate is the most common fence complaint in Carrollton, and it’s also the easiest to misdiagnose. Nine times out of ten, the problem isn’t the gate itself, it’s one of three upstream causes that a homeowner would never guess just by looking at the gate.
Check these in order. Each test takes about a minute, and the first one that fails tells you where the money goes.
- The gate post. Open the gate 90 degrees and let it hang. If the gate post moves with it, the post is the issue. This is the most common cause in clay soil. A gate post absorbs more horizontal load than any other post on the fence, and it needs a deeper setting (30-36 inches) plus an anti-sag brace attached to the adjacent post.
- The hinges. If the post is solid but the gate sags, examine the hinges. Hinges wear out faster than anything else on a fence. Open and close the gate slowly and watch the hinge plate. Any visible gap between the hinge and the frame means the screws have pulled out from wood movement. Replacement hinges run $15 to $40 each, and this is often a single-visit fix.
- The diagonal brace. Most wood gates should have a diagonal brace running from the hinge side bottom corner to the latch side top corner. If yours lacks one or the brace is loose, the gate has lost its rigidity and will sag even with perfect hinges.
- The cable brace. On metal-frame gates, look for the tension cable running diagonally. Grab it and press. If it has more than a quarter inch of give, it needs tightening. A turnbuckle adjustment is a five-minute fix.
- The latch alignment. Sometimes the gate isn’t sagging at all. The latch has just drifted out of position as the post moved slightly. Marks on the strike plate will show you the drift.
In Carrollton, where the clay movement is consistent year-round, we recommend a cable brace on any gate wider than 4 feet regardless of material. It’s a $30 addition that eliminates most gate sag before it starts. The other habit that pays off: lubricate hinges with a silicone spray every six months. Not WD-40, which attracts dust. Silicone keeps the hinge pin moving freely and adds years to the hardware.
Wood Rot: Surface Weathering vs. Structural Failure
Wood rot is where most decisions get expensive, because the difference between “cosmetic” and “structural” isn’t obvious by looking at a board. Graying, checking (small cracks along the grain), and raised grain are all signs of weathering, and none of them affect the strength of the wood. Rot is different. Rot is when the wood fibers break down and the board loses structural mass.
Here’s how to tell them apart.
- Surface weathering: The board is gray or light brown, feels firm when you press a fingernail in, and the cracks are shallow. This is normal UV damage and can be sanded and refinished or left alone. It doesn’t need replacement.
- Early rot: The board has a slight give when you push hard, and the crack edges crumble when you scratch them with a key. Look for a darker discoloration along with the give. This board has maybe a year left. Replace on your schedule, not the fence’s.
- Structural rot: Push a screwdriver in with light pressure and it sinks more than a quarter inch. The board breaks apart with hand pressure. This needs replacement now. Do not wait for the rainy season to reveal the extent of the damage.
- Hidden rot: The most dangerous kind. Rot often starts at the point where the board touches the rail, or where moisture collects behind a joint. Tapping each board with a screwdriver handle and listening for a hollow sound reveals rot you cannot see from the surface. In Carrollton, this shows up frequently at the bottom rails 4-8 inches above grade, where rain splash keeps that zone perpetually damp.
The wood rot rule of thumb for a Carrollton fence: if you’re replacing more than 25% of the boards on a run, the fence is at end of life and full replacement usually costs less per year of usable life than continued punch-list repairs. We always walk a fence and count boards and posts before recommending replacement, because 22 years of Texas sun and clay is exactly the number that most North Texas fences land on.
The Correct Post Depth and Concrete Mix for North Texas Conditions
Post depth and concrete mix are the two variables that determine whether a fence lasts 8 years or 20 in Carrollton. Neither is visible after the installation, which is why they’re the most common cause of premature failure. If you’re getting a fence installed or replacing a post, this is what to specify.
Post depth. The rule of thumb used by most national fence installation guides is one-third the post’s above-grade height, buried. That’s 2 feet for a 6-foot fence, which is not enough in Carrollton clay. For our area, we set posts a minimum of 24-30 inches deep, and 30-36 inches for gate posts and end posts. Frost depth doesn’t apply here (Carrollton has no meaningful frost line), but the deeper you go, the more of the post sits in the more stable clay below the active wet-dry zone.
Concrete mix. This is where box-store advice leads homeowners astray. Fast-setting concrete is easy because you pour the dry mix into the hole, add water, and it cures in 20 minutes. It’s also more brittle. Ready-mix concrete at 4,000 psi (the standard bag formulation) flexes more with clay movement and doesn’t crack as quickly. For Carrollton, use ready-mix, not fast-set. Yes, it takes longer. The post will still be plumb when you sell the house.
Crown the concrete. The top of the concrete should sit 1-2 inches above grade and slope away from the post 3-5 degrees. This one detail is what keeps rainwater from pooling against the base and rotting the post from the top of the buried section down. We’ve seen hundreds of fences with no crown and a rotting post under a board that looks fine.
Gravel at the bottom. Pour 4-6 inches of gravel into the hole before adding concrete. This gives water a place to drain to and prevents the post from sitting directly in the wet clay at the bottom of the hole.
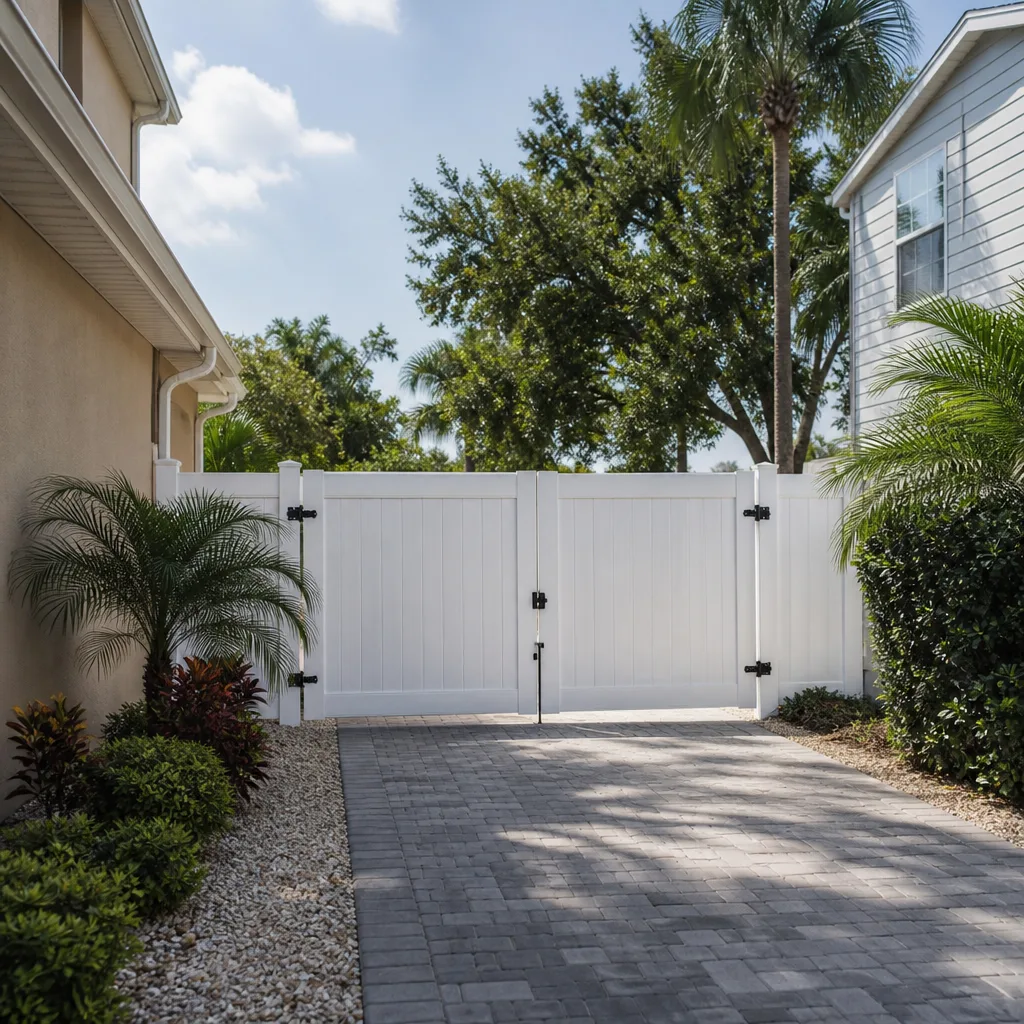
If you’re installing a new fence, this whole sequence is where the quality of an installation is decided. You can read more about what a properly installed fence looks like in our fence installation in Carrollton guide. The upfront diagram is worth more than any inspection after the fact.
Panel Problems That Look Structural but Aren’t
Not every crooked, gapped, or misaligned fence is a post failure. Several panel-level problems mimic structural failure and are much cheaper to fix. Knowing which is which saves a full fence replacement when a panel repair would do the job.
- Boards gapping in dry weather. Wood pickets shrink in the dry summer months, and gaps of 1/8 to 1/4 inch are normal. When the fall rains come they close again. If the gaps are wider than 1/4 inch, the boards were installed too wet for Carrollton’s humidity swings. They can expand seasonally or you can add a picket or two, but this isn’t a sign of post failure.
- Picket bowing. Individual pickets bow when installed with too few nails (only two per joint), or when the picket itself is sub-par wood. Replacing a bowed picket is a 20-minute job with a pry bar and a nail puller. It’s not a panel replacement.
- Top rail gap. If a top rail is sagging in the middle between posts, the rail is either undersized or has no intermediate support. On long runs (over 8 feet), rails need to be 2x4s, not 2x3s, and they need to sit in rail hangers or metal connectors, not nailed flat. A sagging top rail on one span is a rail replacement, not a post removal.
- Panel twist. A panel that twists laterally while the posts stay plumb often means the panel contractor skipped the second rail on a 6-foot fence. Standard is two rails for walls up to 6 feet, three for anything taller. Adding a third rail on a 6-foot fence costs about $15 in hardware and wood but prevents the twist entirely.
- Loose knots on cedar or treated pine pickets. Knots fall out as wood cures. A loose knot is a small hole, not a rot problem. Fill with exterior wood filler and finish it in a week. No structural concern.
We’ve walked Carrollton yards where a homeowner had been quoted $2,800 to replace an entire fence run over what turned out to be a single sagging rail and three bowed pickets. Diagnosis up front is free. Bad replacement after the fact is not.
What a Proper Installation Looks Like Before the First Board Goes Up
The best troubleshooting guide is the installation checklist that makes troubleshooting unnecessary. In our experience across Carrollton, about 8 out of 10 fence failures we’re called out to diagnose trace back to one of three installation shortcuts: shallow posts, no drainage crown, or wrong concrete. All three happen before the first board goes up.
The pre-installation sequence that produces a fence that lasts past its 20th year:
- Locate the property line. Confirm against your plat survey before any digging. Fences built on the neighbor’s clay become legal troubleshooting problems.
- Call 811 for utility locating. Water lines, irrigation, and gas run under most Carrollton yards. Digging into one costs more than the fence.
- Probe the first hole for soil composition. If you hit fill dirt or a rocky pocket, you’re going deeper: 32-36 inches for those posts.
- Set posts 30 inches minimum with ready-mix concrete. Gate posts to 36 inches.
- Add a gravel base and crown the concrete. Drainage from day one.
- Rail heights: two rails for a 6-foot fence, three rails for taller. Rail hangers or metal connectors, not flat nails.
- Attach pickets with two fasteners per joint, not one. Three fasteners for the top and bottom rails.
- Add a diagonal brace to every gate over 4 feet wide. Cable brace for any metal-frame gate.
- Seal with a penetrating stain within 30 days of installation. In Carrollton’s sun exposure, that first coat matters.
The reason this sequence matters more than material choice is that a well-set post in mid-grade treated pine will outlast a premium cedar fence on shallow fast-set posts. Both will look identical on day one. Only one will look identical in 2035. If you want to compare material options or see what the whole project involves, our driveway & pavers in Carrollton and home additions & ADU in Carrollton guides run through how we handle the exterior work that ties into fence installation, and the same post-and-drainage discipline carries across every service we provide.
Common Mistakes to Avoid
- Replacing the panel when the post is the problem. The boards get replaced, the fence looks new for six months, then it leans again because the root cause was never addressed. Always diagnose the post before you spend on panels.
- Setting posts in fast-setting concrete. It cures too fast for clay movement and cracks within a season. Use ready-mix.
- Skipping the concrete crown. Flat-topped concrete traps water against the post. Crown it 3-5 degrees so water runs off. This one detail adds 5-8 years to post life.
- Installing new fence boards on old posts. If the posts are over 15 years old in Carrollton clay, they’re at the end of their service life. New boards on tired posts is a $2,000 repair that will need re-repairing within two years.
- Using untreated wood below grade. Ground-contact rated, incised pressure-treated lumber is the standard for Carrollton. Deck screws holding tops of pickets over untreated posts are the classic install-and-pray mistake.
- Fencing without a property survey. Neighbor disputes make you remove a fence you paid for. Confirm the line before digging.
- Ignoring drainage around the fence line. If the yard slopes toward your fence, water pools on the post bases during every heavy storm. Grade the soil issue before the install, not after.
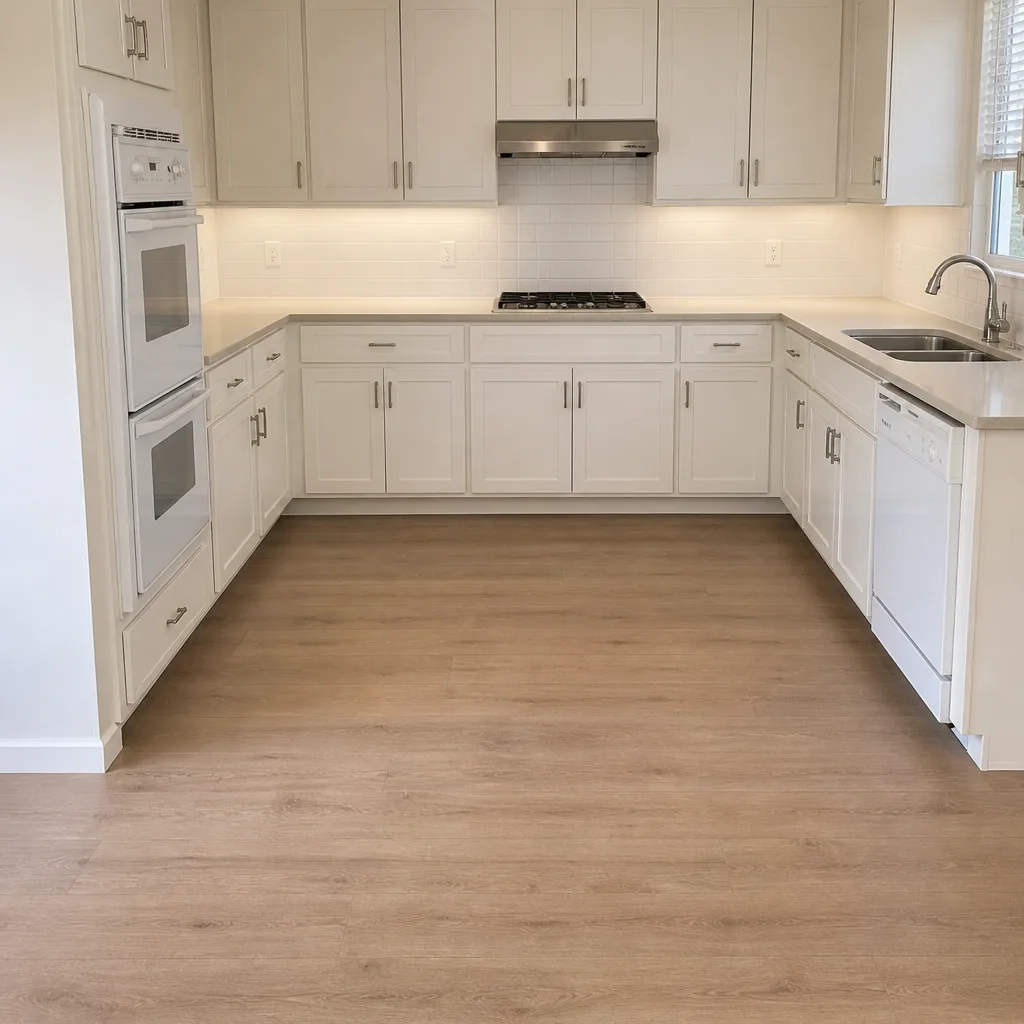
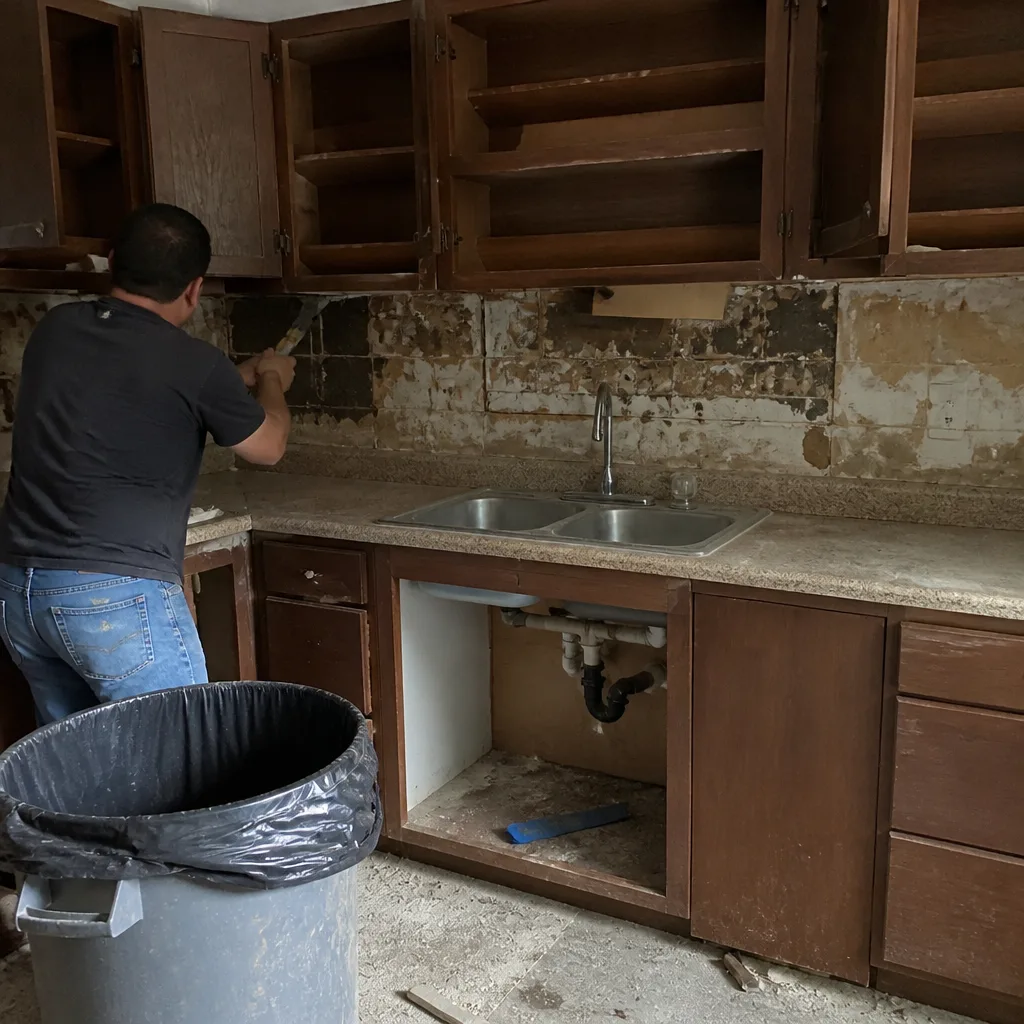
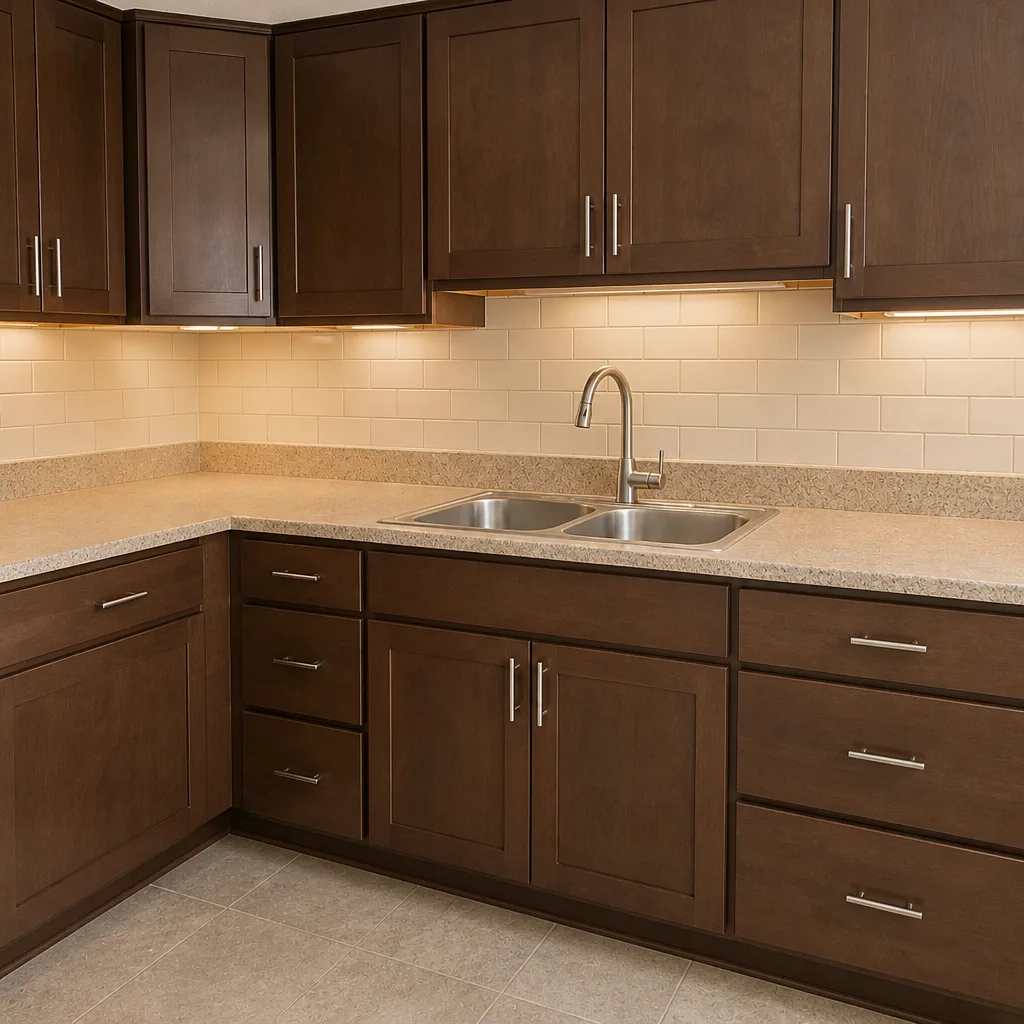
See the difference
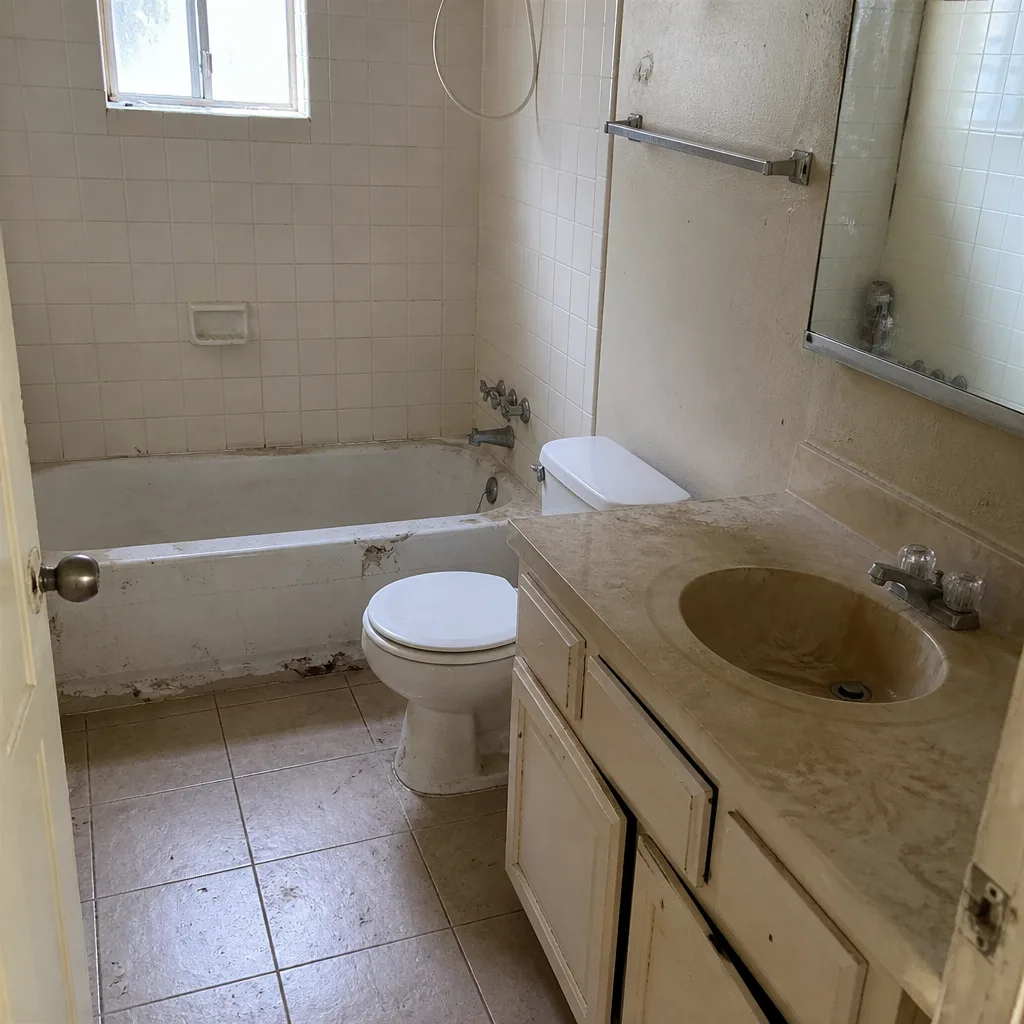 Before
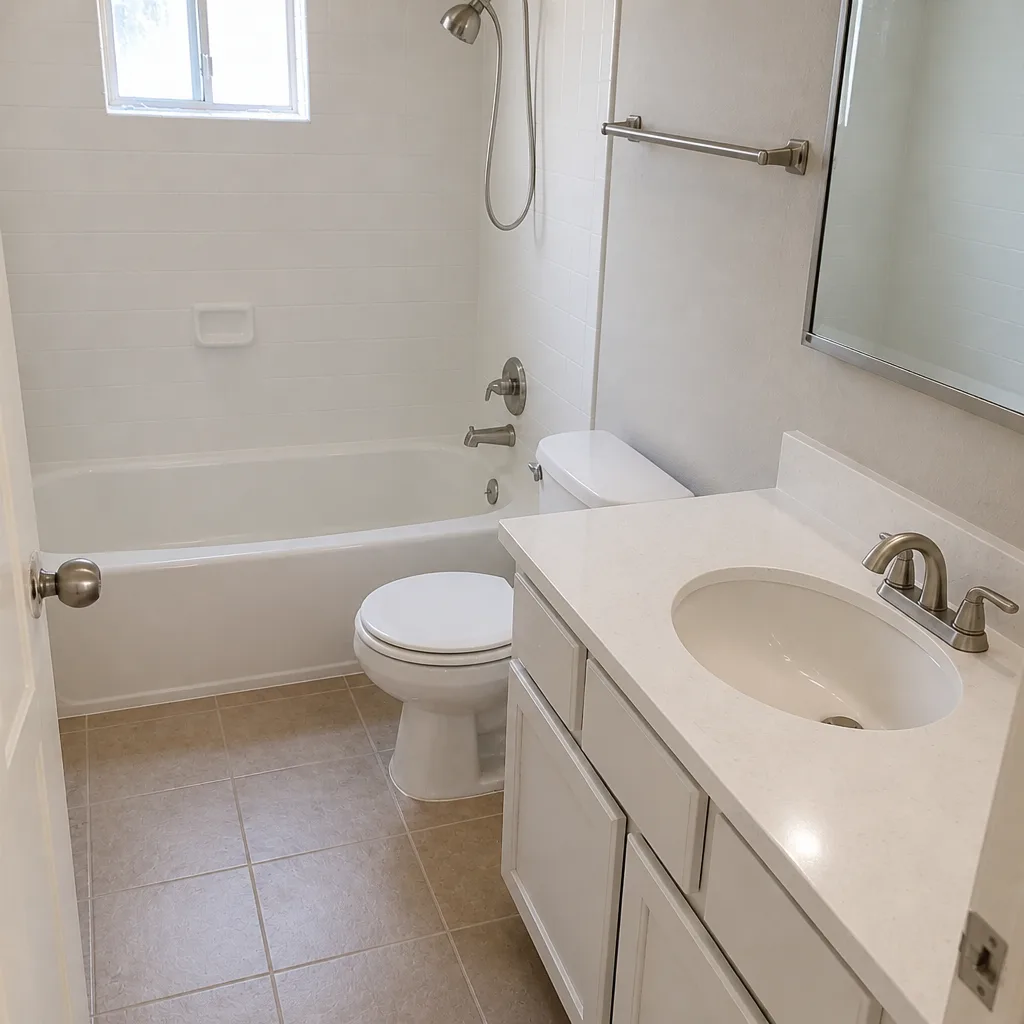 After
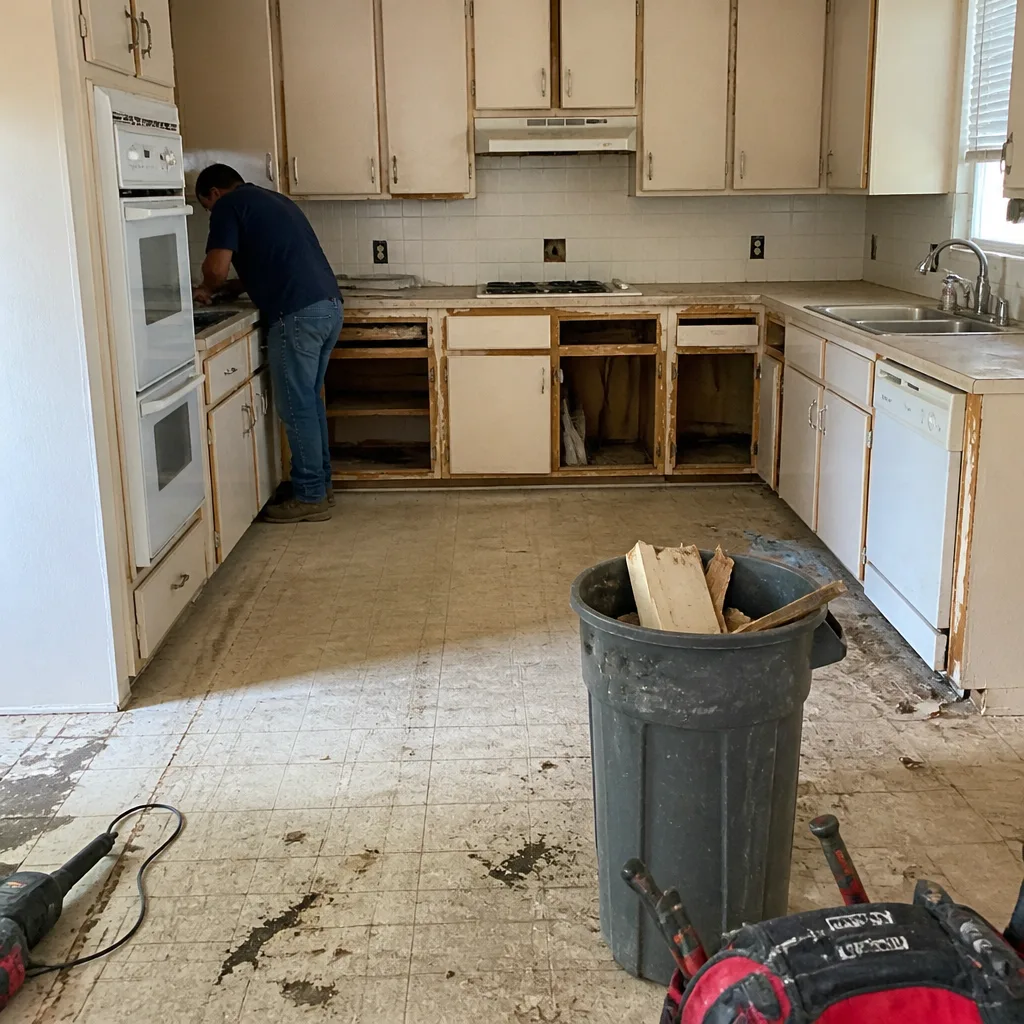 Before
 After
 Before
 After
When to Call a Professional
Some fence fixes are honest DIY projects: tightening gate hinges, replacing a bowed picket, adjusting a latch, tightening a cable brace. Others look easy and end in worse problems, and Carrollton’s clay makes those setbacks expensive. Call a professional when: the post is wobbling more than half an inch, the wood shows softness below the soil line, the gate post is moving at all, you need more than two posts replaced, or the fence needs a permit or HOA approval. Structural fence work and permit-related work should always start with a licensed and insured installer, and we say that as a company that installs fences for a living. Groundwork Construction Co. of Carrollton offers free estimates in Carrollton. Call (844) 560-0925 to schedule. Every estimate includes a written line-item quote, upfront pricing with no change orders, and work covered by our 730-Day Done Right Promise. A fence is 15 to 25 years of trust in the ground behind it; it’s worth getting the first step right.
If your fence replacement is part of a bigger property upgrade, you’ll want to see how Groundwork Construction Co. handles full-scope exterior work from a single crew. Learn more about Groundwork Construction Co. of Carrollton home to see the seven core services we cover, all with the same guarantee.
Frequently Asked Questions
Re-plumbing a single leaning fence post in Carrollton typically costs $150 to $350 when it’s a candidate for straightening with an added anchor. Full post replacement with a proper 30-inch set and ready-mix concrete runs $350 to $650 depending on material and access. Replacing multiple posts in a run drops the per-post cost. Call (844) 560-0925 for a free estimate on your specific fence, and we’ll tell you whether straightening or replacing is the better move.
Carrollton sits on high-plasticity clay that expands when wet and shrinks when dry, and that cycle pushes and pulls on fence posts every year. Posts set less than 24 inches deep sit in the active soil zone and move with every wet-dry cycle. Add flat-level concrete that traps water at the base, and you get rot and lean within 18 to 24 months. The fix is a deeper post set with a proper concrete crown, not a panel replacement.
Yes, in most cases. Diagnose in this order: check whether the gate post moves when you swing the gate, then check hinge wear, then check the diagonal brace, then check the latch. About 70% of gate sag is a post or hinge issue, both of which are repairable for well under $200. If the gate post is wobbling, the post needs attention before any hinge or latch work will hold. Call (844) 560-0925 and we’ll walk through your gate on the phone in five minutes.
Probe the wood with a screwdriver. If it sinks in less than a quarter inch with light pressure, the board is cosmetic and can stay. If it sinks deeper than a quarter inch or the wood crumbles when you scratch it, that board needs replacement. For posts, the same test applies, but any soft wood below the soil line means the post needs full replacement – you cannot patch a post in Carrollton clay and expect it to hold.
Carrollton fence installation typically requires a permit for fences over 6 feet tall, fences in a front yard, or fences on a corner lot with specific sightline requirements. Standard rear-yard privacy fences under 6 feet often don’t require a permit, but HOA rules may be stricter than city code. Always confirm before digging. We pull permits and pass inspections on every job that requires them.
A properly installed fence in Carrollton with treated pine posts set 30 inches in ready-mix concrete, crowned, and sealed within the first month lasts 20 to 25 years. Cedar pickets typically need replacement at the 12 to 15 year mark even with proper maintenance. Metal and composite fences run longer. The single biggest factor is post depth and drainage at install – the boards are almost irrelevant by comparison. Call (844) 560-0925 for a free estimate if you’re wondering whether your existing fence has years left or is due for replacement.
The Bottom Line
Fence troubleshooting in Carrollton almost always comes back to the post. Diagnose before you replace. Check whether the post wobbles, probe for rot below grade, and confirm the concrete was properly set with a drainage crown. Panel repairs only hold when the post underneath is solid. Gate sag is usually a post, hinge, or brace issue – not a gate replacement. Wood rot is either cosmetic or structural, and the screwdriver probe test tells you which. And when it’s time to fix or replace, the correct post depth (24-36 inches), correct concrete (ready-mix, not fast-set), and correct drainage crown determine whether the repair lasts 3 years or 20. If you’re not sure whether your fence is fixable or due for replacement, that’s the conversation to have with someone who does this every day. Call (844) 560-0925 for a free estimate from Groundwork Construction Co. of Carrollton. Upfront pricing, no surprises, and every job backed by our 730-Day Done Right Promise.
Written by the team at Groundwork Construction Co. of Carrollton.