Last updated November 18, 2026

Free written scope consultation - allowances, timeline, and change-order rules on paper before a single trade is scheduled
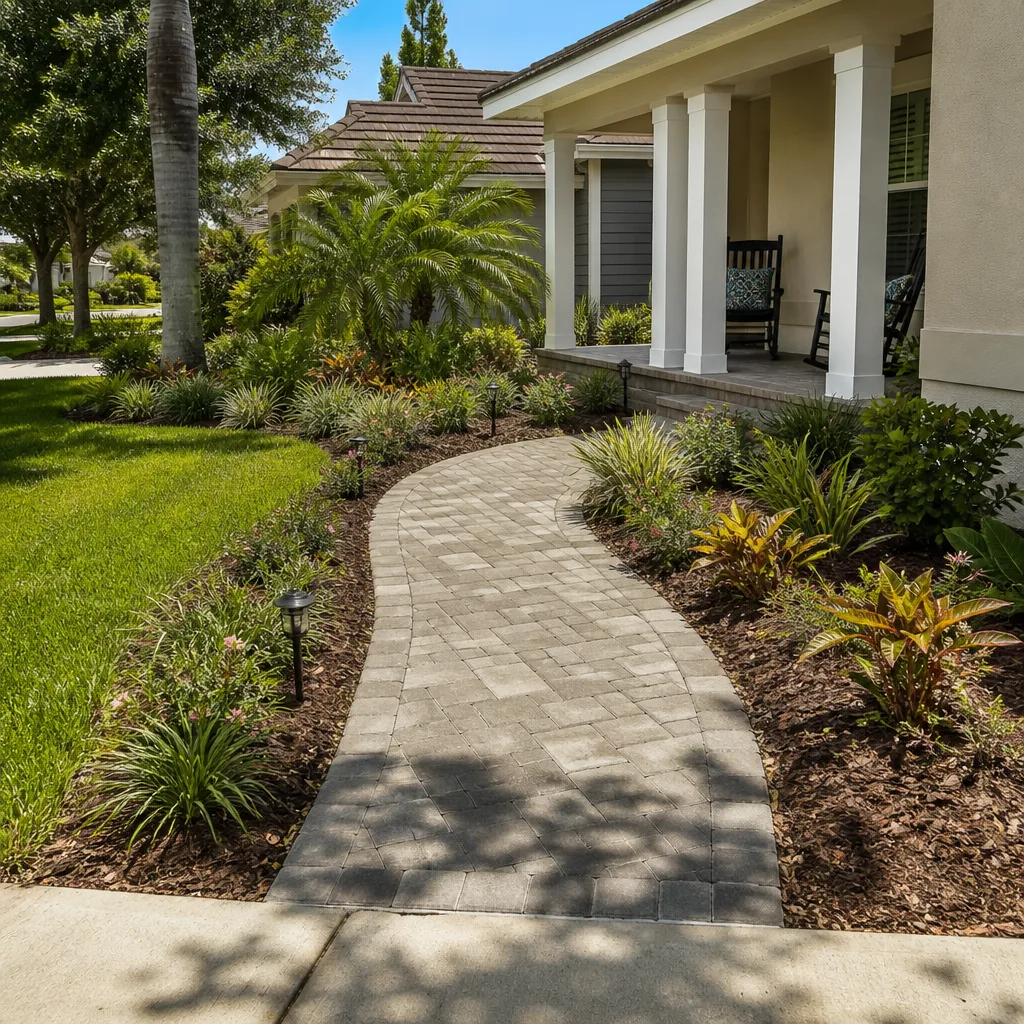
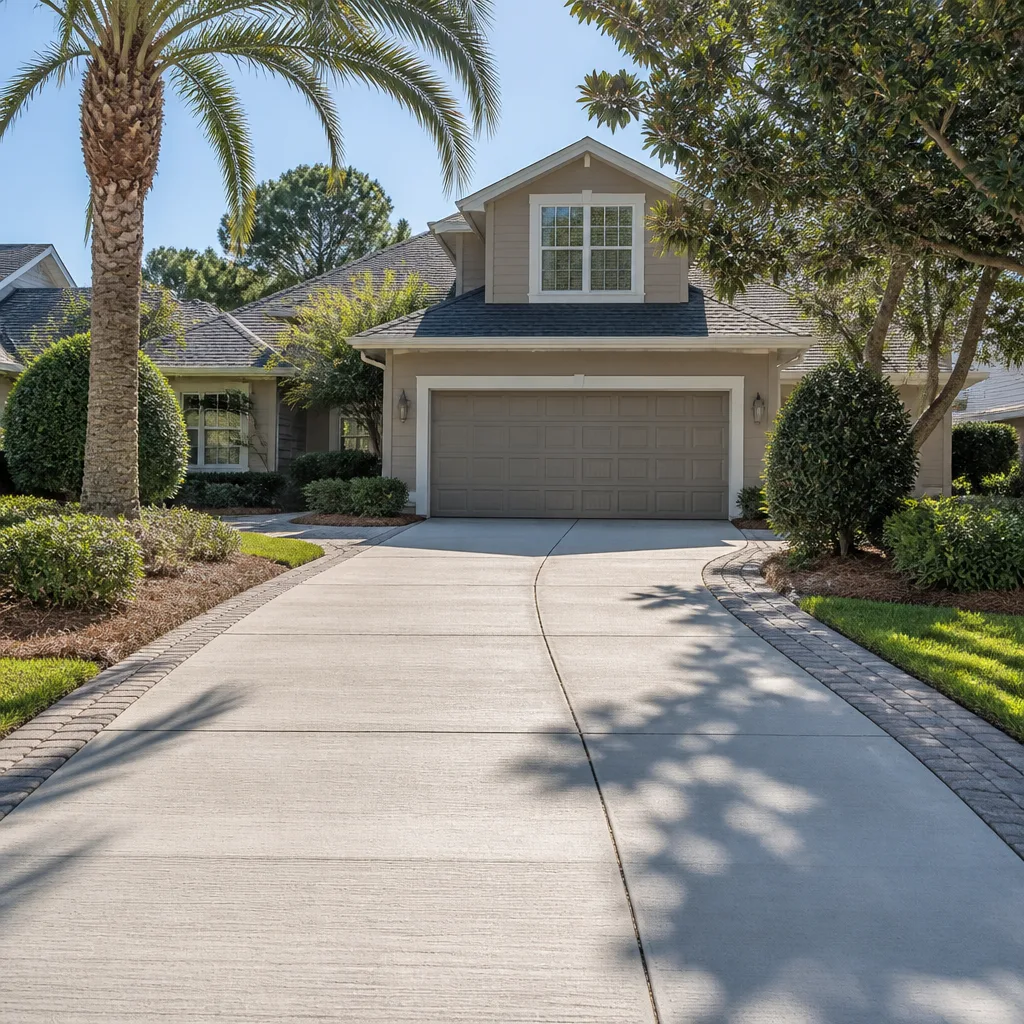
Driveway & Pavers Maintenance Schedule: What to Do and When
Skipping one fall task – re-sealing the jointing sand before winter – is the single most common reason Carrollton homeowners call us for paver repairs in spring. The sand washes out through the wet months, the pavers start to shift, and by March a small fix has become a full re-lay. Paver driveways here take a specific beating: clay soil that swells and shrinks with every rain, then months of hard sun that bakes out moisture and breaks down sealer early. A national one-size schedule won’t protect you. This guide lays out a month-by-month maintenance calendar built for North Texas, tells you which tasks actually extend paver life and which are upsells, and shows you what fair pricing looks like so you can plan ahead instead of reacting to a cracked edge.
Quick Answer
A driveway paver maintenance schedule in Carrollton means sealing jointing sand every fall before the wet season, re-applying a UV-stable sealer every 18 to 24 months, and checking for base movement twice a year in spring and fall. Sweep weekly, rinse monthly, pull weeds as they appear, and budget one professional inspection per year. The two dates that matter most: sand before the October rains, and a full inspection after the last freeze in late February.
Styles & brands we work with
- Kitchen remodeling
- Bathroom remodeling
- Home additions & ADU
- Roofing
- Windows & doors
- Driveway & pavers
- Fence
Table of Contents
- Why Carrollton Pavers Need Their Own Maintenance Calendar
- The Month-by-Month Paver Maintenance Calendar
- Sealing: The Right Type and Frequency for North Texas Sun
- How to Spot Early Base Movement Before It’s Visible
- Which Maintenance Tasks Actually Extend Paver Life
- A 10-Minute Inspection You Can Do Yourself
- What Professional Paver Maintenance Should Cost
- Common Mistakes to Avoid
Why Carrollton Pavers Need Their Own Maintenance Calendar
The soil under most Carrollton driveways is expansive clay, and that clay is the real engine behind paver problems. In spring, weeks of rain soak into the soil and it swells. By August, the same soil has shrunk and cracked. Pavers sitting on top of that movement rock slightly with every cycle, and each tiny shift works jointing sand out of the gaps. Once the sand is gone, the pavers rub against each other, edges chip, and water gets underneath. That’s the failure chain, and it starts with a maintenance gap, not a bad install.
The summer heat compounds it. Carrollton sees long stretches above 95°F, and the UV load on a west-facing driveway is severe. Standard acrylic sealers break down faster here than the manufacturer’s label suggests, which is why we tell homeowners to think in 18-to-24-month sealing cycles rather than the five-year figure printed on some product buckets. The sun doesn’t read the label.
There’s also the freeze factor. North Texas gets a handful of hard freezes most winters, and water trapped in a failing joint expands when it freezes. A driveway that looked fine in November can pop a row of pavers by February. The neighborhoods hit hardest tend to be the older ones with mature trees – the shade keeps moisture in longer, and surface roots lift and settle the base. Homeowners in the established pockets around Downtown Carrollton and along the older streets near Josey Ranch see this more than newer builds out toward the western edge of town.
The takeaway is simple: your driveway is reacting to a specific local climate, so it needs a specific local schedule. Generic advice built for Arizona or the Northeast misses both halves of the problem – the wet season that moves the base and the dry season that eats the sand.
The Month-by-Month Paver Maintenance Calendar
Here’s the calendar we hand to Carrollton homeowners. Print it, stick it on the garage wall, and work it into the same rhythm as your seasonal home checklist.
- January – Post-freeze check. After the first hard freeze, walk the driveway and look for lifted or rocked pavers. Freeze-thaw cycles do their damage quietly. Note any spots that sound hollow when tapped.
- February – Full inspection. This is the spring prep window. Check joint lines, edge restraints, and drainage slope before the rains arrive. Re-sand any thin joints. If you’re going to call a pro, call now, before the spring rush.
- March – Spring wet-season watch. After heavy rain, look for puddles that sit longer than a day. Standing water means the slope has shifted. Sweep sand back into low joints and clear debris from the drainage path.
- April – Weed and moss pass. Pull weeds by hand while they’re small. A stiff broom and a vinegar spray on the joints handle most of it. This is also a good month to rinse off winter grime.
- May – Pre-summer sealer assessment. Check whether your sealer still beads water. If water soaks in within a minute, it’s time to plan a re-seal. Don’t seal in the heat of summer – do it in fall.
- June through August – Heat protection. Sweep weekly. Keep leaf litter and grass clippings off the surface so stains don’t set. Avoid pressure-washing at high pressure, which strips sand. Spot-clean stains with a mild detergent.
- September – Prepare for the wet cycle. Inspect joints and re-sand before the fall rains. Clear gutters and downspouts so water runs away from the driveway edge, not under it.
- October – Re-seal the jointing sand. This is the non-negotiable task. Sand before the wet season, or you’ll pay for repairs in spring.
- November – Sealer application window. If you’re due for a re-seal, do it now, when temperatures are mild and the surface is dry. Follow the sealer’s temperature range closely.
- December – Edge and drainage check. Make sure the edge restraints are tight and water still runs off the driveway instead of toward the foundation or the street.
The heavy lifting is concentrated in two windows – late winter before the rains and early fall before the wet cycle. Everything between is small, consistent upkeep. Miss the October sand and you’re gambling on a mild winter.
Sealing: The Right Type and Frequency for North Texas Sun
Sealer choice matters more in Carrollton than in most markets because of the UV load. A low-quality film-forming sealer will haze, peel, or yellow within a season or two under this sun, and peeling sealer is worse than no sealer at all – it traps moisture and looks terrible. Here’s how we think about it.
- Solvent-based acrylic sealers penetrate and cure harder, and they hold up better to UV than cheap water-based films. They’re a solid default for most Carrollton driveways, though they need good ventilation and careful application.
- Water-based acrylic sealers are easier to apply and lower in odor, but they break down faster here. Expect a shorter cycle – often closer to 18 months than 24.
- Penetrating sealers soak into the paver surface and leave no film. They’re the best option for anyone who’s had a bad peeling experience, and they handle UV well, but they don’t add much surface sheen.
- Avoid cheap film-formers and “wet look” high-gloss products on a sunny Texas driveway unless you want to re-do the job in two years. The gloss is the first thing the sun cooks off.
On frequency: aim for a re-seal every 18 to 24 months, not the five-year figure some product labels suggest. Judge by the water-bead test rather than a calendar – if water soaks in fast on a dry surface, the sealer is gone. Apply in spring or fall, never in the summer heat, and never on a surface that’s holding moisture. Sealed-in water is a fast track to efflorescence and popped pavers.
One more local note: because the summer is long and dry, sealer on a west- or south-facing driveway degrades faster than on a shaded one. If your driveway faces the afternoon sun, expect the shorter end of that range. This is the same “match the material to the real conditions” thinking we bring to every Driveway & Pavers in Carrollton project.
How to Spot Early Base Movement Before It’s Visible
Base movement is the expensive problem, and it announces itself long before a paver cracks or a step in the surface gets obvious. Catching it early turns a big repair into a small one. Here’s what we look for.
- Listen for hollow spots. Tap pavers with the handle of a broom. A dull thud means the paver is sitting tight; a hollow ring means there’s a void underneath. Voids are the first sign the base is shifting.
- Check the joints. If joint lines that were straight last year have opened up or wandered, the pavers are moving. Wide, uneven joints in one area point to a settling base below.
- Walk the slope. Water should always run off the driveway and away from the house. If puddles now form where they didn’t before, the surface has changed pitch – that’s base movement, not a sand issue.
- Watch the edges. Loose or lifted edge restraints let pavers spread outward, which opens joints across the whole field. A paver that’s crept past its restraint is a warning sign.
- Look for rocking. Step on each corner of a suspect paver. Any give at all means it’s not fully supported. Rocking is the stage right before cracking.
If you find one hollow spot or one lifted edge, it’s worth a professional look – the fix is usually re-sanding and re-setting a few pavers, not a full rebuild. If you leave it through another wet season, that one spot can spread. We’ve watched a single unsettled paver turn into a fifteen-foot section of base repair over two years. The inspection takes ten minutes; the repair can take a weekend.
Which Maintenance Tasks Actually Extend Paver Life
Not every task on a maintenance list pulls its weight, and a few are sold hard but barely move the needle. Here’s the honest breakdown so you can spend your budget where it counts.
Tasks that genuinely extend life:
- Re-sanding joints before the wet season. This is the highest-value task on the entire list. Sand is what locks the pavers together and keeps water out. Replacing it is cheap and prevents the chain reaction that ends in base repair.
- Cleaning the surface regularly. Dirt, leaf litter, and grass clippings hold moisture against the pavers and feed moss and weeds. A weekly sweep does more than most people realize.
- Re-sealing on the right cycle. A UV-stable sealer applied every 18 to 24 months protects the surface and makes cleaning easier. Skip the high-gloss film and go for penetration.
- Edge restraint checks. Tight edges keep the field from spreading. This is a ten-minute check that prevents a much bigger problem.
- Proper drainage. Making sure water runs away from the driveway and foundation is foundational. Everything else depends on it.
Tasks that are usually upsells:
- Yearly pressure-washing at high pressure. It blasts joint sand out and shortens the life of the sealer. A gentle rinse is fine; a yearly high-pressure strip is not.
- Sealing every single year. Sealing too often traps moisture and wastes money. Wait for the water-bead test to fail.
- Full re-sanding of every joint every season. Some joints need it, some don’t. Replacing every joint on a healthy driveway every year is unnecessary.
- “Restorative” coatings on top of failing sealer. Layering product over a peeling seal just makes the eventual strip harder. Fix the problem, don’t coat it.
The pattern is clear: maintenance that keeps water moving and keeps sand in the joints pays off. Big-ticket “restoration” products sold on a yearly cycle mostly don’t. We build this same thinking into the driveways we install, which is why a Groundwork Construction Co. of Carrollton home project starts with drainage and base, not just the finish layer.
A 10-Minute Inspection You Can Do Yourself
You don’t need special training to catch most problems early. Set aside ten minutes twice a year – late February and early September – and run through this list.
- Walk the whole surface. Look for cracked, chipped, or rocked pavers. Note the spots.
- Tap suspect pavers. A hollow ring means a void beneath. Mark it with chalk.
- Check joint lines. Run your eye along a straight line of joints. If it’s wandered, the field is shifting.
- Look after the rain. Come back a day after a heavy storm and see where water pooled. Any standing puddle is a slope problem.
- Check the edges. Push on the edge pavers. Any movement means the restraint is loose.
- Test the sealer. Drop a little water on a dry paver. If it beads and sits, the sealer is fine. If it soaks in fast, time to plan a re-seal.
- Clear debris. Sweep off leaves, clippings, and dirt, especially out of corners and along the edges.
Write down what you find and take a photo of anything suspect. That gives a pro a head start if you do need to call, and it gives you a clear record of how the driveway is aging year over year. Most homeowners who keep this simple routine avoid the spring repair scramble entirely.
What Professional Paver Maintenance Should Cost
Knowing what fair pricing looks like keeps you from getting overcharged, and it keeps you from chasing the cheapest bid on a job that matters. Here are realistic benchmark ranges for the North Texas market so you can budget with confidence. Treat these as ranges, not fixed prices – driveway size, condition, and access all shift the number.
| Maintenance Task | Typical Range | How Often |
|---|---|---|
| Joint re-sanding (standard driveway) | $250 – $600 | Every fall |
| Full inspection and spot repairs | $150 – $400 | Once a year |
| Professional cleaning and gentle rinse | $200 – $450 | Once or twice a year |
| Sealer re-application (UV-stable) | $400 – $900 | Every 18 – 24 months |
| Edge restraint repair | $200 – $500 | As needed |
| Localized base repair (small section) | $600 – $1,500 | As needed |
| Full driveway re-lay (last resort) | $4,000 – $12,000+ | Rarely, if maintained |
Two things worth flagging. First, a professional maintenance visit that combines re-sanding and an inspection is usually the best value – you’re paying for the labor once. Second, the full re-lay range exists to show you why maintenance matters: a disciplined annual schedule cost is a fraction of a rebuild. The math favors keeping up with the driveway.
We price maintenance and new installs with upfront, no-surprise numbers, and any new Driveway & Pavers in Carrollton project is covered by our 730-Day Done Right Promise – if it’s not done right, we make it right. When it’s time to plan, ask for a written quote before work starts so you’re comparing line items, not guesses.
Common Mistakes to Avoid
- Skipping the fall re-sand. This is the number-one mistake we see in Carrollton. Homeowners wait until spring, by which point the wet season has already shifted the base. Sand before the rains, not after.
- Sealing in the summer heat. Applying sealer when the pavers are hot and the UV is intense can cause it to cure unevenly or fail early. Seal in spring or fall.
- Pressure-washing at full blast. The classic spring-cleaning move strips joint sand and damages sealer. Keep pressure low and use a gentle surface cleaner if you must.
- Ignoring a single rocking paver. One hollow-sounding paver is easy to dismiss. It’s also the first sign of base movement, and it spreads. Check it, don’t ignore it.
- Sealing over a wet surface. Trapping moisture under a new seal causes efflorescence and popped pavers. Wait until the driveway is fully dry and there’s no rain in the forecast.
- Letting drainage problems go. Water pooling near the edge or foundation is a warning. Regrade or fix the drainage before it undermines the base – a problem that can reach the foundation and become a much bigger job.
- Buying a cheap film-forming sealer. The low price up front usually means re-doing the whole job in two years under Carrollton’s sun. Spend on the right sealer once.
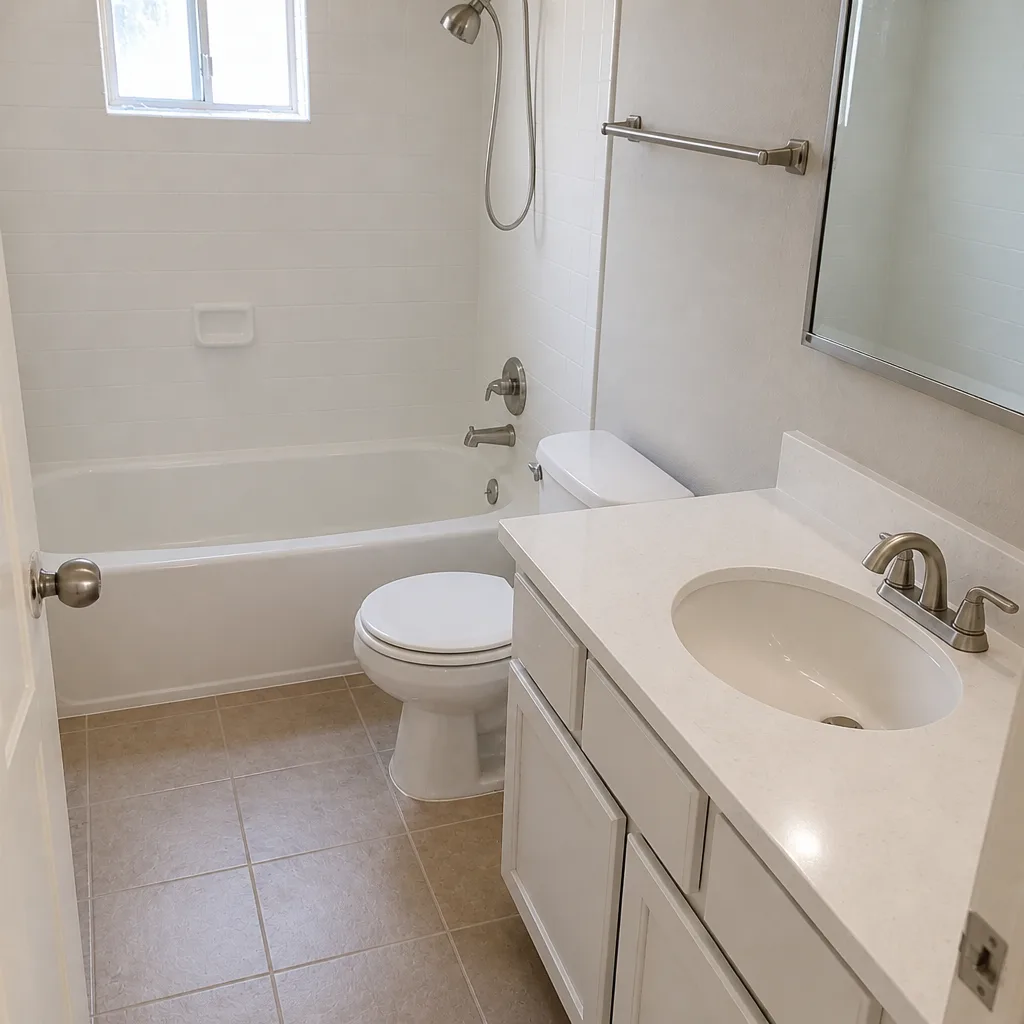
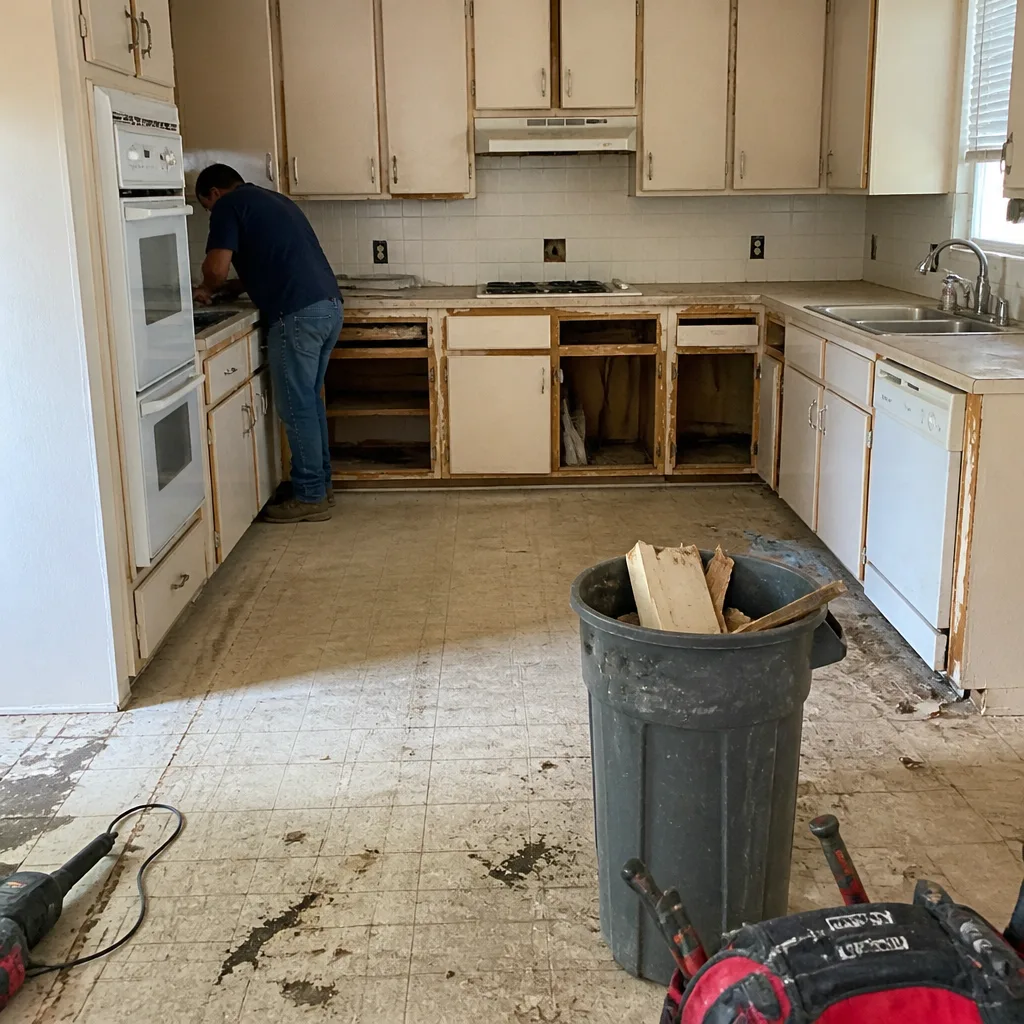
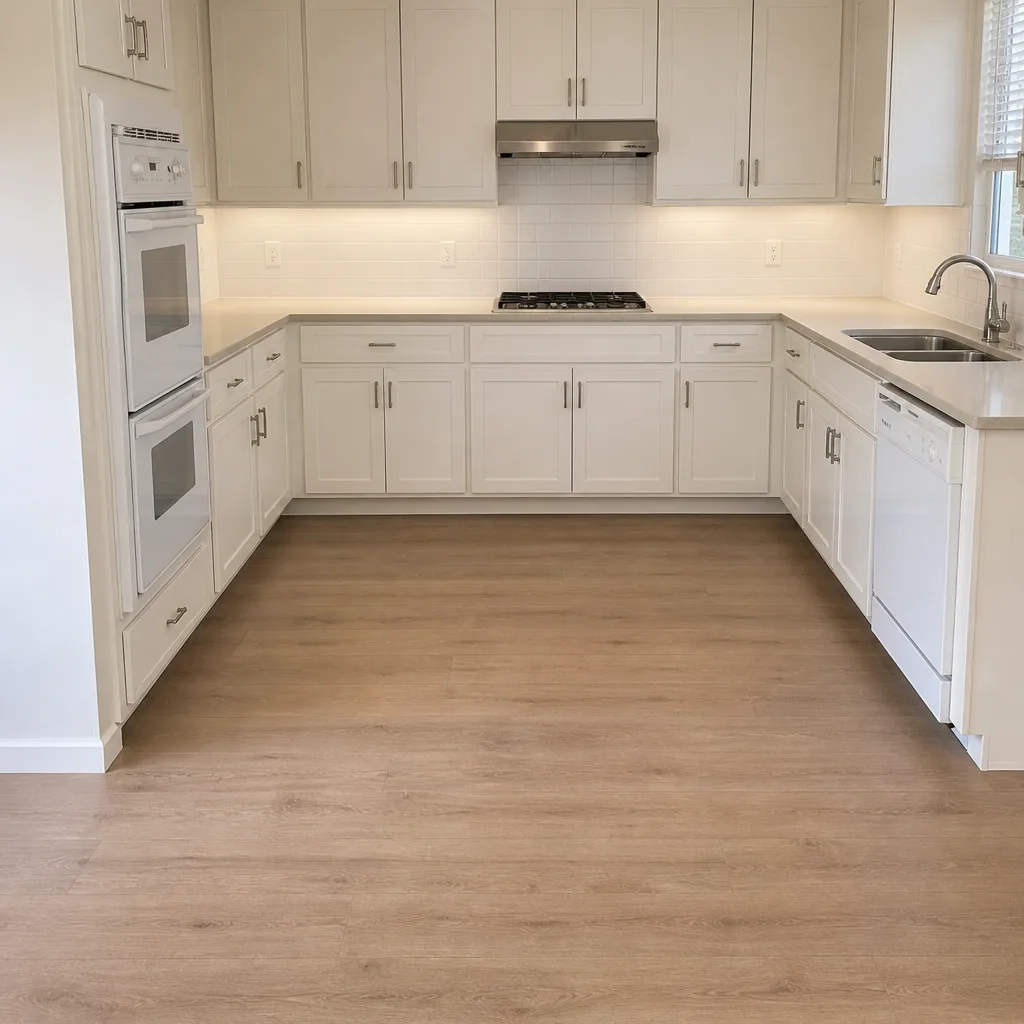
See the difference
 Before
 After
 Before
 After
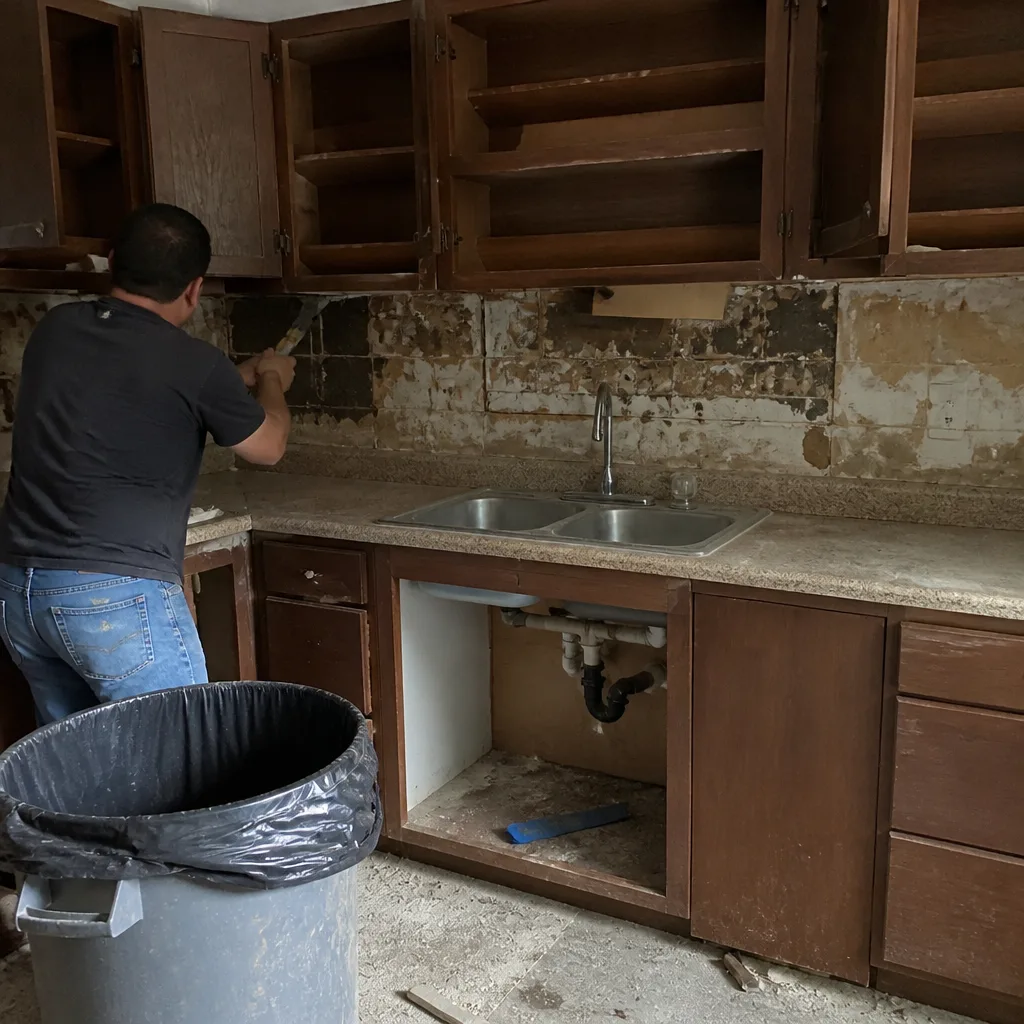 Before
 After
When to Call a Professional
Most routine upkeep is something you can handle. But some situations need a trained eye and the right tools, and waiting only makes them worse. Call a professional if you find multiple rocking pavers, a joint line that’s visibly wandered, water pooling in low spots after the rain clears, or an edge that’s lifted past its restraint. These point to base or drainage problems that surface fixes won’t solve. Call sooner if you see a step or lip in the surface – that’s a tripping hazard and a sign the base has moved. If the driveway adjoins a Home Additions & ADU in Carrollton project or a boundary line where the base ties into another structure, get a pro out to check the connection.
Groundwork Construction Co. of Carrollton offers free estimates in Carrollton – call (844) 560-0925. A live person answers, day or night, and we’ll walk the driveway with you rather than quote from a photo. Our technicians have up to 12 years of experience, arrive background-checked and in uniform, and we hold to a 730-Day Done Right Promise on the work we do.
Frequently Asked Questions
Re-sand the joints once a year in early fall, before the wet cycle, and spot-fill any thin joints in late winter. Sand is the cheapest maintenance you can do and the one that prevents the most expensive repairs. If joints look deep or empty after the spring rains, add a spot pass. Call (844) 560-0925 for a free estimate if you’re not sure whether the joints need a full re-sand.
A solvent-based or penetrating UV-stable sealer holds up far better here than a cheap water-based film. The long, intense sun breaks down thin acrylic films fast, and a peeling film looks worse than none. Apply in spring or fall, never in summer heat, and re-seal every 18 to 24 months. Call (844) 560-0925 for a written quote on a professional seal.
Yes, when it’s properly installed and maintained. The failures happen when water gets under unsanded or worn joints and freezes, lifting pavers. Keep the joints full and the drainage working and a freeze is unlikely to cause real damage. Check the driveway after the first hard freeze each year. Call (844) 560-0925 to schedule a post-freeze inspection.
Only at low pressure, and never at full blast. High-pressure washing strips the jointing sand and damages the sealer, which creates exactly the problems you’re trying to prevent. A gentle rinse and a soft broom handle most cleaning, and a professional cleaning service knows the right setting. Call (844) 560-0925 for a free estimate on a proper cleaning.
Expect roughly $250 to $600 for joint re-sanding, $400 to $900 for a UV-stable re-seal, and $150 to $400 for an inspection with minor spot repairs. Combined annual visits usually cost less than the separate jobs. Call (844) 560-0925 for an exact quote – estimates are free.
Routine maintenance keeps water moving and joints full – sanding, sealing, cleaning, and inspections. A base repair means the foundation under the pavers has moved and the affected section has to be lifted and reset. Routine maintenance prevents base repairs; if you find rocking or hollow pavers, you’re past routine upkeep. Call (844) 560-0925 for a free assessment.
The Bottom Line

A paver driveway in Carrollton lasts decades when you build the maintenance schedule around the two events that actually do damage – the wet season that moves the clay soil and the summer sun that burns off sealer and joint sand. Re-sand every fall, re-seal every 18 to 24 months, inspect twice a year, and fix small issues before they spread. Skip the high-pressure washes and the yearly film-forming sealers that don’t help. Do that, and you protect the investment you already made. When you’re due for a professional hand, a written quote and a workmanship guarantee make the decision easy. If your driveway is part of a larger property plan, tie in a matching Fence Installation in Carrollton project for a cohesive finish. And when you’re ready, call (844) 560-0925 for your free estimate. Built to last, backed in writing.
Written by the team at Groundwork Construction Co. of Carrollton.