Last updated November 18, 2026




Free written scope consultation - allowances, timeline, and change-order rules on paper before a single trade is scheduled
Home Additions & ADU Troubleshooting: Common Problems and How to Fix Them
If your new addition feels cold in winter, it’s probably not an HVAC problem. It’s an insulation and air-sealing problem at the seam where the old house meets the new one, and it’s the single most common call we get after move-in. We’ve walked into Carrollton additions where the furnace was running nonstop, the drywall above the doorway had a hairline crack, and the room still felt drafty. The root cause was almost always the same: the connection point was treated as an afterthought. This guide covers what actually goes wrong with home additions and ADUs, how to tell normal settling from a real problem, and how to sort out who’s responsible when something fails.
Quick Answer
Most home addition and ADU problems trace back to planning and design decisions, not sloppy framing or bad concrete. The old-meets-new connection point is the number one source of moisture intrusion, heat loss, and drywall cracking, and systems like HVAC and electrical that were sized for the original house often can’t carry the added load once the space is occupied. The fix usually starts with diagnosis: figure out whether the failure is a design gap, a build defect, or routine homeowner maintenance, then document it before you call anyone.
Styles & brands we work with
- Kitchen remodeling
- Bathroom remodeling
- Home additions & ADU
- Roofing
- Windows & doors
- Driveway & pavers
- Fence
Table of Contents
- Why the Old-Meets-New Connection Point Fails First
- Foundation Differential Settlement: Normal Movement vs. a Real Problem
- HVAC and Electrical Capacity Problems That Only Show Up After You Move In
- ADU Moisture Problems: Vapor Barriers and Detached Structure Traps
- Mini-Split Placement Errors and Uneven Heating in ADUs
- How to Document and Escalate a Problem Under a Contractor’s Warranty
- Warranty Claim vs. Homeowner Maintenance: Drawing the Line
- Carrollton Permit and Code Realities for Additions
Why the Old-Meets-New Connection Point Fails First
The junction between existing structure and new construction is where two different buildings, built at different times to different tolerances, have to behave as one. They rarely do. The old foundation has already finished most of its settlement. The new one is still moving. The old wall is framed with 2x4s and insulated to whatever code required when it was built. The new wall is likely 2×6 with modern insulation. Tie those together poorly and you get three problems at once: thermal bridging where the materials meet, air infiltration through gaps that were never sealed, and stress cracking as the two halves move on different schedules.
In Carrollton, this gets compounded by our climate. Summers push 100°F for weeks, winters swing below freezing, and the soil here is expansive clay that swells when wet and shrinks hard when dry. That clay moves. An addition that sits well in March can develop a drafty seam by August. We’ve seen it most often on older ranch homes in the Carrollton Heights area where a new primary suite or sunroom was added onto a house from the 1970s.
What actually goes wrong at the connection point:
- Missing or compressed rigid insulation at the seam. The joint gets filled with whatever’s handy instead of a proper thermal break.
- No structural air barrier. Housewrap on the new walls stops at the old wall and never gets integrated.
- Roof-to-wall flashing that drains into the old siding. Water finds the path of least resistance, and that path often ends inside the old wall cavity.
- Drywall tied rigid across the joint. No control joint means every bit of movement telegraphs as a crack.
The repair isn’t dramatic. It’s methodical: open the seam, air-seal with proper membrane, add a control joint, verify the roof flashing actually drains out and away. But it has to be diagnosed before it’s patched over.
Foundation Differential Settlement: Normal Movement vs. a Real Problem
Every foundation moves. The question is how much and how fast. Differential settlement, meaning one part of the structure sinks more than another, is where additions get into trouble. The new foundation and the old one are almost always bearing on slightly different soil conditions, especially here in Carrollton where clay content varies block to block. A quarter inch of relative movement over five years is normal and usually harmless. An inch of movement in eighteen months is a stress signal.
Here’s what to watch, in order of urgency:
- Look at door and window operation. Doors that suddenly stick in one season and free up in another are usually seasonal humidity. Doors that stick year-round and get worse aren’t.
- Check drywall at inside corners of the addition. Diagonal cracks radiating from corner joints are classic differential settlement indicators.
- Examine the exterior brick or siding line where old meets new. A step crack in brick or a visible gap in siding that widens over time means movement.
- Walk the floor inside the addition. A noticeable slope toward one wall, especially toward the seam, is worth a call.
- Look at the foundation itself. Hairline vertical cracks are usually cosmetic. Horizontal cracks, stair-step cracks in block, and any crack wider than a credit card warrant an inspection.
What’s usually normal: hairline shrinkage cracks in concrete, minor cracking in mortar joints on the old house, slight seasonal door swelling. What’s not: any crack that’s actively widening, any floor that’s visibly sloping more than an inch over eight feet, or any separation between the addition and the original roofline.
When the diagnosis is genuinely structural, the fix starts with an engineer and drainage correction, not with cosmetic patching. If you’re planning a new build or need to understand what a healthy foundation looks like before you add on, our team walks through that in detail on our Home Additions & ADU in Carrollton page.
HVAC and Electrical Capacity Problems That Only Show Up After You Move In
The most expensive surprises in home additions are the systems you can’t see. A 400-square-foot addition doesn’t seem like much until you realize your existing 2.5-ton air conditioner was already marginal for the original house, the return duct was undersized before you added on, and now the new room never gets comfortable no matter what the thermostat says.
These problems are invisible in the planning stage because they’re about load, not square footage. Here’s how to diagnose capacity issues after the fact:
- The room never reaches temperature. If the thermostat reads 72°F but the addition stays at 78°F in August, the system isn’t delivering enough air to that zone.
- The system runs constantly and never cycles. A properly sized system cycles on and off. One that runs nonstop is overloaded.
- Some rooms are always hot or cold regardless of season. This is often a duct design problem, not an equipment problem.
- Breakers trip when the addition is in full use. That’s an electrical capacity signal, and it usually means the panel needs evaluation.
- Lights dim when large appliances cycle. Could indicate a panel that’s near its limit, especially in older Carrollton homes.
For electrical, the honest answer is that a licensed electrician needs to do a load calculation on the existing panel. A panel that was already at 80% of capacity before the addition is not a panel that can safely carry a new kitchenette, an electric water heater, or a heat pump. The fix might be a subpanel, a service upgrade, or a gas appliance instead of electric. That’s a design decision, and it’s much cheaper to make before the walls close.
For HVAC, the answer is usually a manual J load calculation, then either a system upgrade or a zoned approach. Adding a ductless mini-split for the new space is often the simplest solution, but only if it’s sized and placed correctly (more on that below).
ADU Moisture Problems: Vapor Barriers and Detached Structure Traps
A detached ADU has a moisture profile that’s completely different from an attached addition. You can’t rely on the main house to help. That’s why improper vapor barrier installation in an ADU is the number one long-term problem we see, and it’s the one that hides the longest before you notice.
Three specific failure points:
- Vapor barrier on the wrong side of the insulation. In Carrollton’s climate, the vapor barrier belongs on the interior (warm) side, but only if the assembly is designed for it. Get this wrong and moisture gets trapped inside the wall.
- Vapor barrier gaps at the slab. The barrier needs to connect continuously from the floor through the wall to the ceiling. Gaps at the plate line let ground moisture wick up into the wall cavity.
- No vapor barrier under the slab at all. A detached ADU with a slab-on-grade and no underslab barrier will pull moisture up through the concrete for the life of the building.
Symptoms you’ll notice before you diagnose the cause: musty smell in the bathroom or closet, condensation on the inside of exterior wall outlets, warped baseboards, or persistent high interior humidity even with the AC running. If the ADU has a musty smell that doesn’t clear up after a good dehumidification run, the moisture is coming from somewhere it shouldn’t.
The repair usually involves removing a section of drywall to inspect the assembly, then re-doing the barrier and re-insulating where needed. It’s not cheap, and it’s the whole reason vapor barrier planning matters at the design stage. If you’re planning a detached ADU in Carrollton, insist on seeing the moisture assembly in the plans before framing starts.
Mini-Split Placement Errors and Uneven Heating in ADUs
Ductless mini-splits are the standard solution for heating and cooling a detached ADU in North Texas, and they’re a good one. But they’re only as good as the placement, and placement errors are the second most common ADU complaint we hear after moisture.
The most common mistakes:
- Head unit mounted too high on the wall. A wall-mounted mini-split head near the ceiling works fine for cooling but pushes warm air straight up and across the ceiling. In an ADU with a vaulted ceiling, that means the room heats unevenly: warm up top, cold at ankle level.
- Head unit placed in a dead-end corner. The air blows in one direction and never circulates the far half of the room.
- Single-zone system in an ADU with a separated bedroom. A one-head system can’t handle both rooms unless there’s genuine openness and airflow between them.
- Outdoor condenser in a shaded alcove with no airflow. It’ll run harder, freeze up in cooling mode, and fail early.
- Line set routed through unconditioned space without insulation. Condensation forms on the line and drips down the wall.
What to do if the ADU is already built and the heat is uneven: first, check that the head is actually reaching the far side of the room by feeling the airflow at the end of a cycle. Second, check that the head is set to the right mode and fan speed (some are set to auto and never deliver full throw). Third, check for a ceiling fan or a small circulation fan to push warm air back down. If none of that fixes it, the answer is often a second head or a repositioned one, and that’s a conversation with an HVAC installer, not a general contractor.
How to Document and Escalate a Problem Under a Contractor’s Warranty
The warranty conversation is where a lot of homeowners get tripped up. Two different problems get called the same thing by different people, and the first thing a builder does when a claim comes in is check whether it’s actually a warranty issue or a maintenance issue. Documenting properly in advance gets you a real answer faster.
Here’s the process that works:
- Photograph and date everything. Take photos with a scale reference (a coin, a tape measure) so the size of a crack or gap is unambiguous. Note the date. If the problem is seasonal, note that too.
- Track it over time. A crack in March that’s noticeably wider in September is a different claim than a crack that hasn’t moved. Put a pencil mark at each end and check it monthly.
- Write a short timeline. When did you first notice it? When did it get worse? What changed in the house (a new appliance, a storm, a plumbing repair) that might be relevant?
- Read your contract’s warranty language before you call. Look specifically at what’s covered, what the exclusions are, and what the response window is.
- Submit the claim in writing. A phone call is fine for first contact, but the actual claim should be documented in an email or portal so there’s a record.
- Ask for the diagnosis in writing. If the response is “normal settling,” ask for that in writing with an explanation of why the movement is within tolerance. If it’s a legit repair, ask for the scope of repair and the timeline in writing.
The 730-Day Done Right Promise exists precisely because this process shouldn’t be a fight. If the work isn’t right, it gets made right, and the conversation starts with diagnosis rather than a dispute. Our team handles warranty claims with our clients the same way we handle Fence Installation in Carrollton and every other project: written scope, clear timeline, one point of contact.
Warranty Claim vs. Homeowner Maintenance: Drawing the Line
The clear rule of thumb: a warranty covers defects in workmanship and materials supplied by the contractor. It does not cover normal wear, damage from weather events, damage from neglect, or changes made by someone else after the job. Most disputes come down to two categories that nobody’s happy about.
Warranty claim:
- Drywall cracking at the connection point within the warranty period
- Roof flashing on the addition leaking during a normal rain event
- Insulation that was installed incorrectly and is failing thermally
- A door or window that wasn’t installed plumb and doesn’t seal
- A foundation-related issue that traces to the contractor’s site work
Homeowner maintenance:
- Caulk lines that need refreshing at joints (seasonal maintenance in Texas)
- Drainage that was correct at build and later blocked by landscaping changes
- A window that no longer opens smoothly because it hasn’t been lubricated
- Gutters that overflow because they’re clogged with leaves
- Cosmetic wear or fading that’s simply from age
The gray zone is anything that’s arguably a design decision. A room that’s always hot because the HVAC was undersized from the design stage is a warranty issue if the design was the contractor’s responsibility, and a homeowner issue if the homeowner selected the equipment against the contractor’s advice. Get those conversations in writing during design, not after.
Carrollton Permit and Code Realities for Additions
Carrollton has its own permit and inspection process for additions and ADUs, and a lot of post-build problems trace back to something that was never properly permitted or inspected in the first place. Before you buy a house with an addition, pull the permit history. If the addition isn’t on record, you don’t have a warranty claim, you have an insurance question.
A few local realities that matter:
- Setbacks and lot coverage rules in Carrollton limit how much of the lot can be covered, and detached ADUs count against that coverage. Confirm what the property allows before you buy land with a plan.
- Detached ADUs require their own utility connections and sometimes their own address. Getting this wrong creates insurance and resale issues.
- Inspection points for framing, insulation, and final are specific. A general contractor who skips an inspection to save a week is creating a problem that will surface in a sale.
- Expansive clay soil in this part of the Metroplex means foundation design gets reviewed more carefully than in other regions. That’s a good thing.
If you’re evaluating a contractor for a new Carrollton addition, ask directly: will you pull the permits, and will you schedule every required inspection before the next trade comes in? If the answer isn’t an immediate yes, that’s your sign. We handle permits and inspections on every project as standard, and our Driveway & Pavers in Carrollton work follows the same inspection discipline as our additions.
Common Mistakes to Avoid
- Skipping the moisture assembly on a detached ADU. The vapor barrier is not a detail, it’s the whole game. In Carrollton’s humidity swings, a missing or misplaced barrier means a musty ADU within three years.
- Sizing HVAC to the square footage instead of running a manual J load calculation. Square footage is a rough guide, load calculation is the answer, and the difference is a room that’s always 4 degrees off.
- Tying drywall rigid across the old-meets-new joint. No control joint means every bit of movement shows up as a visible crack within the first two years.
- Not pulling permits to save time. In Carrollton, an unpermitted addition is an insurance liability and a resale problem, and no warranty covers it.
- Ignoring the drainage path away from the new foundation. Grading that slopes back toward the addition is the quiet cause of half the moisture problems we see.
- Treating a mini-split placement as an afterthought. A head unit in the wrong spot is the most fixable problem on this list, and the most commonly skipped step.
- Not documenting the first symptom. A photographed crack with a date is a warranty claim. An undated crack noticed six months later is a debate.
See the difference
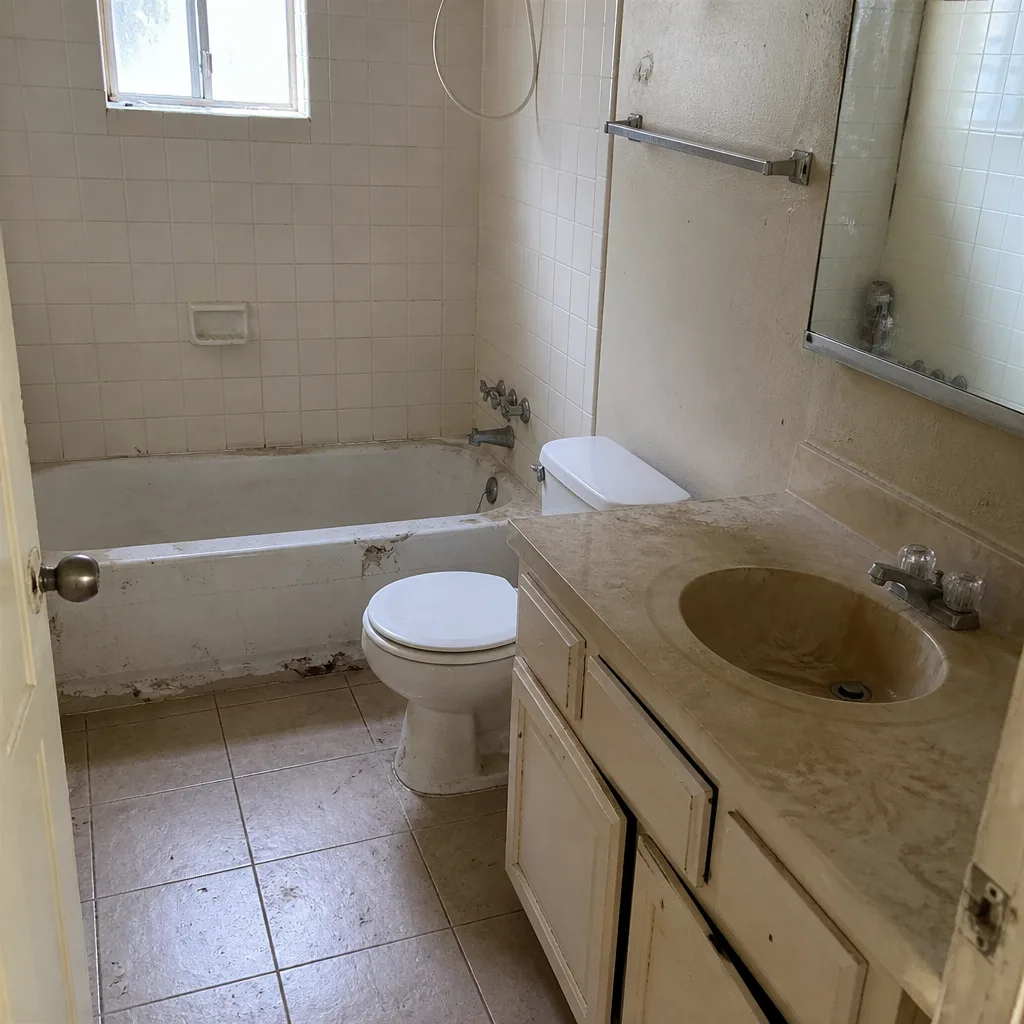 Before
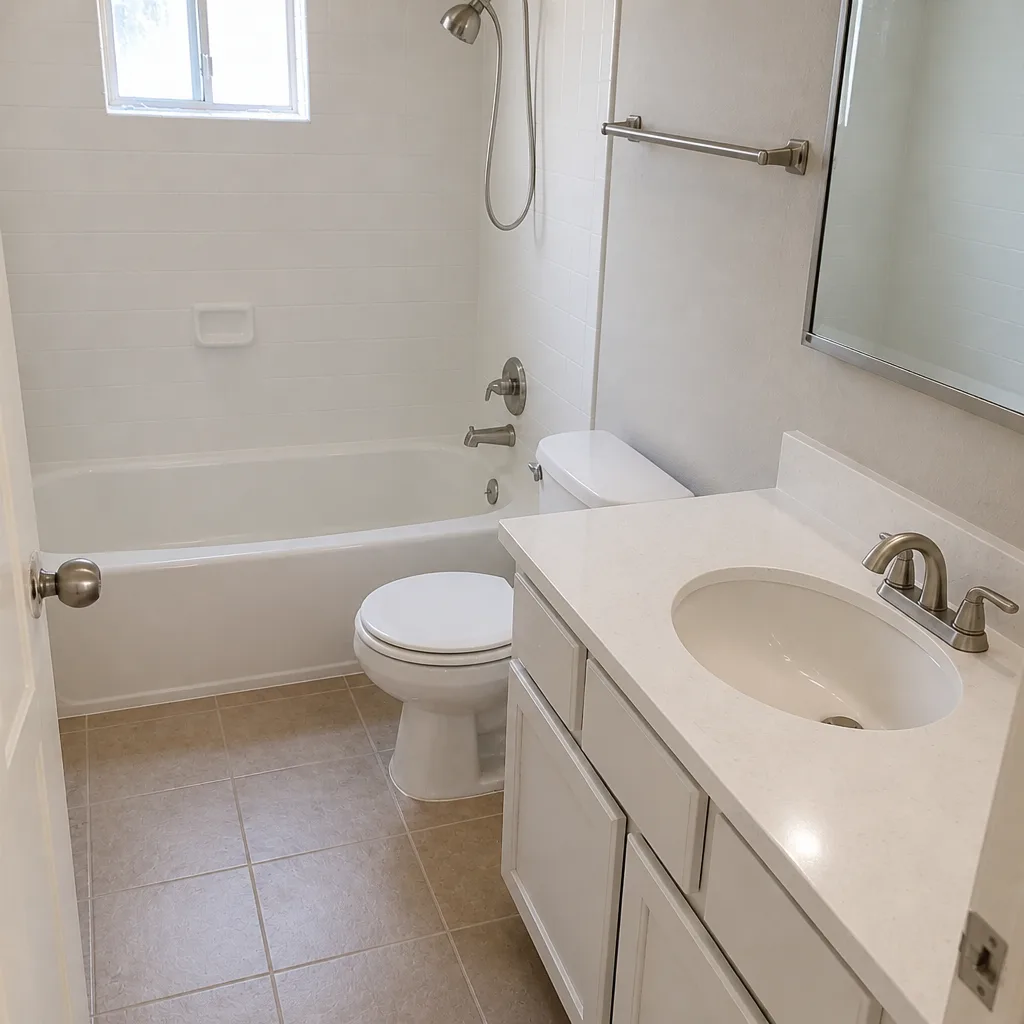 After
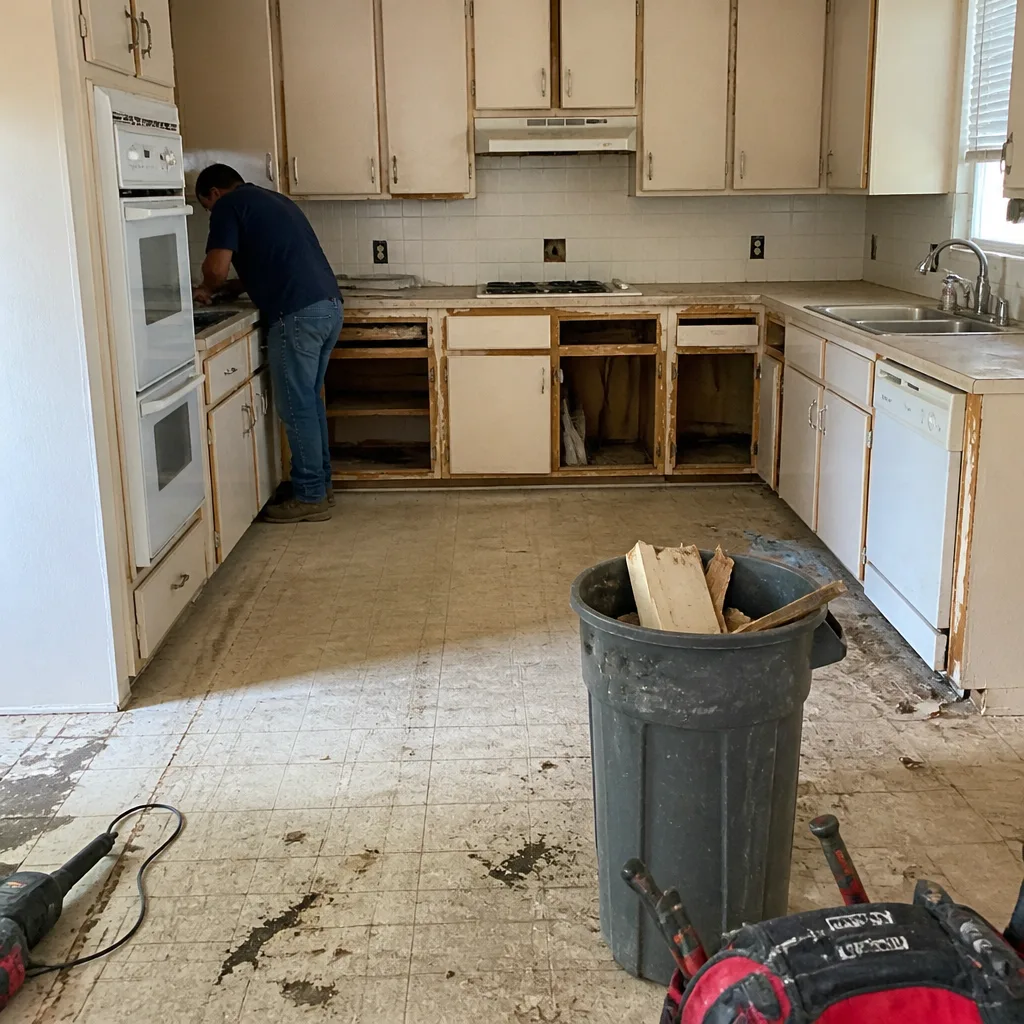 Before
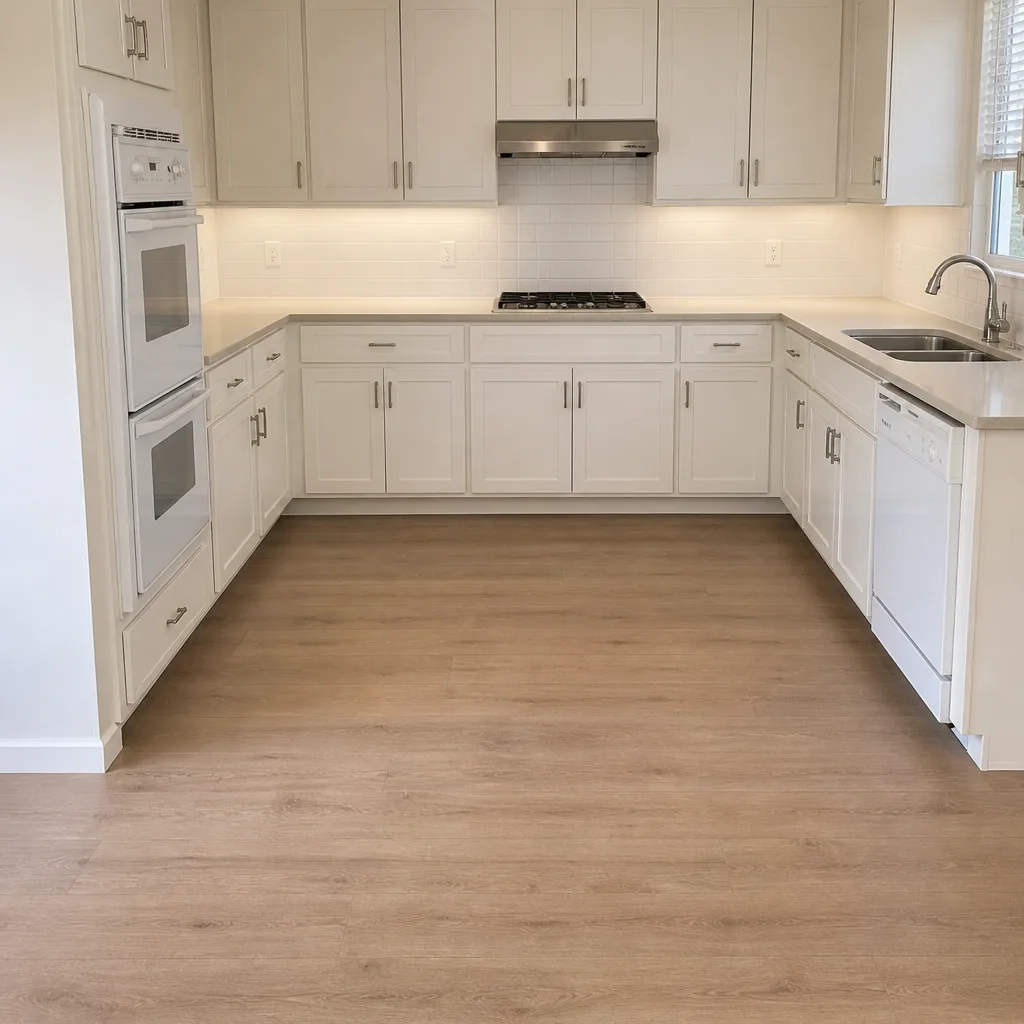 After
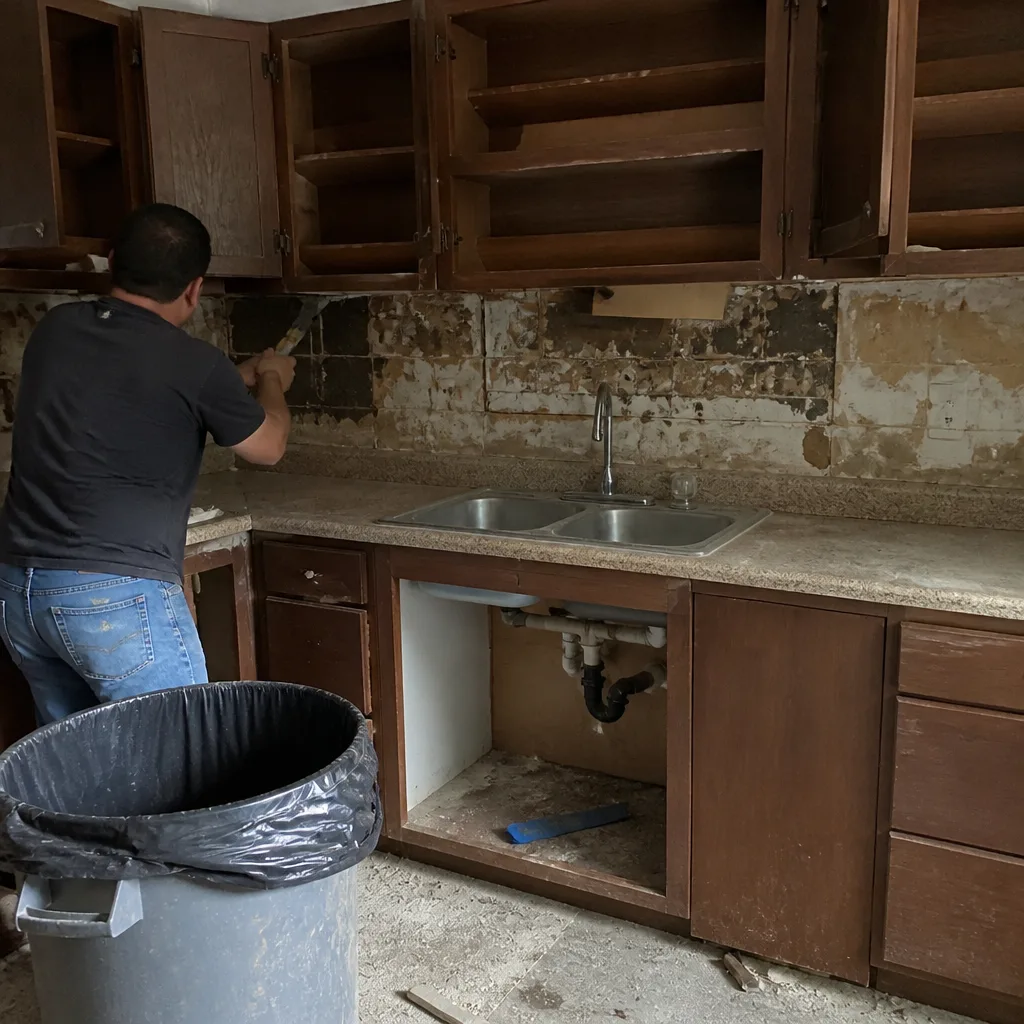 Before
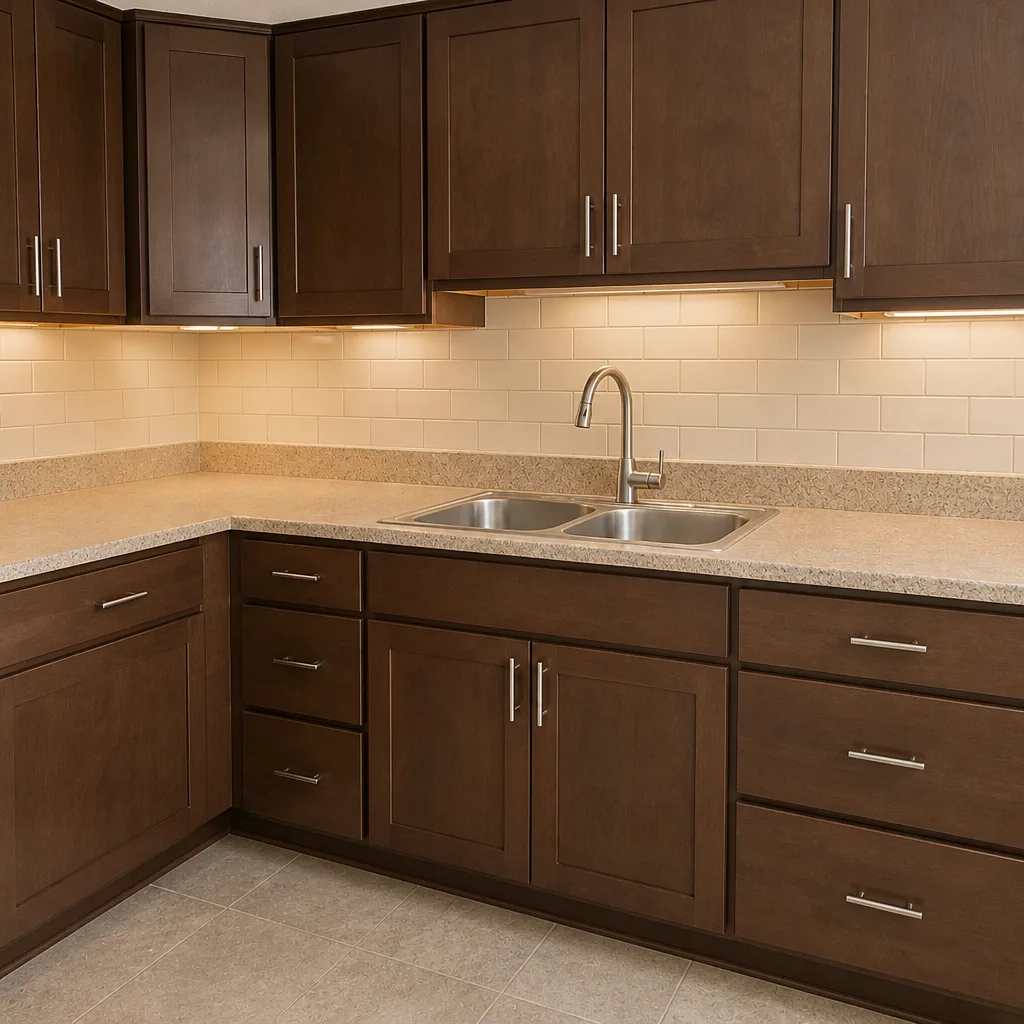 After
When to Call a Professional
Call a professional when the drywall at the seam has a crack that’s widened over time, when the room temperature won’t stabilize no matter what the thermostat does, when you see a step crack in exterior brick or siding that’s tracking along the addition, when the ADU smells musty despite dehumidification, or when a breaker trips more than once in a month. Those are diagnosis problems, and diagnosis is where an experienced contractor earns their keep. Groundwork Construction Co. of Carrollton offers free estimates in Carrollton. Call (844) 560-0925 to schedule. We answer with a live person 24/7, and if the diagnosis is a warranty issue under the 730-Day Done Right Promise, we make it right.
Frequently Asked Questions

Most connection point repairs in Carrollton run $1,800 – $4,500 depending on how much of the wall assembly has to be opened up. Drywall cracking alone is on the low end; moisture damage that’s reached the framing and insulation is on the high end. Call (844) 560-0925 for an exact quote on your specific situation, and estimates are free.
Hairline vertical cracks and minor seasonal door sticking are usually normal settlement. Horizontal cracks, stair-step cracks in block, drywall cracks radiating from inside corners, and any floor visibly sloping more than an inch over eight feet are worth a professional inspection. Call (844) 560-0925 and we’ll take a look at no charge for the estimate.
Yes, if the crack is caused by workmanship or material failure and it’s within the warranty period, and most reputable warranties do cover it. Under the 730-Day Done Right Promise, connection point cracks caused by our work are covered for the full term. Cosmetic cracks from normal seasonal movement that were properly addressed at the joint are typically not covered. Call (844) 560-0925 with photos and dates.
The most likely cause is mini-split placement, specifically a head unit mounted too high or in a dead-end corner, or a single-zone system trying to serve two separated rooms. The second most likely cause is a missing or improperly installed vapor barrier affecting the thermal envelope. Call (844) 560-0925 for a free diagnostic estimate.
Yes. Carrollton requires permits for additions, detached ADUs, and any structural work including covered patios and enclosed porches. Working without a permit creates insurance and resale problems that no warranty covers, and it’s the single biggest thing we fix on previously-built additions. Call (844) 560-0925 and we’ll walk you through the process.
Usually, yes. The fix is typically a supplementary ductless mini-split, a zoning solution, or a system upgrade at the outdoor unit, none of which requires opening the addition’s walls. The diagnosis comes first though: a manual load calculation tells you whether you need more capacity or better distribution. Call (844) 560-0925 and we’ll help you get a straight answer.
The Bottom Line
Most of what goes wrong with a home addition or ADU is planned in, not built in. The connection point, the foundation movement, the HVAC capacity, and the vapor barrier are all decisions made before the first nail goes in, and the failure modes show up after move-in. The good news is that most of these problems are diagnosable and fixable. The other piece of good news is that a contractor who plans these details properly on the front end creates a very different experience than one who doesn’t. If you’re in Carrollton and you’re dealing with an addition or ADU problem now, or you’re planning one and want the details handled right the first time, that’s what we do. From foundation to finish line, built to last and backed in writing. Our technicians bring up to 12 years of experience to every project, materials carry named brand partnerships (Schluter, GAF, Grohe among them), and every job is covered by the 730-Day Done Right Promise.
Call (844) 560-0925 for a free estimate and design consult. A live person answers around the clock, and if it’s a warranty issue, we make it right. Start at our Groundwork Construction Co. of Carrollton home page to see the full scope of what we build.
Written by the team at Groundwork Construction Co. of Carrollton.