Last updated November 18, 2026
Free written scope consultation - allowances, timeline, and change-order rules on paper before a single trade is scheduled
DIY vs Professional Windows & Doors: What’s Safe to Do Yourself
Installing a replacement window seems straightforward until water finds the 1/8-inch gap you didn’t seal correctly and shows up inside your wall six months later as rot. That’s the trap with window and door work: the task looks like a weekend project, but the tolerance for error is nearly zero. A window set a quarter-inch out of square will leak. A door hung without proper shimming will never seal, no matter how many times you adjust the hinges. In Carrollton, where summer heat pushes 100°F and spring storms drive rain sideways, those small errors show up faster than almost anywhere else. This guide draws a clear line: what a confident homeowner can genuinely handle, what belongs to a trained pro, and why the middle ground of “looks easy but isn’t” is where most expensive mistakes happen.
Quick Answer
Insert (pocket) replacement windows, door hardware, weatherstripping, thresholds, and screen or glass swaps are genuinely DIY-viable if you’re handy and patient. Full-frame window replacement, exterior door installation into a rough opening, and anything touching Texas energy code documentation is not worth doing yourself. The money you save rarely covers the water damage, air leaks, or resale headaches that follow a botched install.
Styles & brands we work with
- Kitchen remodeling
- Bathroom remodeling
- Home additions & ADU
- Roofing
- Windows & doors
- Driveway & pavers
- Fence
Table of Contents
- Insert vs Full-Frame Windows: The Line That Decides Everything
- What’s Genuinely Safe to Do Yourself
- The Structural Risk in DIY Exterior Doors
- Why Texas Energy Code Makes DIY Windows a Resale Problem
- The Energy Math Most Homeowners Get Wrong
- What Carrollton’s Climate Does to Bad Installs
- DIY vs Professional: The Real Cost Comparison
- Common Mistakes to Avoid
Insert vs Full-Frame Windows: The Line That Decides Everything
The single question that determines whether a window job is DIY-friendly is this: are you replacing the sash and glass inside the existing frame, or pulling the entire window out to the rough opening? Those are two very different jobs, and the gap between them is where most homeowners get in trouble.
An insert window (also called a pocket replacement) fits inside the existing window frame after the old sash is removed. You’re not touching the framing, the flashing, or the exterior trim. The new unit sits in a defined pocket, gets shimmed, leveled, insulated, and trimmed out. A careful homeowner with a level, a pry bar, and patience can do this. It’s the replacement style that keeps installation time short and risk contained.
A full-frame replacement removes the entire window assembly, frame and all, back to the rough opening. Now you’re dealing with:
- Reframing if the rough opening is out of square (common in homes built before 1990)
- Flashing integration with the exterior wall assembly, which is where leaks start
- Siding removal and reinstallation around the opening
- Header inspection if the original framing has settled or shifted
- Insulation and air-sealing at a level that meets current energy code
In our experience working Carrollton neighborhoods like Downtown Carrollton and the older stretches near Josey Lane, full-frame jobs on mid-century homes almost always turn up something the homeowner didn’t plan for. A rough opening that’s an inch out of plumb. Rot behind the trim. A header that needs attention. That’s not a knock on DIY ability; it’s the nature of full-frame work on older housing stock. The insert style exists precisely because it sidesteps that complexity, and it’s why we usually steer homeowners toward insert replacements when the existing frames are sound.
The two styles also differ in how they perform long-term. Insert windows create a second frame line inside the first, which trims the visible glass area slightly but keeps the thermal envelope intact. Full-frame units let you increase glass area, upgrade to a deeper frame profile, and correct framing problems all at once. That’s real value, but it’s the kind of value that comes from getting the rough opening right the first time. If your home needs full-frame work and you want it done to spec with the flashing and air-sealing documented, that’s a professional call. You can see how we scope window and door replacements on our Groundwork Construction Co. of Carrollton home page.
What’s Genuinely Safe to Do Yourself
Plenty of window and door work is well within reach of a confident DIYer. The safe zone is anything that doesn’t disturb the rough opening, the flashing, or the structural envelope. Hardware, weatherstripping, and thresholds live in that zone, and handling them yourself saves real money without gambling on the house.
Here’s the shortlist of jobs we’d tell a handy Carrollton homeowner to go ahead and tackle:
- Door hardware swaps. Replacing a lockset, deadbolt, handleset, or passage knob is a screwdriver-and-patience job. The only caution is matching the backset (the distance from the door edge to the hole center) so the new hardware aligns with existing bore holes.
- Weatherstripping replacement. Worn felt or foam stripping is a top cause of door drafts. Peel-and-stick or kerf-mounted replacements cost under $30 and restore a seal in under an hour.
- Threshold replacement. A threshold that’s cracked, loose, or no longer shedding water can be swapped if the door frame itself is sound. You’ll want to seal underneath with exterior-grade caulk and check that the door still closes without dragging.
- Door sweeps. The brush or blade at the bottom of an exterior door wears out every few years. Swap it and you’ve closed a major air leak for under $20.
- Screen and storm window swaps. Re-screening a window or replacing a storm panel is low-risk and low-cost.
- Glass pane replacement (single-pane). In older windows with individual panes, replacing a cracked pane with glazing compound is a classic DIY skill worth learning.
- Insert window replacement (with caveats). A confident DIYer can install insert windows if the existing frame is plumb, square, and rot-free. You’ll need a level, shims, low-expansion foam, and a willingness to redo it if it doesn’t sit right.
The common thread: none of these jobs touch the wall assembly. The moment you’re cutting into siding, pulling trim to expose framing, or altering an opening, you’ve crossed into professional territory. That line is worth respecting. In Carrollton’s older homes, the trim often hides surprises, and what looks like a simple swap becomes a framing repair once you open it up.
If your project is really a broader exterior refresh, pair the window and door work with other trades. We handle Fence Installation in Carrollton with materials from Barrette and Master Halco, and Driveway & Pavers in Carrollton with Belgard hardscape, so a full exterior upgrade can move under one contractor instead of three.
The Structural Risk in DIY Exterior Doors
An exterior door is not a furniture piece you hang on a hinge. It’s a structural opening in your wall, and if the rough opening isn’t perfectly square, plumb, and level, the door will fight you for its entire service life. That’s the risk most DIY door installs underestimate. The door itself may look fine on day one, then start sticking, sagging, or leaking within a season.
Here’s what “not perfectly square” actually means in practice. Your rough opening is framed by two king studs, a header, and a sill. If any of those are out of plumb by more than about 1/8 inch over the door’s height, the door won’t seal consistently. If the sill is out of level, water pools on the threshold instead of draining away, which is the beginning of rot at the bottom of the frame. In Carrollton, where a single spring storm can drop two inches of rain in an hour, a sill that’s 1/4 inch out of level is a real liability.
The prep work on a professional exterior door install is where most of the time goes:
- Checking and correcting the rough opening for plumb, level, and square
- Installing sill pan flashing so water that gets behind the door drains out, not into the wall
- Shimming at the hinge points and lock side so the door operates without binding
- Air-sealing with the right foam (low-expansion, not the window-and-door gap-filling kind that can bow jambs)
- Integrating the exterior trim and flashing with the siding so the wall assembly stays continuous
Each of those steps is doable by a skilled DIYer, but together they represent hours of careful work that’s easy to rush and hard to inspect once the trim goes back on. When a pro installs a door under a workmanship guarantee, that prep is the thing being guaranteed. Groundwork backs every install with the 730-Day Done Right Promise: if it’s not done right, we make it right. That’s the kind of backup that matters when the door in question is the one between your family room and the Texas sun.
One more note on doors: if you’re adding an exterior door as part of a larger addition, don’t separate the work. Door openings in new construction depend on the framing being correct from the start. That’s why Home Additions & ADU in Carrollton projects include door and window openings as part of the structural scope, not as an afterthought.
Why Texas Energy Code Makes DIY Windows a Resale Problem
New windows in Texas have to meet energy code, and that compliance has to be documented. If you sell a home with replacement windows that were installed without the documentation, you can run into trouble at inspection or appraiser review. This is the part of the DIY window conversation almost nobody mentions, and it’s the one with the longest tail.
Texas follows the International Energy Conservation Code (IECC) at the state level, and local jurisdictions adopt and amend it. For windows, the relevant metrics are U-factor (how fast heat moves through the glass) and Solar Heat Gain Coefficient (how much solar heat the window lets in). Carrollton sits in a climate zone where those numbers are strict, because cooling loads dominate the year. A window that meets the code minimum has a label or a manufacturer’s certification to prove it; that documentation is what inspectors and appraisers want to see.
When a professional installer handles the job, you get:
- Window units certified to meet current U-factor and SHGC requirements
- A manufacturer’s NFRC label retained on file for inspection
- Permits pulled where required, and inspections passed
- Installation documentation that supports the home’s energy profile at resale
When a homeowner installs windows themselves, those first three items are easy to miss. Box-store windows may meet code, but if you don’t pull the permit and don’t keep the label, the paper trail is thin. Some buyers and appraisers will accept that, and some won’t. In our experience, in Carrollton neighborhoods where home values have climbed, buyers are more careful than they used to be about documentation. A thorough professional install protects resale value in a way a DIY install can’t.
Permit requirements vary by scope. A straight insert replacement typically doesn’t require a permit in most Texas jurisdictions, but a full-frame replacement or an opening change does. That distinction is worth confirming before you buy materials. We pull permits and handle inspections as part of the scope on any window or door project that requires them, and we keep the documentation together for you.
The Energy Math Most Homeowners Get Wrong
Here’s where the cost-benefit conversation gets interesting. A professionally installed window with a good U-factor will perform as rated only if it’s installed correctly. Air leaks around the frame, gaps in the foam, and a poorly flashed opening can undo most of the performance advantage of a premium window. That’s the gap that shows up in your utility bill and never on the manufacturer’s spec sheet.
Consider two scenarios for the same window replacement in a Carrollton home:
- Professional install: Window meets specified U-factor, air-sealed at the frame perimeter, flashed per code, verified level and square. Expected performance matches the label. Documented for resale.
- DIY install with minor air gaps: Same window, but the foam has a gap at one corner and the flashing overlaps wrong. Air infiltration increases, and in summer the AC works harder to hold the setpoint. Over a 15-year window life, that performance gap can add up to hundreds of dollars in extra cooling costs, and it won’t be obvious in the first month.
The math matters even more in Carrollton because cooling season runs long. Our summers regularly top 100°F, and the swing between indoor and outdoor temperature is substantial for five or six months a year. That long, hot stretch is what amplifies small air leaks into real energy bills. A window that leaks 20% more air than it should because of an install gap costs you more every single cooling season. Repairing that gap later usually means pulling trim, re-foaming, and re-caulking, which is the work you were trying to avoid doing in the first place.
Andersen and Marvin windows, which we specify on professional installs, are engineered to hit specific performance numbers. Those numbers only hold when the installation is done right. A poorly installed premium window can underperform a well-installed mid-grade one. The window is half the equation; the install is the other half.
Bottom line on the math: DIY saves the labor cost, which is real money. But if the install compromises the window’s energy performance by even 15% over 15 years, the energy penalty narrows or erases that savings. Add a single water-damage repair and the math flips. For a premium window you plan to keep for decades, professional installation usually wins on total cost.
What Carrollton’s Climate Does to Bad Installs
Carrollton sits in a part of North Texas where the weather is hard on construction assemblies. Hot, dry summers push thermal expansion; spring and fall bring fast-moving storms with driving rain; occasional winter freezes stress seals and caulk lines. A window or door install that would tolerate the climate in, say, coastal California will show its flaws faster here.
The main pressure points:
- Thermal expansion and contraction. Window frames, foam, and caulk all move with temperature swings. A seam sealed correctly in cool weather can open up in August. Good installs use materials and detailing that tolerate the movement.
- Wind-driven rain. Carrollton storms push water sideways against walls, not just down. Flashing and sill pans that work for straight-down rain may fail when rain comes in at 45 degrees. Full-frame installs need proper weather-resistive barrier integration, not just caulk over the gap.
- Winter freezes. The February 2021 freeze showed what a hard freeze does to poorly sealed assemblies. Caulk that’s UV-degraded cracks during a freeze-thaw cycle. Air-sealing done right holds up.
- Sun exposure. South-facing and west-facing windows in Carrollton take sustained UV load. Poor-quality weatherstripping and exterior caulk degrade faster on those elevations, so material choice matters more there.
We’ve seen the pattern in Carrollton homes after big storms: the leaks that show up are almost never in the glass. They’re at the frame perimeter. That’s the seam a bad install creates and a good one eliminates. It’s the same story whether the home is a 1970s ranch near the Elm Fork or a newer build in one of the master-planned communities off the George Bush Turnpike.
DIY vs Professional: The Real Cost Comparison
The honest cost comparison isn’t just labor versus materials. It’s labor versus materials, plus the expected cost of fixing mistakes, plus the energy performance gap, plus the documentation value at resale. Most of those costs don’t show up until later, which is why they get ignored in the first conversation.
Here’s how the two paths typically stack up for a Carrollton homeowner:
- Insert window, DIY: Materials only, roughly $250 – $500 per window. Labor time 2 – 4 hours per window for a confident DIYer. Risk: moderate (air leaks, misaligned sashes). No permit required for most insert replacements. Documentation light.
- Insert window, professional: Materials plus installation, commonly $450 – $850 per window depending on brand and size. Labor handled, air-sealing verified, warranty in writing. Andersen and Marvin units typically land on the higher end of that range.
- Full-frame window, DIY: Materials roughly $400 – $900 per window, but labor time jumps to 6 – 10 hours per window, and the risk of a water intrusion repair goes way up. Most homeowners should not attempt this on a wall they can’t afford to repair.
- Full-frame window, professional: Materials plus install, commonly $900 – $1,800 per window depending on size, brand, and trim/siding scope. Permits pulled, inspections passed, flashing documented.
- Exterior door, DIY: Materials maybe $400 – $1,200 for a standard door and hardware. Risk: high (sill level, flashing, rough opening squareness). Most homeowner mistakes here show up as water damage within 1 – 2 seasons.
- Exterior door, professional: Materials plus install commonly $900 – $2,000 depending on door, hardware, and trim scope. Prep work, flashing, and air-sealing documented.
Those numbers are ranges from Carrollton and DFW-area projects, and they move with brand, size, and scope. What they don’t capture is the cost of the one job that goes wrong. A single water intrusion repair behind a badly installed full-frame window can run $500 – $2,000 depending on how far the damage travels. A door with a failed sill pan can rot the subfloor under a threshold in one wet spring. Those numbers wipe out the labor savings fast.
The other thing that doesn’t show up in a DIY estimate: the value of the guarantee. Our 730-Day Done Right Promise means if a window or door we install isn’t done right, we make it right. That’s one of the longest workmanship guarantees in the residential construction space, and it’s the piece the DIY path can’t replicate. We pair that with no-hassle upfront pricing so the number you see is the number you pay, and 0% financing for 18 months plus $1,000 off projects over $10,000 makes a full window replacement approachable for a lot of homeowners.
Common Mistakes to Avoid
- Shimming a window or door at the wrong points. Shim at the hinge and lock points on doors and at the manufacturer-specified points on windows, not just wherever it’s convenient. Shim too aggressively and you bow the frame, which makes the unit leak at the corner. Too little and the unit moves as the house settles.
- Using high-expansion foam around windows and doors. That stuff is for big cavities. Around a window or door jamb it swells enough to bow the frame and break the seal. Low-expansion window-and-door foam, applied in small passes, is what works.
- Skipping the sill pan on exterior doors. In Carrollton’s storm climate, a door without a sill pan is a door with a future water-damage problem. The pan is inexpensive and invisible once installed; it’s the detail that saves the subfloor.
- Caulking over a leak instead of flashing it correctly. Caulk is a maintenance layer, not a water-diversion layer. If water is getting behind the wall because the flashing is wrong, caulk just delays the discovery. Flash it first, caulk the trim last.
- Installing windows without meeting Texas energy code numbers. Buying the wrong U-factor window from a box store is an easy miss. It passes nobody’s inspection, and it can hurt you at appraisal. Check the NFRC label before you buy.
- Not documenting the install. Keep the permit, keep the manufacturer’s label, and keep the invoice. DIYers often skip this step and regret it at resale. Buyers care in a Carrollton market where home prices have moved.
- Replacing one window instead of evaluating the whole elevation. A single new window on a wall of 20-year-old windows can look mismatched and doesn’t fix the overall thermal envelope. If you’re replacing windows, plan the whole wall of the home in one pass.
See the difference
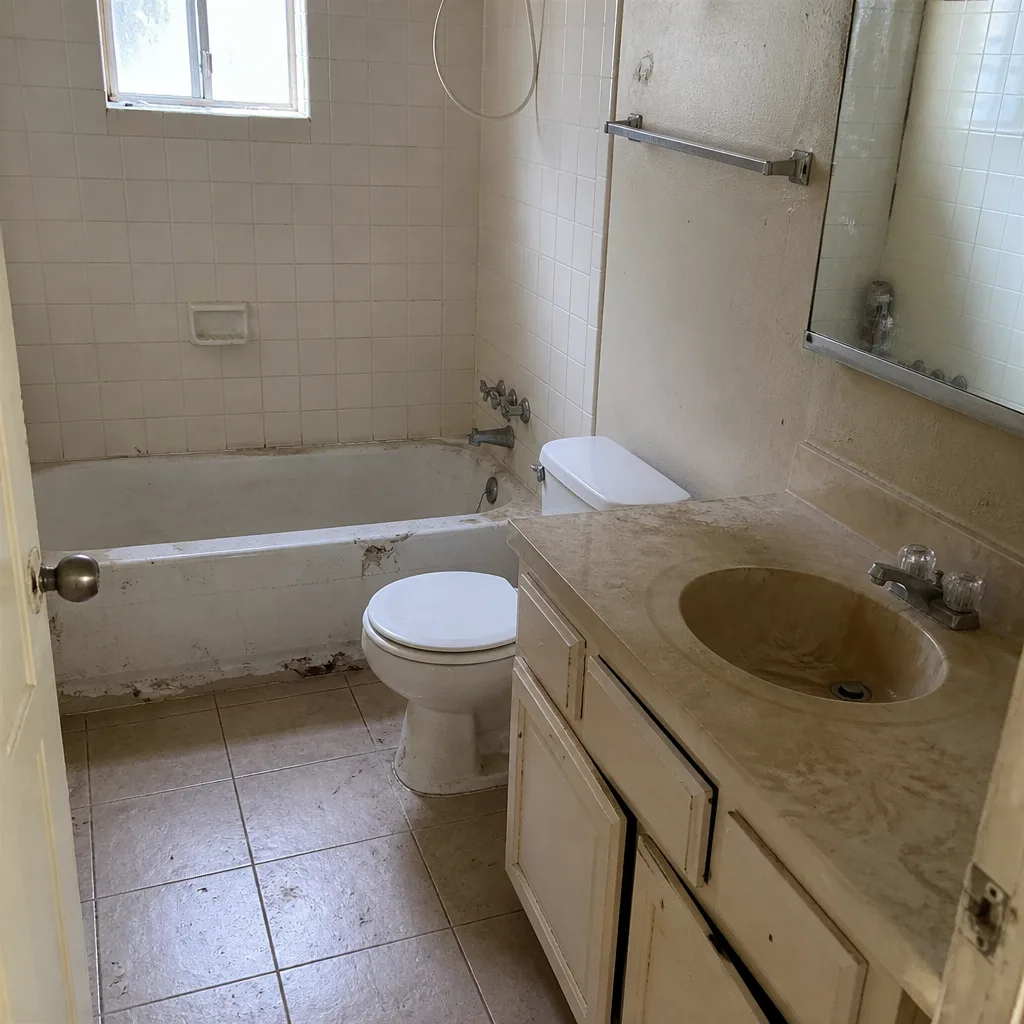 Before
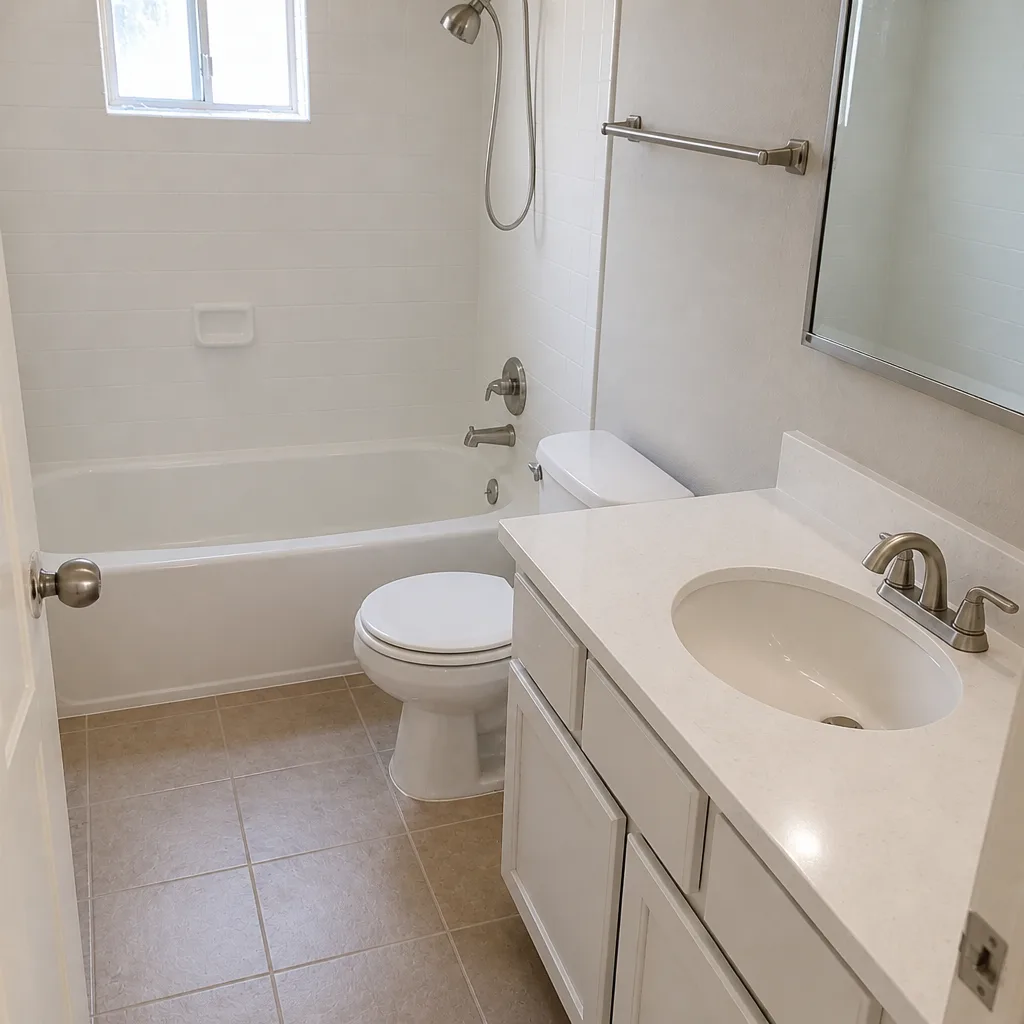 After
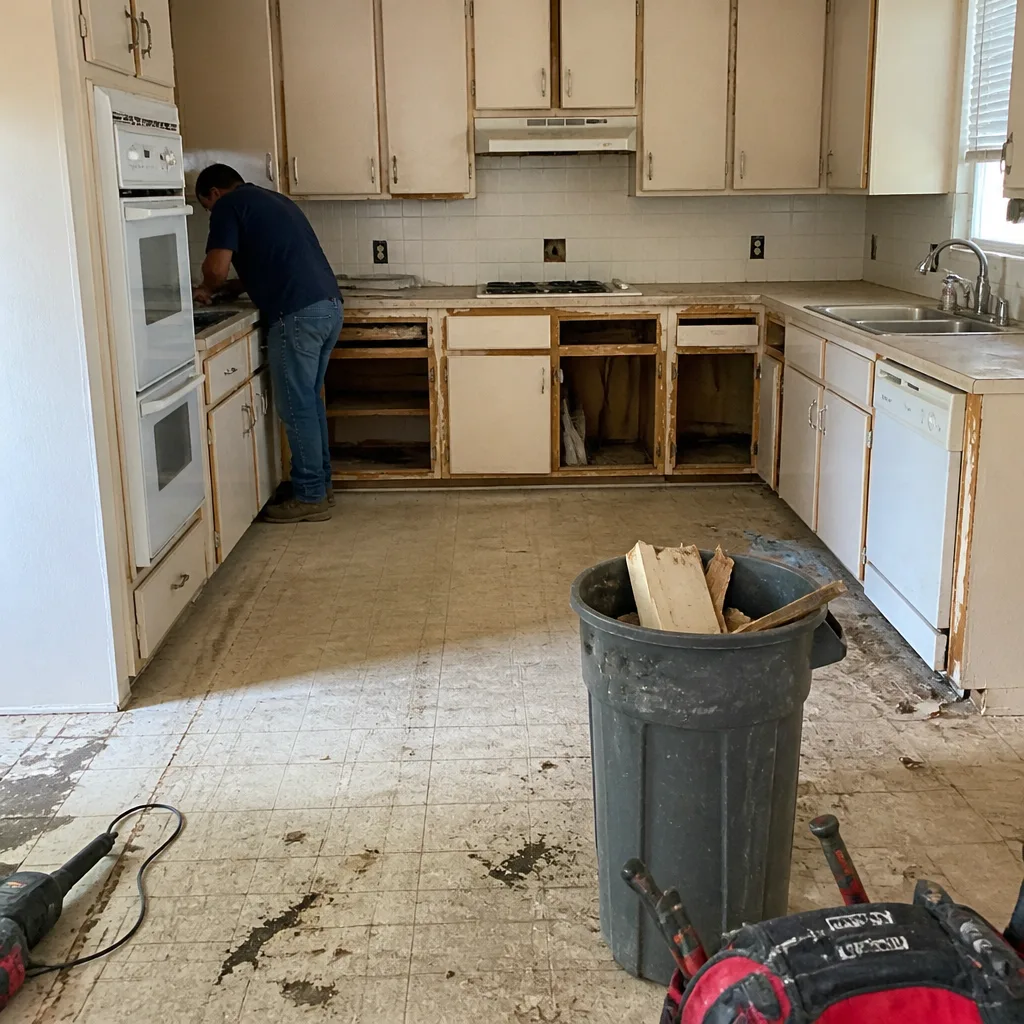 Before
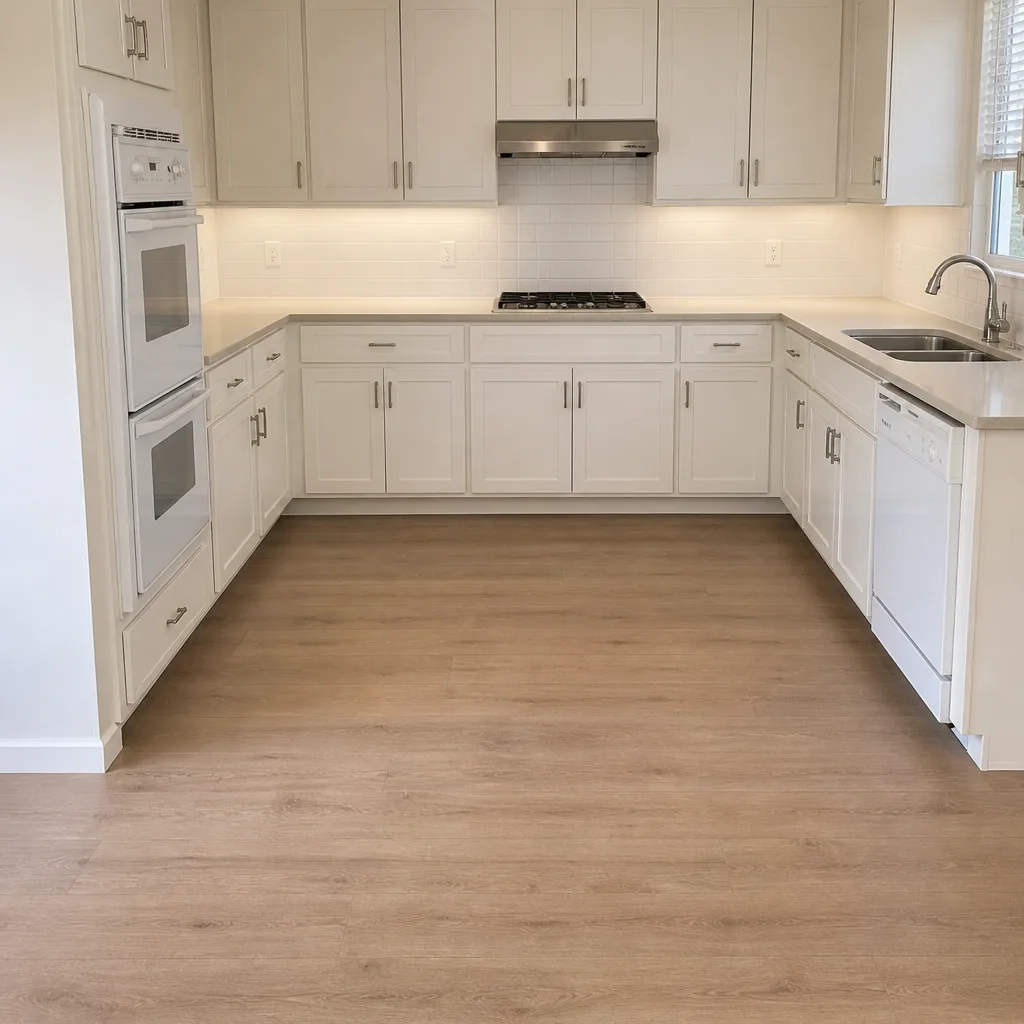 After
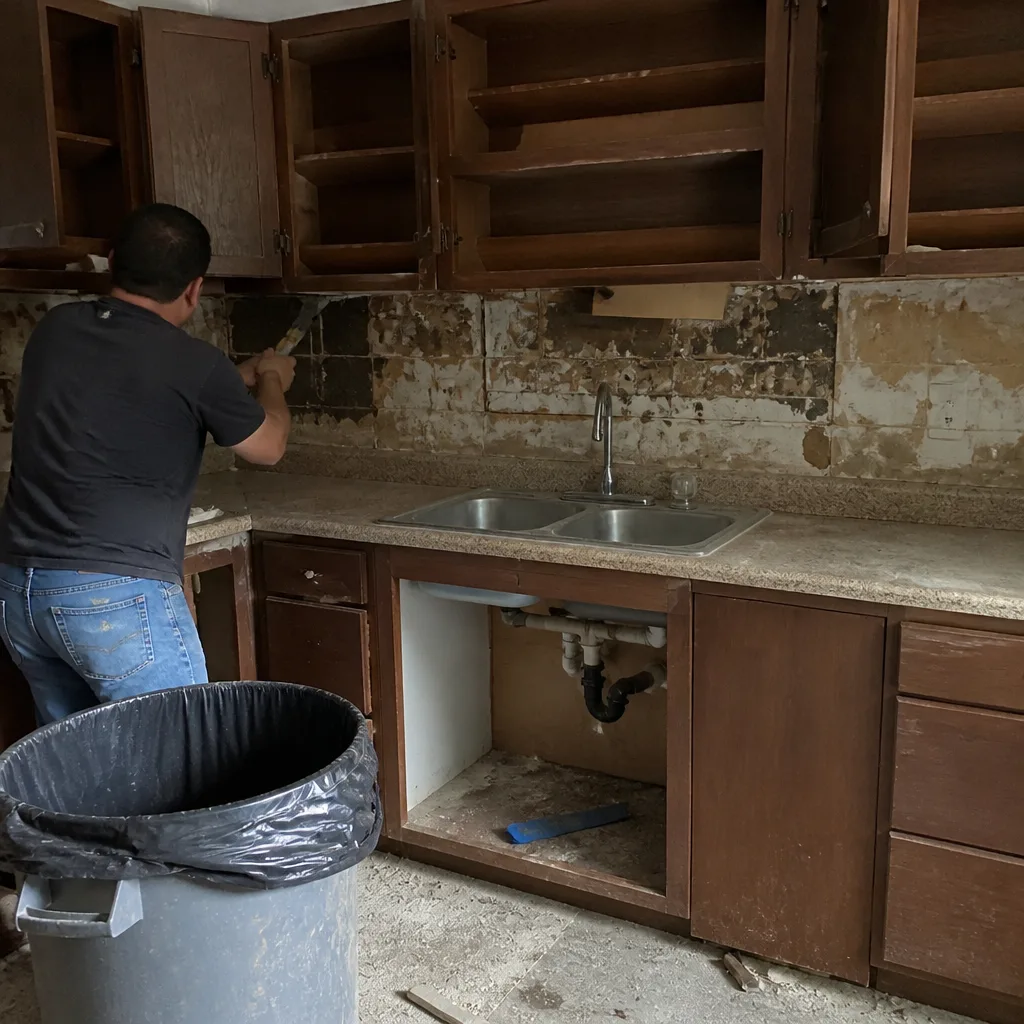 Before
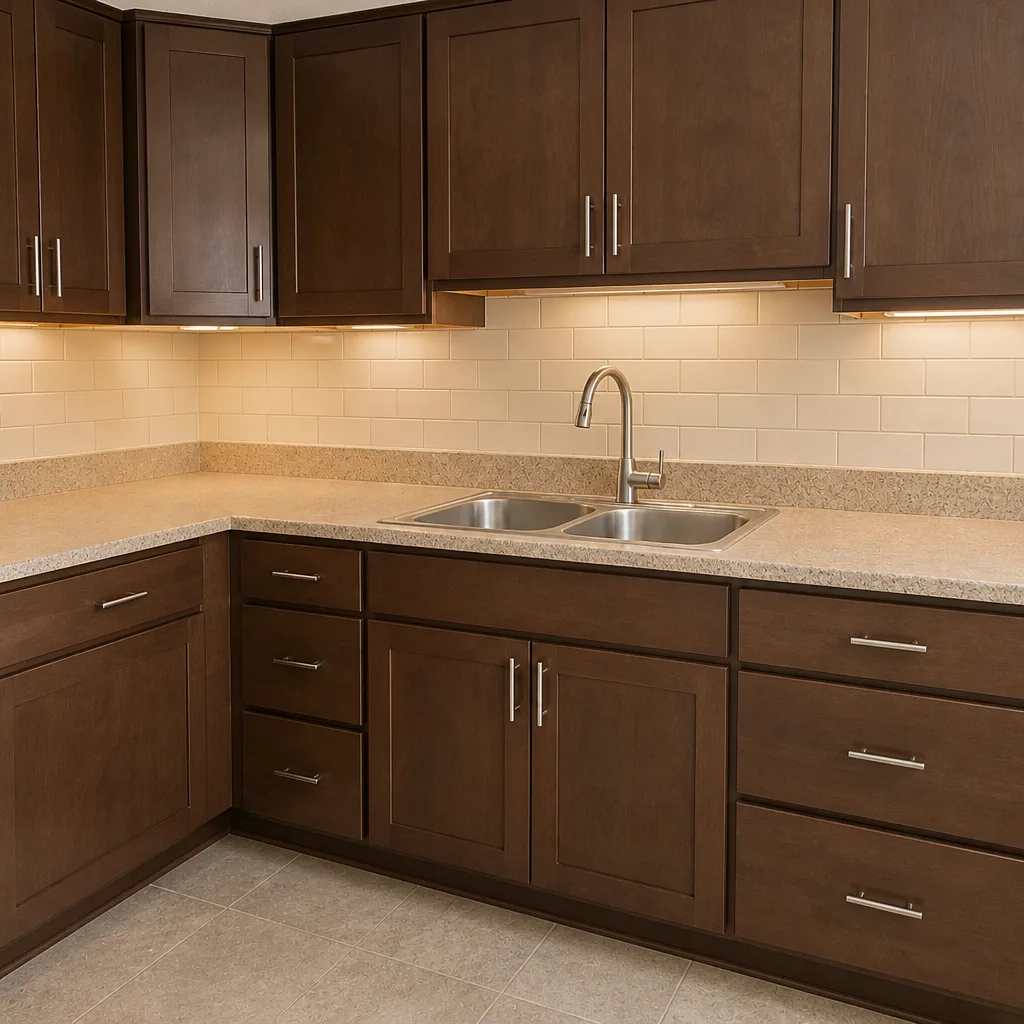 After
When to Call a Professional
Call a professional for any work that touches the rough opening, the flashing, or the structural envelope: full-frame window replacement, exterior door installation, window openings in an addition, and any job where the existing frame has rot, settling, or out-of-square conditions. Also bring in a pro when the project needs a permit, when you’re doing more than one or two inserts, or when the documentation trail matters for resale. And ask for help the moment you find water damage or framing problems behind the trim; those jobs get more expensive the longer they sit.
Groundwork Construction Co. of Carrollton offers free estimates in Carrollton. Our technicians have up to 12 years of experience, and every project is covered by the 730-Day Done Right Promise. We use a curated set of trusted brand partners including Andersen and Marvin for windows, so you’re choosing quality, not just availability. Calls are answered by a live person, 24/7, and technicians arrive background-checked and in uniform. Call (844) 560-0925 to schedule your free estimate.
Frequently Asked Questions

You can safely replace an insert (pocket) window yourself if the existing frame is sound, plumb, and square, and you use low-expansion foam and follow the manufacturer’s shimming instructions. Full-frame window replacement in Carrollton is not a good DIY candidate because it exposes the rough opening, flashing, and wall assembly to water and requires energy code documentation. Call (844) 560-0925 for a free estimate on the full-frame work.
Insert window replacement usually doesn’t require a permit in most Texas jurisdictions, but full-frame replacement and any change to the opening size typically does. Carrollton follows the state-adopted IECC with local amendments, so the specifics depend on scope. Call us at (844) 560-0925 and we’ll tell you whether your project needs a permit before you buy anything.
An insert window fits inside the existing frame without disturbing the rough opening or exterior trim, while a full-frame replacement removes the entire window assembly back to the rough opening. Inserts are faster, cheaper, and DIY-viable. Full-frame jobs let you correct framing problems and expand glass area but require professional flashing, air-sealing, and documentation. Call (844) 560-0925 for a free estimate on either scope.
It can, primarily because DIY installs often lack the permit trail and manufacturer documentation that buyers and appraisers expect. Carrollton home values have risen enough that buyers are paying more attention to documented upgrades. If you’re replacing windows for resale value, a professional install with permits and NFRC labels in hand protects that investment. Call (844) 560-0925 to talk through your options.
Professional window installation in Carrollton typically runs about $450 – $850 per window for insert replacements and $900 – $1,800 per window for full-frame work, depending on brand, size, and trim scope. Andersen and Marvin units land toward the higher end. We offer upfront pricing with no change-order surprises, plus 0% financing for 18 months and $1,000 off projects over $10,000. Call (844) 560-0925 for a free estimate.
Installing an exterior door yourself is possible but carries real risk because the rough opening has to be square, plumb, and level, and the sill pan flashing has to be correct to shed Carrollton’s wind-driven rain. Most DIY door installs we get called to fix failed at the sill. A trained installer handles the prep work in a few hours and backs the result in writing. Call (844) 560-0925 for a free estimate.
The Bottom Line
The safe DIY line on windows and doors is clear: hardware, weatherstripping, thresholds, door sweeps, screens, and single-pane glass are yours to handle, and insert window replacement is viable for a careful homeowner. Everything that touches the rough opening, the flashing, or the energy code documentation belongs to a professional. In Carrollton’s climate, small install errors turn into leaks, rot, and higher utility bills faster than almost anywhere, and the money saved up front rarely covers the repair cost later. Match the scope to your ability, get the documentation right, and keep the 730-Day Done Right Promise in your back pocket for the jobs worth turning over. Call (844) 560-0925 for a free estimate and a straight answer on what’s worth doing yourself.
Written by the team at Groundwork Construction Co. of Carrollton.