Last updated November 18, 2026






Free written scope consultation - allowances, timeline, and change-order rules on paper before a single trade is scheduled
Bathroom Remodeling Maintenance Schedule: What to Do and When
Most bathroom remodels show their first signs of failure within 18 months. Not because the work was bad, but because nobody handed the homeowner a maintenance clock. A new bathroom looks finished the day the last tile is set. In reality it’s a living system of grout, caulk, fixtures, and ventilation, and every one of those parts follows a predictable failure timeline. In our experience across Carrollton, the homeowners who get 20 years out of a remodel aren’t the ones who spent the most. They’re the ones who knew what to check and when. This guide gives you that clock: a month-by-month first year, a year-by-year plan after that, and the specific signals that separate normal settling from a defect the warranty should cover.
Quick Answer
A bathroom remodel needs a checkup at month 1, month 3, month 6, and month 12, then twice a year after that. Year one focuses on caulk joints, grout lines, and drain flow. Years two through five focus on re-sealing stone and grout, ventilation performance, and fixture wear. The single most important task most homeowners skip is cleaning the exhaust fan and checking that it actually vents outdoors, because a fan pushing humid air into an attic grows mold behind finished walls where you can’t see it until the damage is expensive.
Styles & brands we work with
- Kitchen remodeling
- Bathroom remodeling
- Home additions & ADU
- Roofing
- Windows & doors
- Driveway & pavers
- Fence
Table of Contents
- Why a Remodeled Bathroom Needs a Schedule At All
- Your First-Year Timeline: Month by Month
- Years Two Through Five: What Degrades and When
- Caulk and Grout: Why They Fail at Different Speeds in North Texas
- The Ventilation Fan Window Almost Everyone Misses
- Normal Settling vs. a Warranty-Triggering Defect
- Your Seasonal Checklist for Carrollton Conditions
- Five Years and Beyond: The Long-Game Maintenance
Why a Remodeled Bathroom Needs a Schedule At All
A bathroom is the hardest-working room in your house. It cycles through steam and dryness several times a day, it handles the hardest water in the region, and it packs plumbing, electrical, and ventilation into 40 square feet. That combination wears on any material, no matter how premium. Maintenance isn’t a sign the remodel was flawed. It’s how a well-built bathroom stays well-built.
The math is simple. Re-caulking a shower joint costs you a tube of silicone and an afternoon. Fixing the rot behind that joint after water has been seeping in for two years costs thousands. We’ve seen this play out in Carrollton bathrooms built by every kind of contractor, including some very good ones. The failure almost never starts with the tile or the tub. It starts with a small, ignored bead of caulk.
North Texas throws two specific challenges at a bathroom that a homeowner in a milder climate doesn’t face. The first is humidity. Carrollton summers run hot and sticky, and indoor humidity climbs even with the AC running. That slows drying after a shower, which gives moisture more time to work into grout and caulk. The second is our water. Carrollton’s water supply carries a meaningful mineral load, and hard water leaves deposits on glass, fixtures, and grout that, left alone, etch surfaces and feed the mildew that lives in damp corners.
You don’t need to become a plumber. You need a calendar and twenty minutes a season. Here’s the schedule we hand to every Carrollton homeowner we build a bathroom for.
Your First-Year Timeline: Month by Month
The first year after a remodel is when the building materials are still settling into their new home. Wood framing adjusts to indoor humidity, grout cures fully, and caulk bonds finish their initial flex. Your job in year one is observation, not repair. Watch, note, and act early on anything that’s clearly wrong.
Month 1. Walk the whole room with a notepad. Look at every caulk line around the tub, shower pan, and vanity backsplash. Run the fan and feel for strong suction at the grille. Open the vanity cabinet and check under the sink for any weeping at the supply lines and P-trap. Look at the base of the toilet for any water staining.
Month 3. Re-check those same caulk lines. A hairline crack where the caulk meets tile is normal as materials settle. A gap opening wider than a credit card is worth a call. Check the grout on the shower floor for any pinholes or crumbles.
Month 6. This is the first real cleaning milestone. Remove the fan grille and vacuum the blades and housing. Check that the fan still pulls well and isn’t rattling. Look at the caulk joints again. Test the shower door seals and the gaskets around any glass panels.
Month 12. The one-year inspection. Re-caulk anything that’s cracked, re-seal any natural stone if you have it, and confirm the exhaust fan is still venting outdoors through a proper duct and not dumping into the attic. This is also the right time to test the toilet’s wax seal by watching the base for any seep after a heavy flush cycle.
- Month 1: full visual walkthrough, water-leak check under vanity and at toilet base
- Month 3: caulk line inspection, shower floor grout check
- Month 6: exhaust fan cleaning, fixture and gasket inspection
- Month 12: re-caulk as needed, stone re-seal, ventilation duct confirmation
If your remodel was a full-scope job, that one-year inspection is where the Groundwork Construction Co. of Carrollton home team wants to hear from you. A 730-Day Done Right Promise is built for exactly this window. Anything that looks off, we’d rather see it at month 12 than find out about it at year three.
Years Two Through Five: What Degrades and When
By year two, the bathroom has settled and you’re into true wear-and-tear territory. The materials that need attention now are the ones exposed to water, heat, and cleaning products every day.
Grout. Cement-based grout on shower walls and floors wants re-sealing every 12 to 18 months. In Carrollton’s water, we lean toward the shorter end of that range. A shower floor sees the most water and the most mineral deposit, so it usually needs it first.
Caulk. The silicone or siliconized caulk at the tub and shower pan should hold for two to three years before it needs full replacement, if it was installed correctly and cleaned well before it cured. If it was applied over old caulk or a wet surface, it can fail in under a year. That’s one reason we’re picky about prep.
Fixtures. Faucet cartridges, shower valve cartridges, and toilet flappers all wear out on a schedule. Expect a flapper to need replacing around year three to five. A dripping faucet usually means the cartridge, and the fix is cheap if you catch it before the drip stains the finish.
Ventilation. Fan motors last about ten years on average, but performance drops well before the motor quits. We recommend a full fan cleaning every six months in a busy household, and a check of the exterior vent flap every spring to make sure birds haven’t nested in it and it still opens freely.
Glass. Shower door seals and sweeps wear and should be replaced every two to three years. A dried-out sweep lets water escape the shower and quietly soak the floor and baseboard, which is a much bigger problem than a $12 piece of rubber.
Years two through five are also when you’ll notice the finish on a vessel sink or a brushed nickel fixture starting to dull if you’ve been using abrasive cleaners. Soft cloths and mild soap extend the finish for years.
Caulk and Grout: Why They Fail at Different Speeds in North Texas
This is the question we get asked most: why does the caulk in my shower fail so much faster than the grout right next to it? The answer is that they’re doing two different jobs, and they’re exposed to different stresses.
Grout is stiff. It fills the joints between tiles and it wants to stay rigid. When the building settles or the temperature swings, grout cracks because it can’t flex. Caulk is the opposite. It’s designed to stretch and move with the joint. It’s the flexible seal at the tub edge, the shower pan, and the vanity backsplash where two different materials meet.
The problem is that caulk has a shelf life even sitting still. UV light from a window, heat from a hot shower, and the detergents in shampoo and body wash all break down the polymers. In North Texas humidity, that breakdown accelerates because the caulk doesn’t get a full dry cycle between uses. We’ve seen shower caulk fail in 14 months in a busy family bathroom and last four years in a guest bath nobody uses. Same product, different environment.
Here’s what actually extends caulk life:
- 100% silicone caulk at the tub, shower pan, and any wet joint. It costs more than siliconized acrylic and it’s worth it. It flexes further and lasts longer before it cracks.
- Mildew-resistant silicone in showers. The additive doesn’t kill mold forever, but it delays the black spotting that shows up in damp corners.
- Proper surface prep before the new bead. Caulk won’t bond to old caulk or to a wet or soapy surface. A clean, dry, residue-free joint is the single biggest factor in how long the new bead lasts.
- Backer rod in wide joints. If a gap is wider than about a quarter inch, caulk alone will sag and fail. A foam backer rod gives it shape and support.
Grout, meanwhile, wants the opposite treatment. Keep it sealed with a penetrating sealer so it repels water without trapping it. Re-seal shower walls annually and shower floors every 12 to 18 months. If a grout line cracks repeatedly in the same spot, that’s a sign of movement behind the tile, not a sealer problem, and it’s worth a professional look.
This is the point in the conversation where we usually tell Carrollton homeowners: don’t re-caulk over a failed bead. Cut it out, clean the joint, let it dry, and do it fresh. Half the re-caulk jobs we get called about are really failed first re-caulk jobs by someone who skipped the prep.
The Ventilation Fan Window Almost Everyone Misses
Here’s the maintenance task that causes more hidden damage than any other: cleaning and verifying the bathroom exhaust fan. Most homeowners turn the fan on, hear it whirring, and assume it’s working. A fan can run, spin, and make noise for years while moving almost no air. That’s when moisture starts collecting behind finished walls, and by the time you smell or see the mold, the drywall and framing are involved.
The fan has two jobs and they need checking separately. The first is pulling humid air out of the room. The second is getting that air outdoors. A fan ducted into an attic is a common shortcut in older remodels, and it’s a real problem. The moisture goes into the attic, condenses on cold surfaces in winter, and grows mold on the underside of roof sheathing. In Carrollton attics, which get blistering hot and then cool fast, that condensation cycling is aggressive.
Here’s the ventilation maintenance window we recommend:
- Every 6 months: remove the fan grille, vacuum the blades and motor housing, and check the fan still pulls strong airflow (a quick tissue test at the grille tells you a lot).
- Every 6 months: check the exterior vent flap on the outside wall or roof to confirm it opens freely and isn’t blocked by nesting birds or debris.
- Once a year: confirm the duct runs outdoors, not into the attic. If you can’t see where the duct goes, a contractor can trace it.
- Every 10 years: plan to replace the fan. Motors lose efficiency and new fans are quieter and move more air for the same footprint.
If your fan is more than eight years old and you’ve never cleaned it, clean it this weekend. If it’s still noisy and weak after cleaning, it needs replacing. The Bathroom Remodeling in Carrollton team checks ventilation during every project because we’ve seen what years of a fan venting into an attic does to a home’s interior.
Normal Settling vs. a Warranty-Triggering Defect
Here’s where a lot of homeowners get confused, and where a good contractor earns their keep. Some movement after a remodel is normal. Some isn’t. Knowing the difference tells you when to take a deep breath and when to pick up the phone.
Normal settling looks like: a hairline caulk crack at a joint that’s less than about an eighth inch wide, a drywall nail pop that can be touched up with spackle, a shower door that needs a tiny adjustment to swing right again, or grout that’s fine but needs re-sealing after a year. These are cosmetic and expected in any new construction.
Warranty-worth looks like: water showing up where it shouldn’t (base of the toilet, under the vanity, along a shower curb), a caulk gap that’s widening visibly over weeks, a soft spot in the subfloor you can feel through the tile, grout that keeps cracking in the same line despite re-sealing, mold appearing on a wall that shouldn’t stay wet, or a fan that runs but the mirror stays fogged for 20 minutes after a shower. Those point to something wrong behind the surface.
One rule of thumb we’ve shared with enough Carrollton homeowners to trust it: if the problem is water getting somewhere it shouldn’t, or a gap that keeps growing, call a professional. If it’s a cosmetic hairline, note it and keep an eye on it.
This is also where the paperwork matters. A meaningful workmanship warranty is the difference between “we’ll see if the crew feels like coming back” and a documented promise. Our 730-Day Done Right Promise covers workmanship for two full years, and if it’s not done right, we make it right. When you’re comparing contractors or reading a home warranty, ask what the actual term is and what it covers. Then put your checkup dates in your phone.
Your Seasonal Checklist for Carrollton Conditions
Carrollton’s weather has two real maintenance seasons. Summer is the humidity and heat test on your ventilation and your AC’s dehumidification. Winter, especially around the freezes North Texas has been getting, is the test on plumbing and caulk flex. Here’s a seasonal checklist built for those conditions.
Spring (March through May)
- Inspect the exterior vent flap after winter for nesting birds and debris
- Clean the exhaust fan grille and vacuum the housing
- Check caulk lines after the winter freeze-thaw and any cold snaps
- Clean shower glass with a hard-water-appropriate cleaner to remove winter mineral buildup
Summer (June through August)
- Watch indoor humidity. A mirror that stays fogged 15 minutes after a shower is a sign the fan isn’t keeping up
- Check the fan’s airflow again mid-summer when the AC is working hardest
- Re-seal stone countertops and any stone shower tile if it’s due
- Check the base of the toilet and the supply lines under the vanity for any condensation or staining
Fall (September through November)
- Clean the fan again and confirm the duct still vents outdoors
- Re-seal shower grout and re-caulk any joints that opened over the summer
- Test the shower door sweeps and replace any that are stiff or cracked
- Check that the toilet shutoff valve still turns freely before winter
Winter (December through February)
- Check the caulk at the tub and shower pan after the first hard freeze, since cold snaps make the joint flex
- Watch for any staining at the base of the toilet that appears after a freeze event
- Keep the bathroom heated during freezes so the plumbing doesn’t stress
- Re-check the vent flap after windy storms
None of this takes more than an hour a season. Put the dates in your phone calendar and you’ll never think about it again until you’re doing it. If you’re planning a remodel and want a contractor who’ll hand you this schedule as part of the job, the Bathroom Remodeling page for Carrollton is where to start.
Five Years and Beyond: The Long-Game Maintenance
Past year five, the maintenance shifts from active checking to planned replacement. Nothing in a bathroom lasts forever, but a well-maintained one lasts a long time. Here’s the replacement timeline we tell homeowners to expect, in a bathroom that’s been kept up on the schedule above.
- Caulk: full replacement every three to five years in a busy shower, longer in a guest bath
- Grout sealer: reapply every 12 to 18 months, with the shower floor earliest
- Toilet flapper and fill valve: replace around year five, or sooner if the toilet runs between flushes
- Faucet cartridges: replace when they start to drip, typically every five to eight years
- Shower door sweeps and seals: replace every two to three years
- Exhaust fan: plan to replace around year ten
- Vanity finish: paint or refinish when wear shows, usually eight to twelve years
Beyond the fixtures, the biggest long-horizon item is water. A bathroom that’s had no leaks for 15 years is a bathroom that’s going to last decades. A bathroom that’s been quietly draining into a subfloor for 8 years is a problem waiting to be discovered. The seasonal checklist is the cheapest insurance you’ll ever buy.
When you eventually do replace rather than maintain, it’s a good moment to think about the whole home. A bathroom refresh often pairs with a bigger project, and homeowners exploring that route look at Home Additions & ADU in Carrollton when they want more room rather than less. Whichever path you take, quality materials matter. We work with brands like Kohler for fixtures because the finish and the internal parts hold up, and we’ve seen the difference between a Kohler cartridge and a builder-grade one at year six.
The 730-Day Done Right Promise sits on top of all this. It’s there so that if something we built fails early, you’re not the one paying for it. If you’re reading this and something in your bathroom doesn’t look right, call us before it becomes a project instead of a repair.
Maintenance isn’t the only thing worth planning. When you’re ready to talk exterior and hardscape projects for the property, our Fence Installation in Carrollton and Driveway & Pavers in Carrollton teams handle those too, with the same written guarantee on the back end. One contractor, foundation to finish line.
Common Mistakes to Avoid
- Re-caulking over old caulk. New caulk won’t bond to old caulk, and it will peel within months. Cut it out, clean the joint, let it dry fully, then apply fresh silicone.
- Ignoring a pinhole grout crack on the shower floor. That tiny gap lets water into the mortar bed under the tile. In Carrollton’s hard water, it also accelerates staining. It’s a 30-minute fix now, an expensive one later.
- Believing a running fan is a working fan. A fan can spin and move almost no air. Test airflow every six months and clean the grille. A fan that vents into the attic is a mold problem behind your walls.
- Using bleach on moldy caulk. Bleach cleans the surface but doesn’t kill mold that’s rooted in the caulk. If the caulk is spotted, replace it. If the mold keeps coming back in the same spot, the moisture source is behind the wall.
- Skipping the winter check after a freeze. North Texas freezes stress plumbing and caulk joints. The week after a hard freeze is the most important inspection window of the year.
- Cleaning natural stone with acidic or abrasive cleaners. Marble and limestone vanities etched by the wrong cleaner are a common sight in Carrollton homes. Use a pH-neutral stone cleaner every time.
- Throwing away the warranty paperwork. When something does need a warranty call, the documentation is what makes the call go fast. Keep the contractor’s written guarantee with your home records.
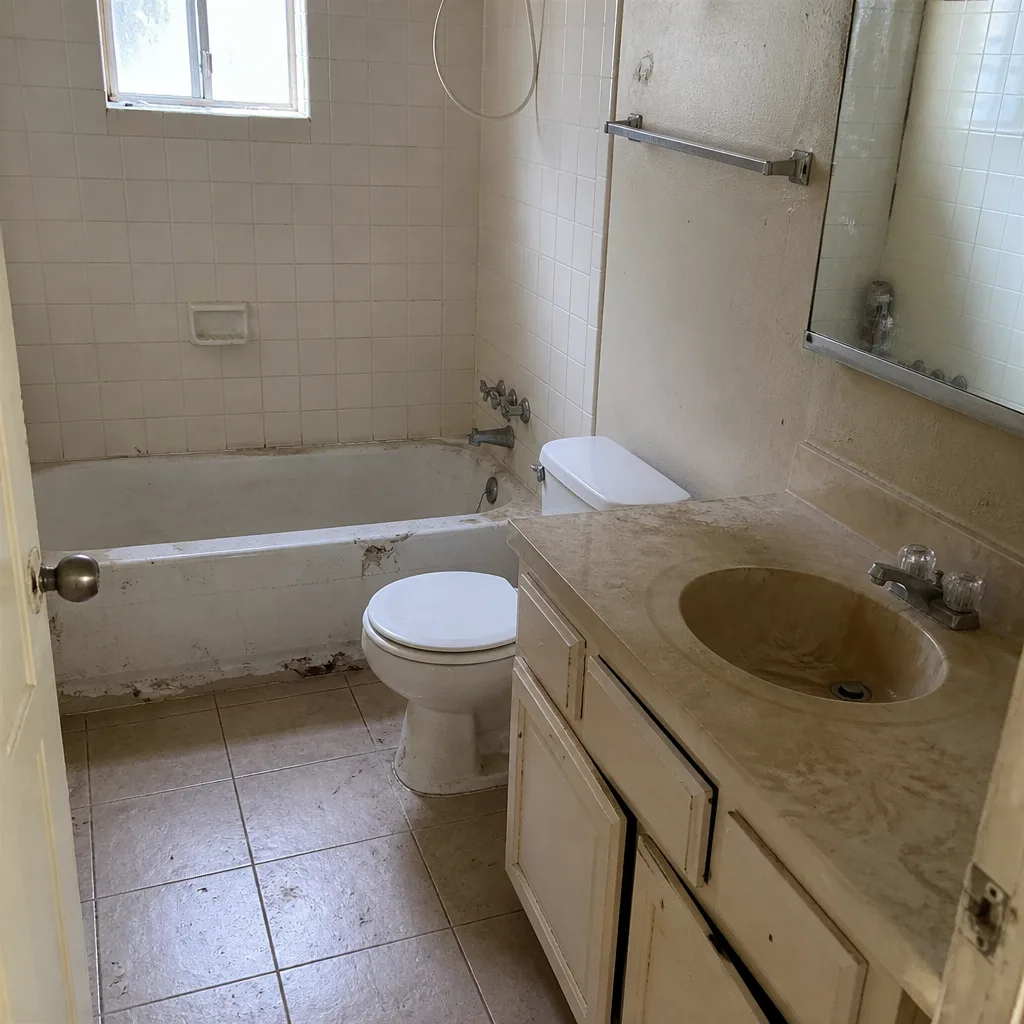
See the difference
 Before
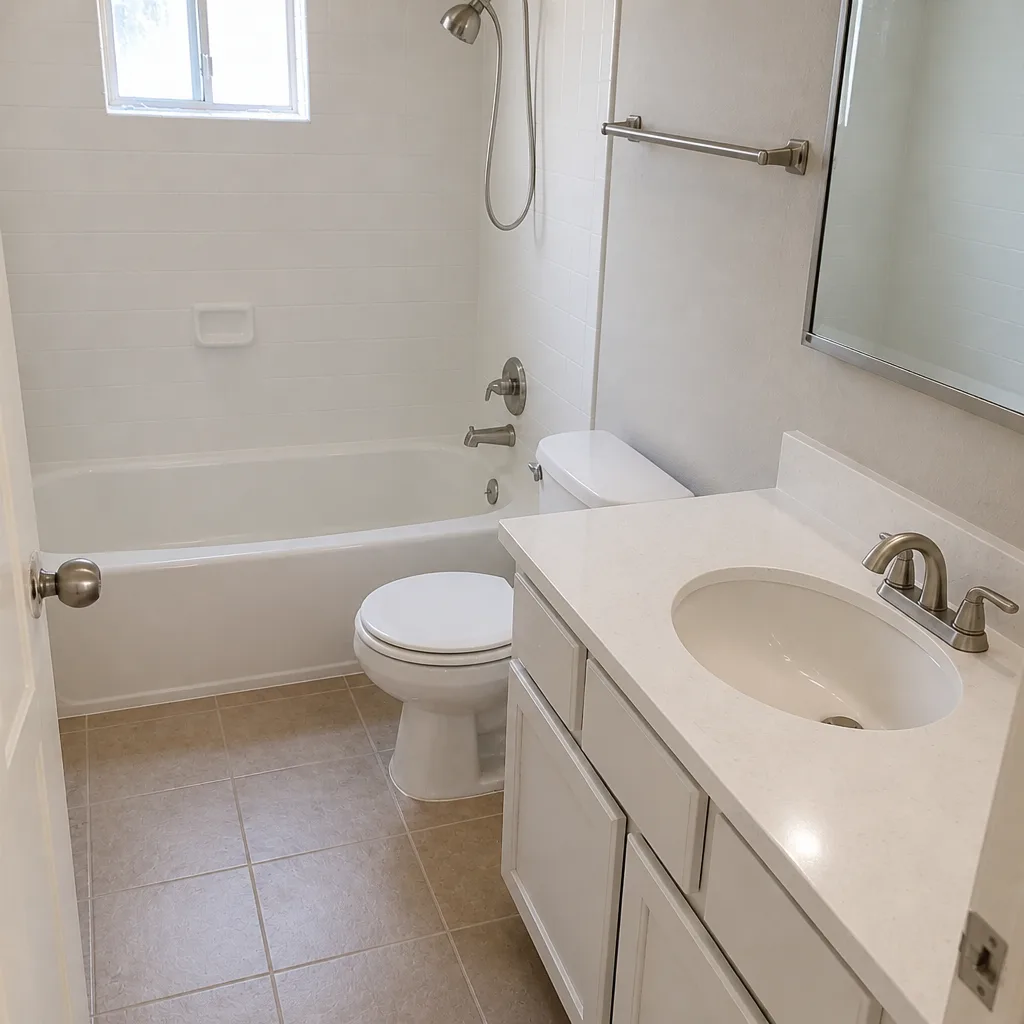 After
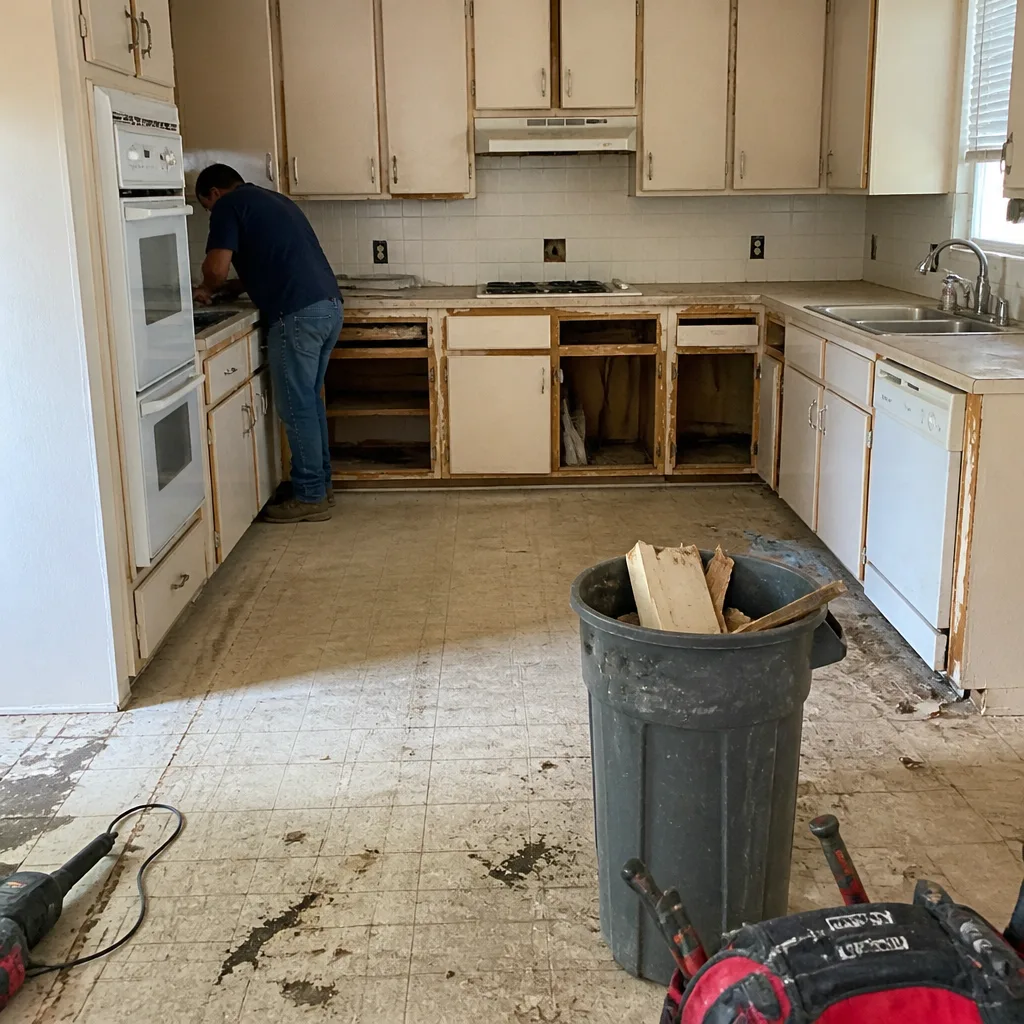 Before
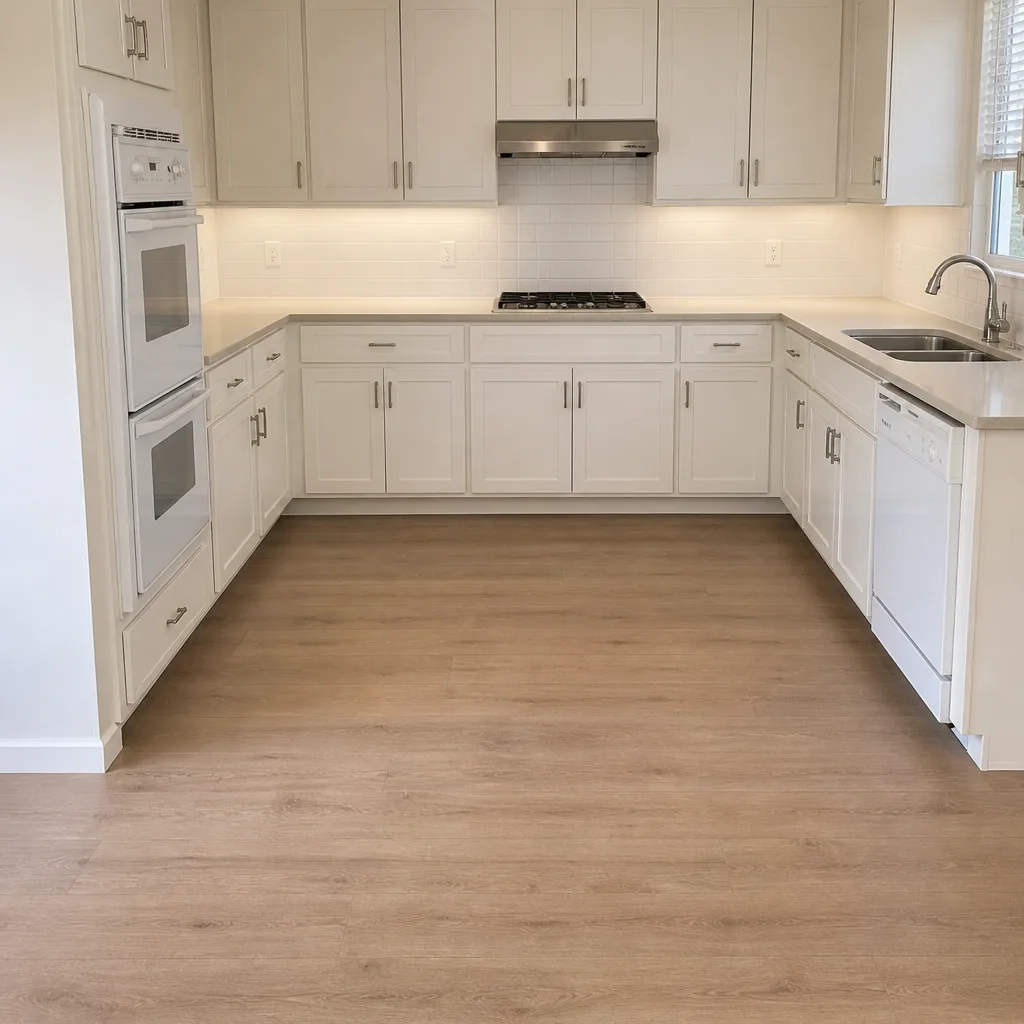 After
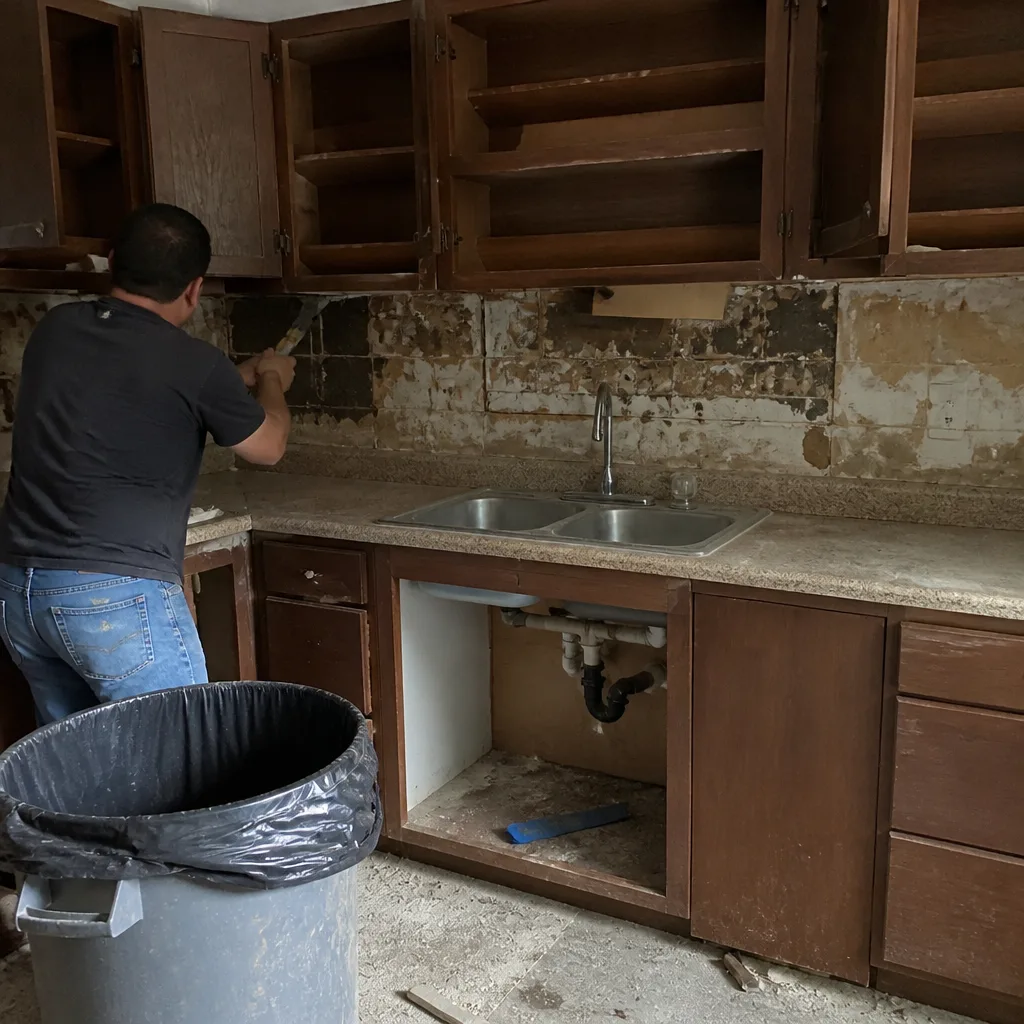 Before
 After
When to Call a Professional
Some of this schedule is homeowner work: cleaning, checking, re-caulking, re-sealing. Some of it isn’t. Call a professional when you’re dealing with any of the following: water appearing at the base of the toilet, along a shower curb, or under the vanity; a caulk gap that keeps widening after a fresh bead; soft spots in the tile floor or a squishy feel near the shower drain; mold returning to the same wall or ceiling spot within weeks of cleaning; a fan that spins but doesn’t clear the mirrors; grout cracking repeatedly in the same line; or any damage you suspect ties back to how the remodel was built. Those are the signals that the problem is behind the finish, not in the finish, and they’re worth a look before a small defect becomes a big repair.
Groundwork Construction Co. of Carrollton offers free estimates in Carrollton. Call (844) 560-0925 and a live person will take your call, any hour, any day. We’ll come look, tell you honestly whether it’s maintenance or a warranty matter, and put the next step in writing. Upfront pricing, no surprises, and a 730-Day Done Right Promise on the work we do.
Frequently Asked Questions
Plan on a full re-caulk of the shower every three to five years if it was installed with 100% silicone and prepped correctly. Inspect the joints every three months and touch up any hairline crack before it reaches the width of a credit card. If your caulk was builder-grade siliconized acrylic, expect to re-caulk closer to every two years. Call (844) 560-0925 if you’re not sure what’s in there now.
The fan is probably moving far less air than its rating, or its duct is blocked or venting into the attic. Clean the grille and blades first, then check the exterior flap. If it’s still weak, the fan likely needs replacing or the duct needs rerouting. That’s a common call in Carrollton homes where the fan was installed as an afterthought. Call us for a free look.
A hairline caulk crack under an eighth inch wide is normal settling. A gap that’s widening, water showing up where it shouldn’t, a soft floor, or mold returning to the same spot are warranty-worthy and should be called in. If the bathroom was built with our 730-Day Done Right Promise, we’d rather hear from you about it than have you worry about it.
Wipe glass and fixtures dry after each shower, use a pH-neutral cleaner weekly, and re-seal grout on the 12-to-18-month schedule. A squeegee on shower glass takes ten seconds and saves years of mineral buildup. If you have a whole-house softener, use it; it makes a real difference on a North Texas bathroom.
Cleaning and verifying the exhaust fan. It’s the task that prevents hidden damage, and it’s the task almost everyone skips. Every six months: grille off, vacuum, and confirm airflow. Annually: confirm the duct runs outdoors. That’s it. Do that and you prevent the mold-behind-drywall problem that shows up years later as an expensive repair.
Re-caulking a shower is a reasonable homeowner job if you use 100% silicone, prep the joint properly, and let it cure fully. Where it gets tricky is if you don’t know how long the caulk has been failing or what’s behind the joint. If water has been getting in, a professional assessment is worth it before you caulk over a real problem. Call (844) 560-0925 and we’ll tell you straight.
The Bottom Line
A bathroom remodel is a system, and systems need checkups. The month-1, month-3, month-6, and month-12 inspections in year one catch the settling. The seasonal checklist in the years after keeps the caulk, grout, ventilation, and fixtures in working order. The task that matters most is the one nobody does: cleaning the fan and confirming it vents outdoors. Do that, and the 730-Day Done Right Promise covers the workmanship while the calendar covers the wear. You’ll get a decade or more out of a Carrollton bathroom that gets even a modest dose of attention. Skip the schedule and the system will tell you about it, usually in a way that costs more. When in doubt, call. We answer the phone, any hour.
Call (844) 560-0925 to schedule your free estimate. Our technicians have up to 12 years of experience, they’re background-checked and arrive in uniform, and every project comes with our 730-Day Done Right Promise and upfront pricing. Ask about our current offers: $1,000 off projects over $10,000, and 0% financing for 18 months.
Written by the team at Groundwork Construction Co. of Carrollton.