Last updated November 18, 2026








Free written scope consultation - allowances, timeline, and change-order rules on paper before a single trade is scheduled
Bathroom Remodeling Troubleshooting: Common Problems and How to Fix Them
Grout cracking within the first year of a new bathroom isn’t a grout problem. It’s almost always a substrate flex or tile lippage problem that was set in place long before the grout was applied, and re-grouting it is the remodeling equivalent of painting over rot. We’ve walked into Carrollton bathrooms where a homeowner has paid for the same cosmetic fix three times because nobody diagnosed the cause. Here’s what we’ve learned from tearing them back down to the studs: nearly every post-remodel failure traces to one of three root causes. Improper waterproofing. Inadequate ventilation. Rushed tile installation. This guide teaches you to identify which one you have, what the actual repair scope looks like, and when the fix is an afternoon versus a full tear-out.
Quick Answer
Most bathroom remodel problems fall into three diagnostic buckets: waterproofing failures (leaks, mold, soft drywall near the pan or seams), ventilation problems (fogged mirrors, recurring surface mold, high humidity that never clears), and tile installation defects (cracked grout, hollow spots, lippage). Fixing the symptom without diagnosing the root cause means the repair won’t hold. Grout cracks from substrate flex, not bad grout. Mold from a fan that moves too little air for the room’s cubic footage. A slow drain from a disturbed vent line. Identify the cause first, then scope the repair.
Styles & brands we work with
- Kitchen remodeling
- Bathroom remodeling
- Home additions & ADU
- Roofing
- Windows & doors
- Driveway & pavers
- Fence
Table of Contents
- Moisture and Mold After a Remodel: Three Different Problems, Three Different Fixes
- Tile and Grout Failures: Diagnosing Hollow Spots, Cracks, and Lippage
- Plumbing Problems After a Remodel: Slow Drains and Pressure Drops
- Exhaust Fan Performance: Why Your New Fan Still Fogs the Mirror
- Waterproofing Failures at the Pan and Seams
- How to Escalate a Warranty Claim the Right Way
- When to Call a Third-Party Inspector
- Common Mistakes to Avoid
Moisture and Mold After a Remodel: Three Different Problems, Three Different Fixes
Mold returns after a remodel because nobody identified why it grew in the first place. There are three causes, and they require very different repairs. Get the diagnosis wrong and you’ll be wiping the same black spots off the same grout lines every few months.
1. A ventilation CFM problem
If the mold reappears in the same spots, if the mirror fogs for more than a few minutes after a hot shower, and if the ceiling above the shower shows dark speckling, you likely have a fan that moves too little air for the room. Ventilation is measured in cubic feet per minute. A fan rated below the room’s requirement can’t clear the moisture load, so it condenses on tile, grout, and paint. The fix here is a fan upgrade and proper duct routing, not a new shower.
2. A waterproofing failure at the pan or seams
Mold confined to the base of the shower, soft or stained drywall on the opposite side of the wall, or a persistent musty smell that doesn’t clear with the fan running points to water getting behind the surface. Pan failures (a pre-slope installed flat or reversed, a liner punctured during tile work, a curb built over the liner rather than under it) and seam failures (backer board joints not taped and coated, corners without proper waterproof membrane) are the two most common culprits. This is a tear-out issue, not a surface issue.
3. Existing structural moisture the remodel didn’t address
Sometimes the moisture has nothing to do with the bathroom. A roof leak, a failing exterior window seal, or a slab moisture issue moving up through the floor can show as damp drywall in a bathroom corner. If the mold keeps returning in the same spot no matter what’s done inside the room, look up and outward before tearing anything out. In Carrollton’s climate, where we swing between humid summers and dry north Texas winters, exterior moisture intrusion into the wall cavity is a common hidden contributor.
Tile and Grout Failures: Diagnosing Hollow Spots, Cracks, and Lippage
Tile failures are diagnostic gold. Every symptom tells you what happened under the surface, sometimes months before the tile was even laid. Here’s how to read them.
Hollow spots (tap test)
Tap the tile with a plastic tool or a coin. A dull, hollow thud rather than a crisp tap signals a tile that isn’t bonded to the substrate. Causes: thinset that skinned over before the tile was set, insufficient thinset coverage (you want 95% coverage on a wet area), or the tile was installed over a substrate that flexes. Hollow tiles in a wet area will eventually crack or lift, and they leave an easy path for water to get behind the tile. If you find more than a few, plan on replacement.
Cracked grout lines
Grout cracks along straight runs, over backer board seams, or following a line parallel to the framing. That’s the substrate telegraphing through. It means the backer board isn’t properly fastened, the seams aren’t taped and reinforced, or the framing itself is moving under load. Re-grouting fixes the look for a few months; it never fixes the cause. Flexible sealant at corners and changes in plane is one thing; cracked grout in the field is another.
Lippage
Lippage is when one tile edge sits higher than its neighbor. It usually comes from a substrate that isn’t flat, from an installer who didn’t use a leveling clip system, or from large-format tile set over a floor with deflection. Anything more than 1/16 of an inch lip on a floor is a trip and moisture trap. Diagnosing it is easy; fixing it means pulling the affected tile, re-flattening the substrate, and setting new tile – typically a larger scope than homeowners expect.
If you’re planning a bathroom in Carrollton, understand that the tile is only as good as what’s under it. That’s the same principle behind Groundwork Construction Co. of Carrollton home project standards: the visible finish is the last thing we worry about, because the first thing we worry about is what’s holding it up.
Plumbing Problems After a Remodel: Slow Drains and Pressure Drops
A drain that wasn’t slow before the remodel and is slow now is rarely a clog. It’s almost always a venting problem. Plumbing drains need air behind the water, and if a vent line was cut, rerouted, or capped to make room for a new shower valve or a relocated fixture, the drain runs slow because the water is trying to pull air through the same trap. It gurgles, it burps, it drains like molasses.
Typical causes
- A vent line was capped or rerouted during the demo and not properly reconnected. This is the most common cause of new slow drains.
- A new fixture was added to a line that couldn’t handle the added drain load without upgrading the vent or re-sloping the line.
- The trap arm is now too long for the new fixture location, which siphons the trap and causes gurgling.
- Debris in the drain from thinset, grout, or mortar that got washed down during the tile work. This looks identical to a venting issue until you camera the line.
Pressure drops at new fixtures
If the new shower runs at the same pressure as the old and the new vanity faucet runs fine, the pressure is where it should be. If the new rain head or the new hand-held is noticeably weaker than the old fixture, the culprit is usually a flow restrictor that isn’t what the fixture needs (stateside hardware often ships with a lower-flow restrictor by design), a supply line that’s sized too small, or debris in the cartridge from the remodel. None of those requires a re-pipe. They’re easy fixes if you know what to look for, and a nightmare to diagnose by guessing.
For Carrollton homes with older plumbing, that same trap-and-vent risk shows up in projects beyond the bathroom. Our Home Additions & ADU in Carrollton projects run into it constantly, because adding a bathroom to a garage or a detached structure means running new lines and new vents into a system that wasn’t designed for them.
Exhaust Fan Performance: Why Your New Fan Still Fogs the Mirror
A new fan that still leaves the mirror fogged after a ten-minute shower has one of four problems. Diagnose it by working through the list in order before you buy another fan.
- Undersized fan. The fan must be rated to move the room’s full volume of air in the manufacturer’s recommended time. For a typical 5 x 8 bathroom with an 8-foot ceiling, you’re looking at roughly 70 to 80 CFM. Larger bathrooms, higher ceilings, or showers with multiple heads need more. A common mistake: the fan was sized for a smaller room and carried over from a previous layout.
- Inadequate or blocked ducting. A fan can be rated at 110 CFM and still move 40 because the duct is undersized, has too many elbows, is crushed, or vents into the attic instead of outside. In Carrollton, venting into the attic is not an acceptable fix – it just relocates the moisture load. The duct should be smooth-walled, insulated, and routed to the exterior with as few bends as possible.
- Backdraft damper failure. The fan’s flapper may be stuck open, letting humid outside air back into the room after the fan is off. Check by running the fan and seeing if the flapper opens fully. A stuck damper often makes the fan sound like it’s working when it isn’t moving air.
- Improper installation. A fan that’s not sealed to the ceiling drywall, or one that’s fighting a pressure imbalance because the room is too tight or too leaky, won’t move the air it’s rated for. Modern tight homes in Carrollton need a makeup air path for the fan to actually pull.
Carrollton’s humidity reality matters here. Our summers run at dew points that make outdoor air feel like a sauna, and the shoulder months are just as bad. A fan rated for a Chicago bathroom will struggle here because the moisture load in the room is higher and the outdoor air that comes in through any makeup air path is already carrying water. Oversize slightly. Then verify with a humidity gauge after a hot shower: relative humidity should drop below 60% within 15 minutes of the fan running. If it doesn’t, the fan or duct is the problem.
Waterproofing Failures at the Pan and Seams
Waterproofing is the one thing you can’t see, can’t test with a tap, and can’t fix once the tile is down without pulling the tile. That’s why it needs to be right on day one. Three specific failure points account for most of what we see in Carrollton bathrooms.
The shower pan
A properly built pan has a pre-slope under the liner that tilts toward the drain, a liner that runs up the walls above the threshold, and a final sloped mud bed over it. Common failures: the pre-slope was skipped or reversed, so water pools on the flat liner and never drains; the liner was punctured by a fastener at the curb or a corner; the curb was built by stacking bricks directly on the liner rather than inside a liner-and-membrane sandwich. All three failures look identical from the surface – a slow seep that shows up as staining or mold on the wall behind the shower or the ceiling below – and all three require a pan tear-out.
Wall seams and corners
Cement backer board is not waterproof. It’s water-resistant, and it will pass water through to the framing if the seams aren’t treated. A proper assembly uses an applied liquid membrane or a sheet membrane over the seams, corners, and fastener heads, plus a band around the valve and at the wall-to-pan transition. The two mistakes we see most: backer board butt-jointed without proper seam tape and coating, and the waterproofing running short of the shower floor by a few inches – which is exactly where water sits.
What the repair scope looks like
Pan failure: tear out the shower floor and the lower 6 to 12 inches of wall tile, rebuild the pan, and tie the new waterproofing into the existing wall membrane. Seam failure: tear out the affected wall section only, replace the backer board, and re-waterproof. Full envelope failure (membrane missing or wrong): full shower tear-out. That last category is what a lot of “the tile was new but the shower leaked” calls actually turn out to be.
Waterproofing failures are also why we treat bathroom work from the substrate up. The same standard applies to our Driveway & Pavers in Carrollton projects, where the visible surface is only as good as the base under it. Groundwork Construction Co. of Carrollton backs all work with the 730-Day Done Right Promise – if it’s not done right, we make it right.
How to Escalate a Warranty Claim the Right Way
Most warranty disputes are documentation disputes, not workmanship disputes. The homeowner who calls and says “the shower leaks” gets a slower response than the homeowner who calls with a file. Here’s what to assemble before you pick up the phone.
- Photos with dates. The day the problem appeared, the progression over the following weeks, and a clear shot of the location relative to the room layout. Phone photos are fine; time-stamped is better.
- The original contract and change orders. The scope of work, the materials specified, and any written changes during the project. A change order that swapped the pan liner brand, or that skipped a venting upgrade, can shift the analysis.
- The project timeline. Date of completion, date the issue appeared, date you first reported it. Warranty coverage often depends on reasonable reporting, so document it.
- Written notice. A phone call is a start; a written notice (email is fine) creates a record. State the issue, the date it appeared, the requested remedy, and a reasonable response window. The 730-Day Done Right Promise is written for exactly this reason: the remedy is defined upfront.
What “normal settling” looks like vs. defective workmanship
Hairline movement at the corner where two surfaces meet, a minor caulk joint that opens seasonally with the change from humid Texas summer to dry winter, and a small gap at the wall-to-floor transition that closes again in summer are all normal. They’re the signs of a house moving the way houses move.
What isn’t normal: cracked grout in the field, not just at corners; hollow tile; a shower pan that holds water; a drain that’s slow from the day the shower was first used; a fan that never clears the mirror; visible water staining on the ceiling below the bathroom. Those aren’t settling. They’re installation defects, and they should be addressed under the warranty, not described as “normal.”
If the contractor disputes the diagnosis, the next step is a third-party inspection. In Texas, a written report from a licensed inspector carries more weight than anything in a phone conversation.
When to Call a Third-Party Inspector
Call a third-party inspector when three things are true at once: the problem is recurring or structural (not cosmetic), the contractor has disagreed with your diagnosis in writing, and the fix would cost more than a few thousand dollars. A licensed inspector’s report typically runs a few hundred dollars and produces a written opinion the contractor has to respond to.
Good candidates for an inspection: a shower that leaks and has been “fixed” once and is leaking again; a tile floor with widespread hollow spots; visible water damage to framing or subfloor; a plumbing issue that’s been traced to the remodel but the contractor says it predates the work. Skip the inspector for a single cracked caulk joint or a fan that needs a larger CFM rating – those are straightforward fixes, not inspection cases.
If you’re going through this with a different contractor and considering a rebuild, understand that the scope of a repair is often broader than the visible failure. Our Fence Installation in Carrollton projects run into the same lesson in a different trade: the failure you can see is rarely the failure you have to fix. We offer free project estimates and design consults so you know what you’re actually buying before you sign.
Common Mistakes to Avoid
- Treating the grout instead of the substrate. Re-grouting or re-caulking a cracked joint fixes the symptom for a few months. It never fixes the flex or water intrusion under the tile. Diagnose the cause first.
- Buying a bigger fan without checking the duct. A 150-CFM fan on a crushed 3-inch flex duct moves less air than a 70-CFM fan on a proper 4-inch rigid run. Duct first, fan second.
- Skipping the pre-slope on the shower pan. We see this constantly in Carrollton remodels where the pan was rebuilt by someone who didn’t understand that the liner needs slope under it. Water pools, the liner fails early, and the whole pan has to come out.
- Venting the bathroom fan into the attic. Common, cheap, and eventually expensive. In Carrollton’s humid summers, attic venting turns into attic mold within a couple of seasons.
- Ignoring a slow drain because “it’s not that slow.” A gurgling, slow drain after a remodel is a venting signal. Left alone, it can siphon traps and pull sewer gas into the bathroom.
- Rebuilding tile over an old waterproofing layer. If the membrane has failed or was never properly installed, new tile over the same substrate will fail on the same schedule as the old tile, just faster because it’s starting behind.
- Accepting “normal settling” as the whole answer. Ask for it in writing. If a contractor says the crack or leak is normal, a written diagnosis with a specific cause is a reasonable request, and any contractor confident in their work will put it in writing.
See the difference
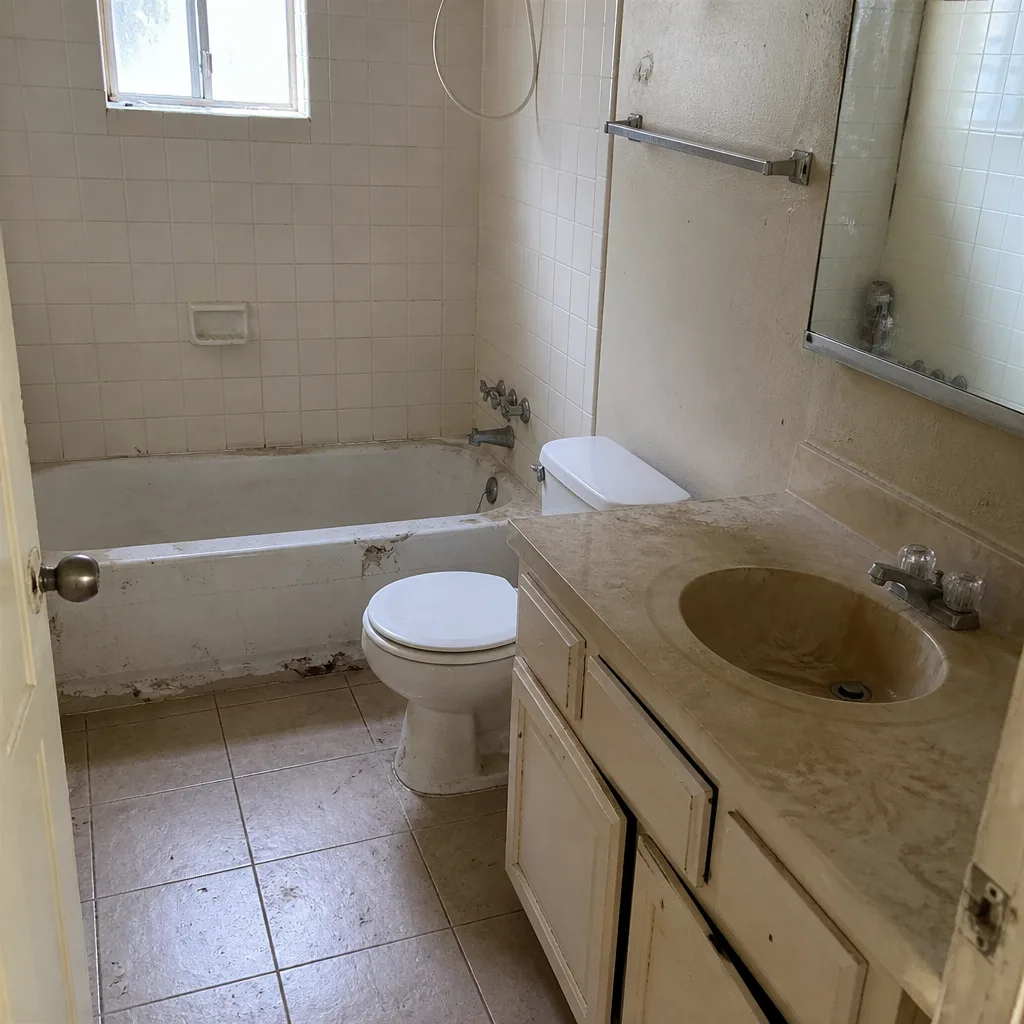 Before
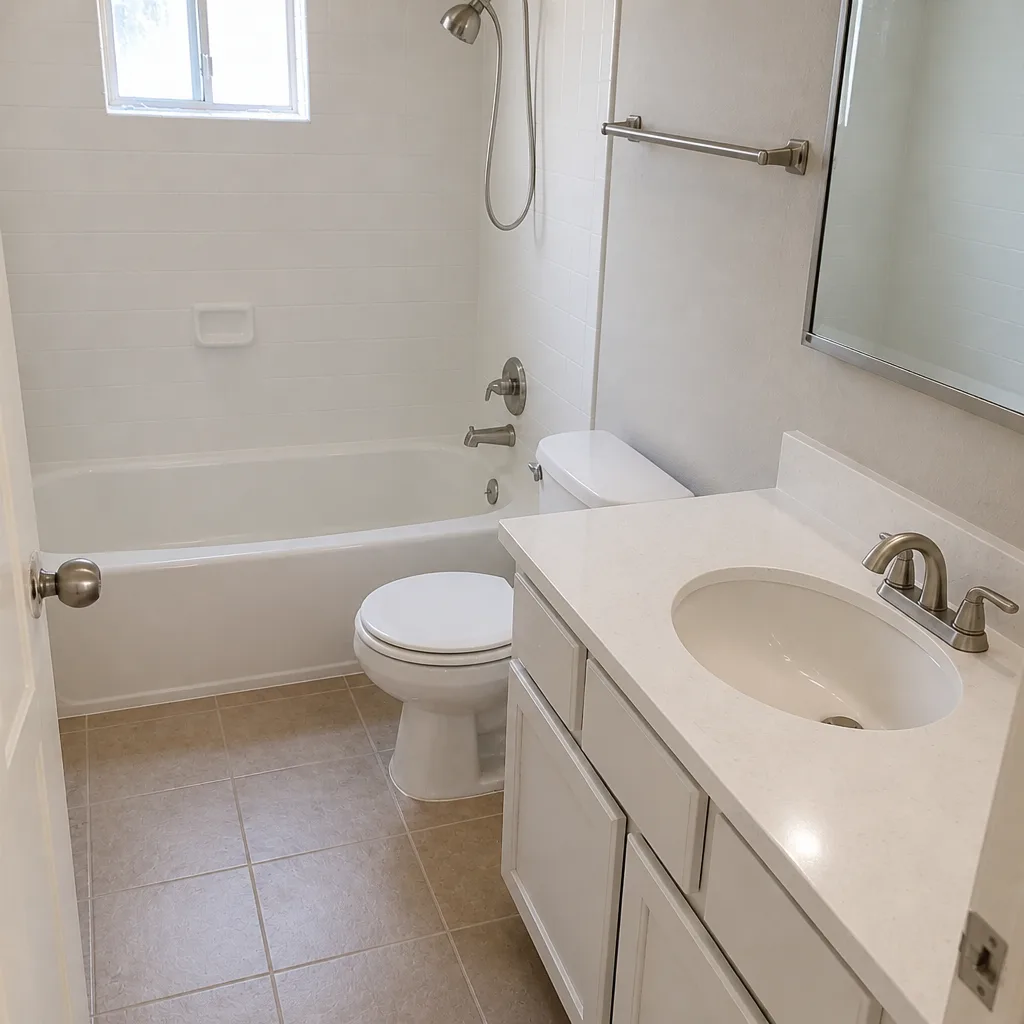 After
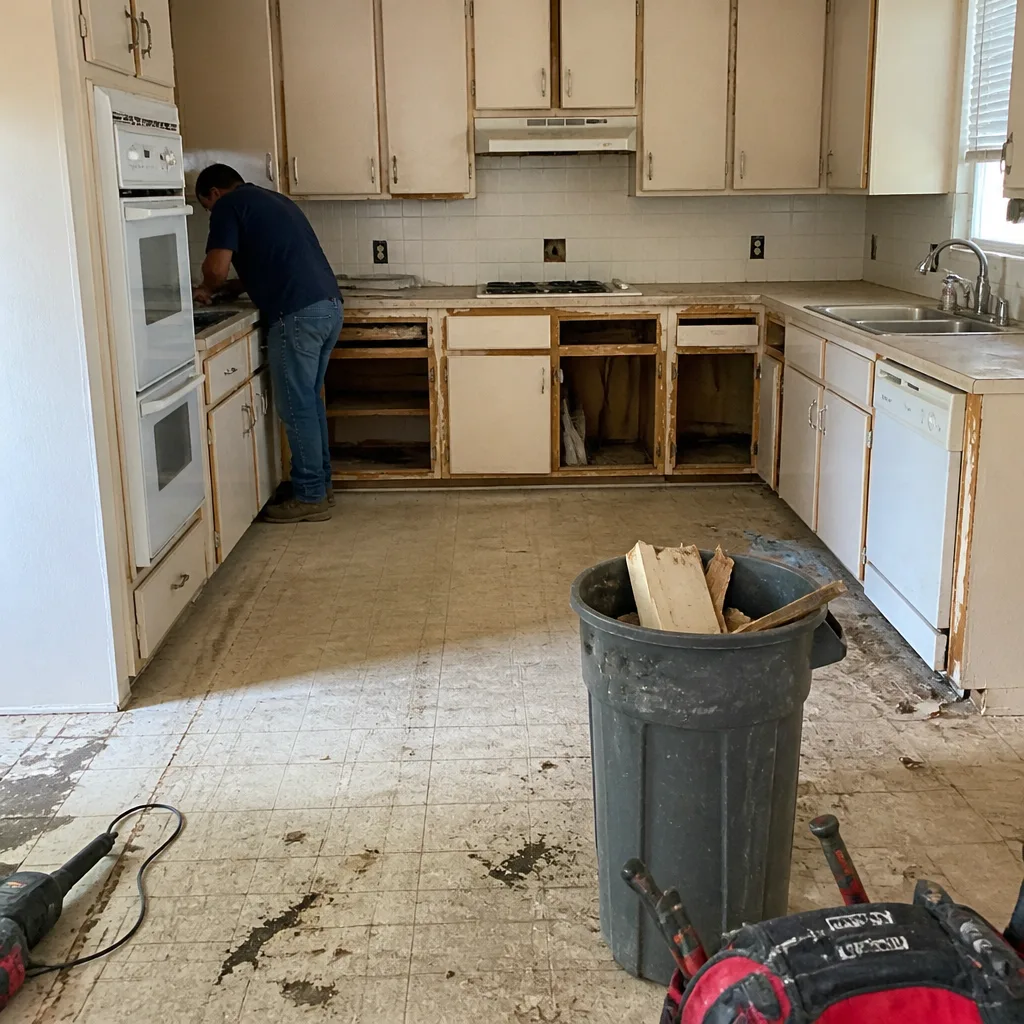 Before
 After
 Before
 After
When to Call a Professional
Call a professional when the problem involves water getting where it shouldn’t (pan, seams, or wall cavities), when more than a few tiles are hollow or cracked, when the plumbing involves venting changes or fixture relocations, or when the fix would require opening a wall or a floor. Those are the cases where a wrong diagnosis costs more than the right repair. Skip the pro only for a single failed caulk joint, a fan that needs a larger CFM rating, or a shower door adjustment – those are genuinely minor.
If you’re in Carrollton and the diagnosis points to a rebuild rather than a repair, Groundwork Construction Co. of Carrollton offers free estimates in Carrollton – call (844) 560-0925. We’ll walk the bathroom with you, diagnose the root cause, and put the fix in a written, upfront-priced scope before any work starts. Calls are answered by a live person, 24/7, and every project is covered by the 730-Day Done Right Promise.
Frequently Asked Questions

Grout cracks within a year are almost always a substrate problem, not a grout problem. The most common causes are backer board that wasn’t properly fastened, seams that weren’t taped and reinforced, or framing that moves under load. The grout is the messenger. Re-grouting without fixing the substrate will fail again on the same schedule. Call (844) 560-0925 for a diagnostic walkthrough – estimates are free.
The fan is either undersized for the room’s cubic footage, the duct is undersized or crushed, or the fan is venting into the attic instead of outside. Carrollton’s humidity makes this worse than in drier markets, so a fan rated for the room’s volume on paper often underperforms in practice. Check the duct routing first, then the fan rating. A relative humidity gauge after a hot shower tells you quickly whether the fan is actually moving air.
A drain that became slow after a remodel is almost always a venting issue. A vent line was capped, rerouted, or disconnected during the demo and never properly reconnected, so the drain is pulling air through the trap instead of the vent. It gurgles and drains slowly. Debris from tile work can produce the same symptom. A camera inspection of the line settles which one it is, and it’s usually a fix, not a re-pipe.
Grout issues show at the surface: cracked joints, missing grout, dark grout lines. Pan failures show on the other side of the wall, on the ceiling below the shower, or as a persistent musty smell that doesn’t clear with the fan running. If you’re seeing water staining beyond the shower footprint, the pan or the wall membrane has failed. That’s a tear-out, not a re-grout. Call (844) 560-0925 to get it diagnosed before it reaches the framing.
For a typical 5 x 8 bathroom with an 8-foot ceiling, you’re looking at roughly 70 to 80 CFM at minimum. Larger bathrooms, higher ceilings, or multi-head showers need more. Carrollton’s high summer humidity means we recommend sizing slightly above the minimum rather than at it, and verifying with a humidity gauge after a hot shower. If relative humidity doesn’t drop below 60% within 15 minutes, the fan or duct is the problem.
A diagnostic visit and written report typically runs a few hundred dollars and is often credited toward the repair. The repair itself ranges wildly depending on the finding: a fan and duct upgrade is a modest line item, a tile repair over a small section is another, and a shower pan tear-out with new waterproofing and tile is the largest of the common repairs. We price the scope upfront in writing, no change orders after the fact. Call (844) 560-0925 for a free estimate.
The Bottom Line
Grout cracks, fogged mirrors, slow drains, and returning mold are symptoms, not the problem. The problem is one of three root causes: waterproofing, ventilation, or tile installation. Diagnose the cause, not the symptom, and the repair holds. Skip the diagnosis and you’ll be fixing the same thing every six months with diminishing patience. The fixes range from a fan upgrade to a full shower rebuild, and the difference between them is a proper diagnosis – the kind that gets written down. If you’re in Carrollton and the diagnosis points to real work, Groundwork Construction Co. of Carrollton does free estimates, writes the scope upfront, and backs the work with the 730-Day Done Right Promise. Call (844) 560-0925. A live person answers, 24/7.
Written by the team at Groundwork Construction Co. of Carrollton.